Menu item
Description
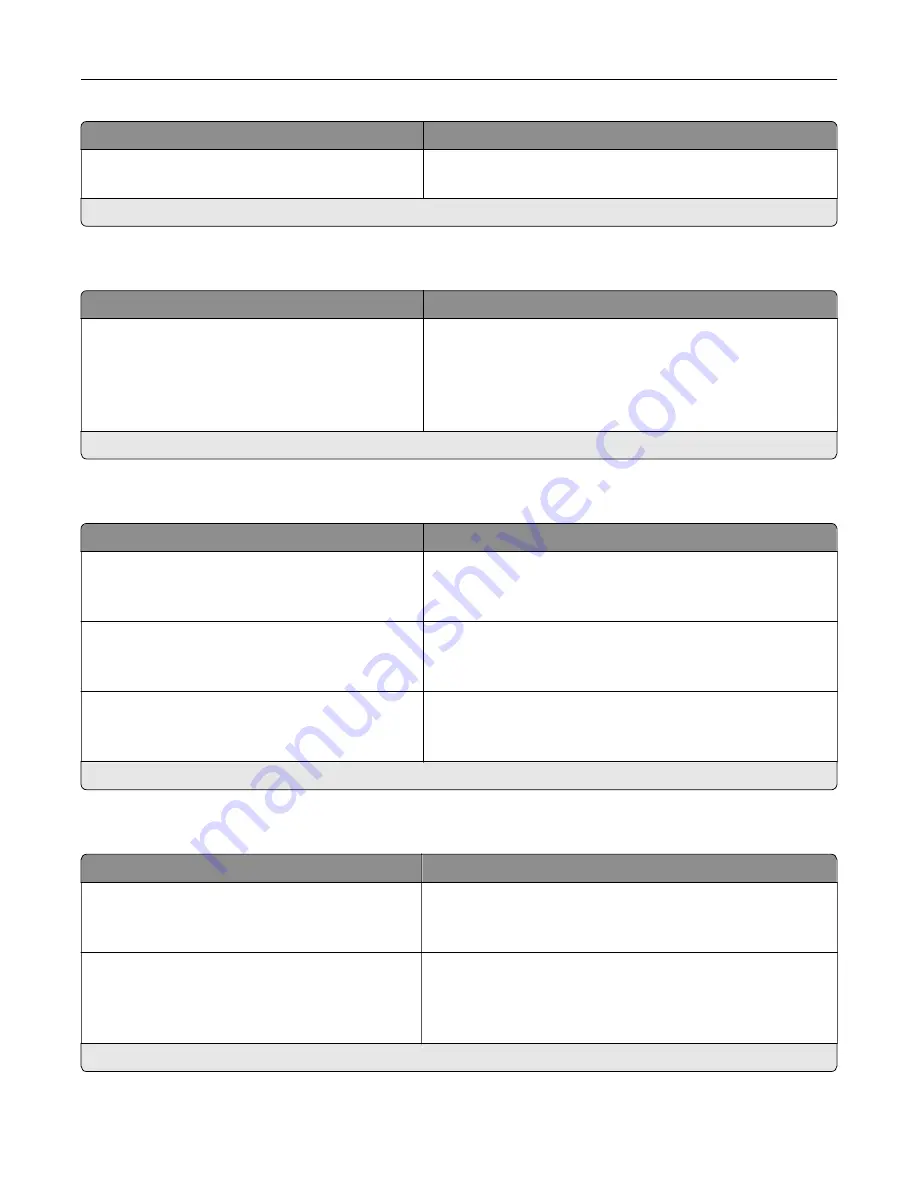
Screen Timeout
5–300 seconds (60*)
Set the idle time before the display shows the home screen or
before the printer logs out a user account automatically.
Note:
An asterisk (*) next to a value indicates the factory default setting.
Eco-Mode
Menu item
Description
Sides (1
‑
Sided*)
Pages per Side (Off*)
Toner Darkness (4*)
Color Saver (Off*)
Configure the print settings of the printer.
Note:
An asterisk (*) next to a value indicates the factory default setting.
Remote Operator Panel
Menu item
Description
External VNC Connection
Don’t Allow*
Allow
Connect an external Virtual Network Computing (VNC) client
to the remote control panel.
Authentication Type
None*
Standard Authentication
Set the authentication type when accessing the VNC client
server.
VNC Password
Specify the password to connect to the VNC client server.
Note:
This menu item appears only if Authentication Type is
set to Standard Authentication.
Note:
An asterisk (*) next to a value indicates the factory default setting.
Notifications
Menu item
Description
Error Lighting
Off
On*
Set the indicator light to come on when a printer error occurs.
Note:
This menu item appears only in some printer models.
Alarm Control
Off
Single*
Continuous
Set the number of times that the alarm sounds when the printer
requires user intervention.
Note:
An asterisk (*) next to a value indicates the factory default setting.
Understanding the printer menus
36
Содержание MX-C607P
Страница 1: ...DIGITAL FULL COLOR PRINTER MX C607P User s Guide October 2021 Machine type 5063 Model 53H ...
Страница 85: ...Replacing parts and supplies Replacing a developer unit 1 Open door A Maintaining the printer 85 ...
Страница 86: ...2 Remove the waste toner bottle Maintaining the printer 86 ...
Страница 88: ...7 Insert the imaging unit 8 Insert the waste toner bottle 9 Close door A Maintaining the printer 88 ...
Страница 91: ...Replacing a photoconductor unit 1 Open door A Maintaining the printer 91 ...
Страница 92: ...2 Remove the waste toner bottle Maintaining the printer 92 ...
Страница 94: ...7 Insert the imaging unit 8 Insert the waste toner bottle 9 Close door A Maintaining the printer 94 ...
Страница 95: ...Replacing an imaging unit 1 Open door A Maintaining the printer 95 ...
Страница 96: ...2 Remove the waste toner bottle Maintaining the printer 96 ...
Страница 100: ...2 Remove the waste toner bottle 3 Unpack the new waste toner bottle Maintaining the printer 100 ...
Страница 101: ...4 Insert the new waste toner bottle 5 Close door A Maintaining the printer 101 ...
Страница 102: ...Replacing the transfer belt 1 Turn off the printer 2 Open door A Maintaining the printer 102 ...
Страница 103: ...3 Remove the waste toner bottle 4 Open door A1 Maintaining the printer 103 ...
Страница 105: ...8 Close door A1 9 Insert the waste toner bottle 10 Close door A 11 Turn on the printer Maintaining the printer 105 ...
Страница 107: ...4 Insert the new transfer roller 5 Remove the white packing material 6 Close door B Maintaining the printer 107 ...
Страница 129: ...Staple jam in door G 1 Open door G 2 Pull out the staple cartridge holder Clearing jams 129 ...
Страница 131: ...5 Insert the staple cartridge holder 6 Close door G Clearing jams 131 ...


