Resetting the maintenance counter
1
From the home screen, touch
Settings
>
Device
>
Maintenance
>
Configuration Menu
>
Supply Usage
And Counters
.
2
Select
Fuser Reset
or
ITM Reset
.
Resetting the supply usage counters
1
From the home screen, touch
Settings
>
Device
>
Maintenance
>
Configuration Menu
>
Supply Usage
And Counters
.
2
Select the counter that you want to reset.
Warning—Potential Damage:
Supplies and parts without use
‑
and
‑
return program agreement terms may be
reset and remanufactured. However, the manufacturer’s warranty does not cover any damage caused by
non-genuine supplies or parts. Resetting counters on the supply or part without proper remanufacturing can
cause damage to your printer. After resetting the supply or part counter, your printer may display an error
indicating the presence of the reset item.
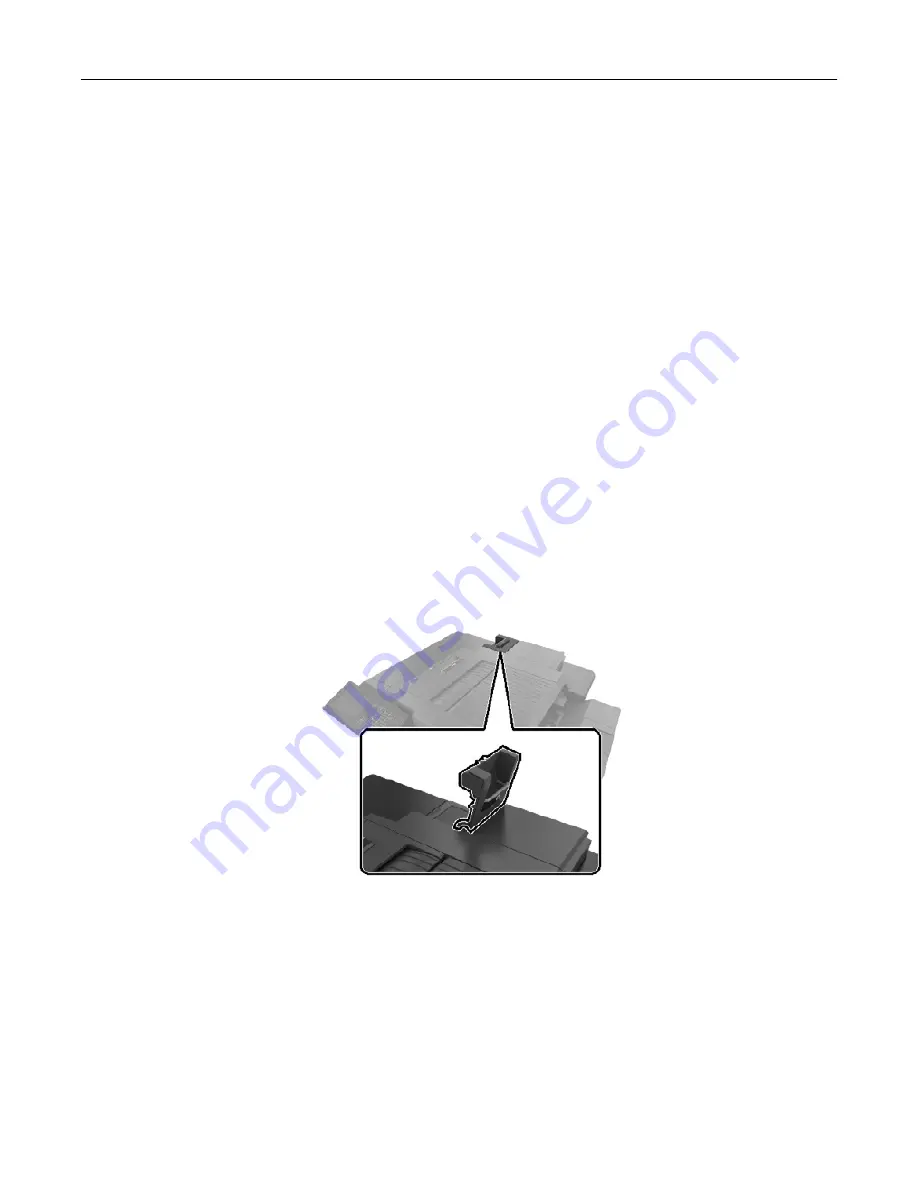
Replacing the staple cartridge unit
Replacing the staple cartridge in the staple finisher
1
Open door G.
Maintaining the printer
113
Содержание MX-C607P
Страница 1: ...DIGITAL FULL COLOR PRINTER MX C607P User s Guide October 2021 Machine type 5063 Model 53H ...
Страница 85: ...Replacing parts and supplies Replacing a developer unit 1 Open door A Maintaining the printer 85 ...
Страница 86: ...2 Remove the waste toner bottle Maintaining the printer 86 ...
Страница 88: ...7 Insert the imaging unit 8 Insert the waste toner bottle 9 Close door A Maintaining the printer 88 ...
Страница 91: ...Replacing a photoconductor unit 1 Open door A Maintaining the printer 91 ...
Страница 92: ...2 Remove the waste toner bottle Maintaining the printer 92 ...
Страница 94: ...7 Insert the imaging unit 8 Insert the waste toner bottle 9 Close door A Maintaining the printer 94 ...
Страница 95: ...Replacing an imaging unit 1 Open door A Maintaining the printer 95 ...
Страница 96: ...2 Remove the waste toner bottle Maintaining the printer 96 ...
Страница 100: ...2 Remove the waste toner bottle 3 Unpack the new waste toner bottle Maintaining the printer 100 ...
Страница 101: ...4 Insert the new waste toner bottle 5 Close door A Maintaining the printer 101 ...
Страница 102: ...Replacing the transfer belt 1 Turn off the printer 2 Open door A Maintaining the printer 102 ...
Страница 103: ...3 Remove the waste toner bottle 4 Open door A1 Maintaining the printer 103 ...
Страница 105: ...8 Close door A1 9 Insert the waste toner bottle 10 Close door A 11 Turn on the printer Maintaining the printer 105 ...
Страница 107: ...4 Insert the new transfer roller 5 Remove the white packing material 6 Close door B Maintaining the printer 107 ...
Страница 129: ...Staple jam in door G 1 Open door G 2 Pull out the staple cartridge holder Clearing jams 129 ...
Страница 131: ...5 Insert the staple cartridge holder 6 Close door G Clearing jams 131 ...


