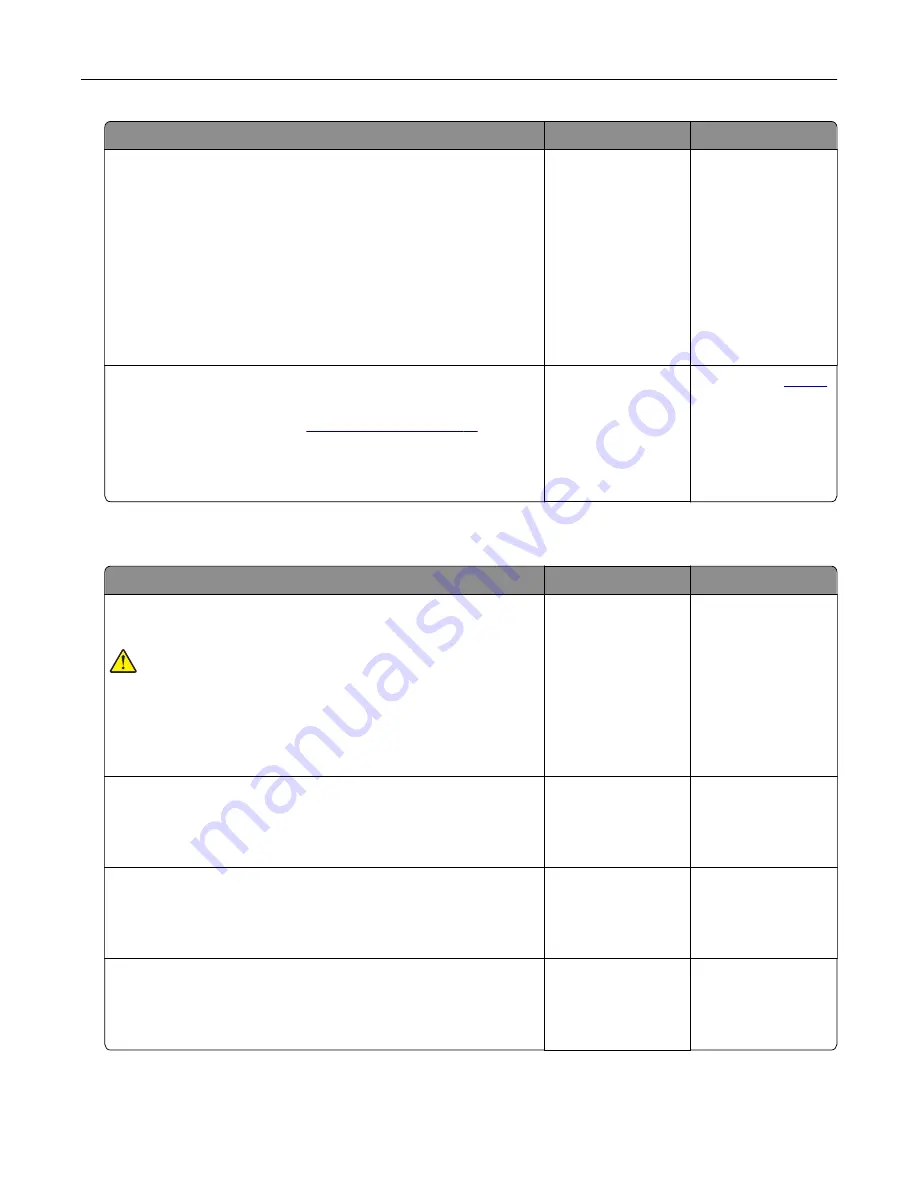
Action
Yes
No
Step 2
a
Depending on your operating system, specify the paper size
and paper type from the Printing Preferences or Print dialog.
Note:
You can also change the settings on the printer control
panel. From the home screen, touch
Settings
>
Paper
>
Tray
Configuration
>
Paper Size/Type
.
b
Make sure that the settings match the paper loaded.
c
Print the document.
Is the document printed on the correct paper?
The problem is
solved.
Go to step 3.
Step 3
a
Check if the trays are linked.
For more information, see
.
b
Print the document.
Is the document printed from the correct tray?
The problem is
solved.
Contact your
.
The printer is not responding
Action
Yes
No
Step 1
Check if the power cord is connected to the electrical outlet.
CAUTION—POTENTIAL INJURY:
To avoid the risk of fire or
electrical shock, connect the power cord to an appropriately
rated and properly grounded electrical outlet that is near the
product and easily accessible.
Is the printer responding?
The problem is
solved.
Go to step 2.
Step 2
Check if the electrical outlet is turned off by a switch or breaker.
Is the electrical outlet turned off by a switch or breaker?
Turn on the switch or
reset the breaker.
Go to step 3.
Step 3
Check if the printer is on.
Is the printer on?
Go to step 4.
Turn on the printer.
Step 4
Check if the printer is in Sleep or Hibernate mode.
Is the printer in Sleep or Hibernate mode?
Press the power
button to wake the
printer.
Go to step 5.
Troubleshooting
143
Содержание MX-C607P
Страница 1: ...DIGITAL FULL COLOR PRINTER MX C607P User s Guide October 2021 Machine type 5063 Model 53H ...
Страница 85: ...Replacing parts and supplies Replacing a developer unit 1 Open door A Maintaining the printer 85 ...
Страница 86: ...2 Remove the waste toner bottle Maintaining the printer 86 ...
Страница 88: ...7 Insert the imaging unit 8 Insert the waste toner bottle 9 Close door A Maintaining the printer 88 ...
Страница 91: ...Replacing a photoconductor unit 1 Open door A Maintaining the printer 91 ...
Страница 92: ...2 Remove the waste toner bottle Maintaining the printer 92 ...
Страница 94: ...7 Insert the imaging unit 8 Insert the waste toner bottle 9 Close door A Maintaining the printer 94 ...
Страница 95: ...Replacing an imaging unit 1 Open door A Maintaining the printer 95 ...
Страница 96: ...2 Remove the waste toner bottle Maintaining the printer 96 ...
Страница 100: ...2 Remove the waste toner bottle 3 Unpack the new waste toner bottle Maintaining the printer 100 ...
Страница 101: ...4 Insert the new waste toner bottle 5 Close door A Maintaining the printer 101 ...
Страница 102: ...Replacing the transfer belt 1 Turn off the printer 2 Open door A Maintaining the printer 102 ...
Страница 103: ...3 Remove the waste toner bottle 4 Open door A1 Maintaining the printer 103 ...
Страница 105: ...8 Close door A1 9 Insert the waste toner bottle 10 Close door A 11 Turn on the printer Maintaining the printer 105 ...
Страница 107: ...4 Insert the new transfer roller 5 Remove the white packing material 6 Close door B Maintaining the printer 107 ...
Страница 129: ...Staple jam in door G 1 Open door G 2 Pull out the staple cartridge holder Clearing jams 129 ...
Страница 131: ...5 Insert the staple cartridge holder 6 Close door G Clearing jams 131 ...


