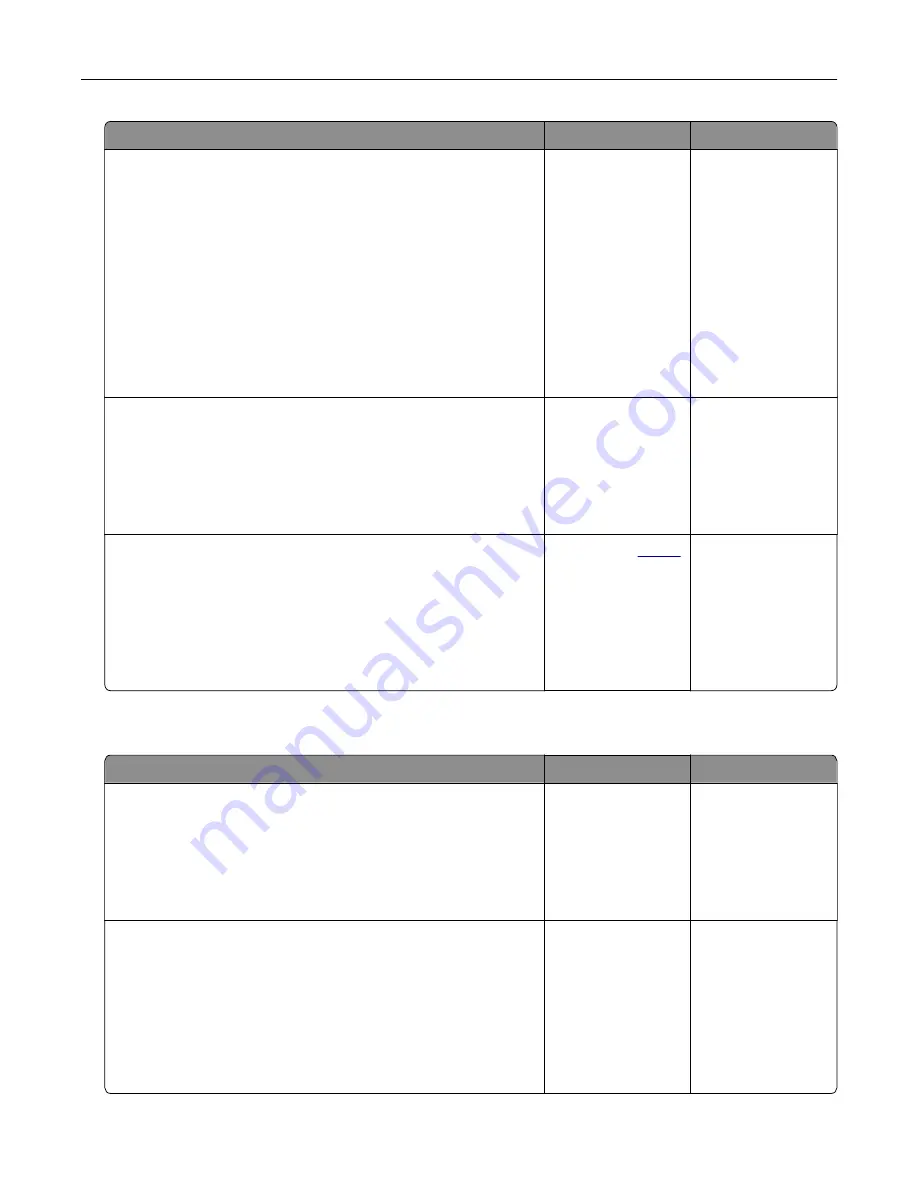
Action
Yes
No
Step 2
a
Depending on your operating system, specify the paper type
from the Printing Preferences or Print dialog.
Notes:
•
Make sure that the setting matches the paper loaded.
•
You can also change the setting on the printer control
panel. From the home screen, touch
Settings
>
Paper
>
Tray Configuration
>
Paper Size/Type
.
b
Print the document.
Is the paper curled?
Go to step 3.
The problem is
solved.
Step 3
Print on the other side of the paper.
a
Remove paper, flip it over, and then reload paper.
b
Print the document.
Is the paper curled?
Go to step 4.
The problem is
solved.
Step 4
a
Load paper from a fresh package.
Note:
Paper absorbs moisture due to high humidity. Store
paper in its original wrapper until you are ready to use it.
b
Print the document.
Is the paper curled?
Contact your
. The problem is
solved.
Tray linking does not work
Action
Yes
No
Step 1
a
Check if the trays contain the same paper size and paper type.
b
Check if the paper guides are positioned correctly.
c
Print the document.
Do the trays link correctly?
The problem is
solved.
Go to step 2.
Step 2
a
From the home screen, touch
Settings
>
Paper
>
Tray
Configuration
>
Paper Size/Type
.
b
Set the paper size and paper type to match the paper loaded
in the linked trays.
c
Print the document.
Do the trays link correctly?
The problem is
solved.
Go to step 3.
Troubleshooting
137
Содержание MX-C607P
Страница 1: ...DIGITAL FULL COLOR PRINTER MX C607P User s Guide October 2021 Machine type 5063 Model 53H ...
Страница 85: ...Replacing parts and supplies Replacing a developer unit 1 Open door A Maintaining the printer 85 ...
Страница 86: ...2 Remove the waste toner bottle Maintaining the printer 86 ...
Страница 88: ...7 Insert the imaging unit 8 Insert the waste toner bottle 9 Close door A Maintaining the printer 88 ...
Страница 91: ...Replacing a photoconductor unit 1 Open door A Maintaining the printer 91 ...
Страница 92: ...2 Remove the waste toner bottle Maintaining the printer 92 ...
Страница 94: ...7 Insert the imaging unit 8 Insert the waste toner bottle 9 Close door A Maintaining the printer 94 ...
Страница 95: ...Replacing an imaging unit 1 Open door A Maintaining the printer 95 ...
Страница 96: ...2 Remove the waste toner bottle Maintaining the printer 96 ...
Страница 100: ...2 Remove the waste toner bottle 3 Unpack the new waste toner bottle Maintaining the printer 100 ...
Страница 101: ...4 Insert the new waste toner bottle 5 Close door A Maintaining the printer 101 ...
Страница 102: ...Replacing the transfer belt 1 Turn off the printer 2 Open door A Maintaining the printer 102 ...
Страница 103: ...3 Remove the waste toner bottle 4 Open door A1 Maintaining the printer 103 ...
Страница 105: ...8 Close door A1 9 Insert the waste toner bottle 10 Close door A 11 Turn on the printer Maintaining the printer 105 ...
Страница 107: ...4 Insert the new transfer roller 5 Remove the white packing material 6 Close door B Maintaining the printer 107 ...
Страница 129: ...Staple jam in door G 1 Open door G 2 Pull out the staple cartridge holder Clearing jams 129 ...
Страница 131: ...5 Insert the staple cartridge holder 6 Close door G Clearing jams 131 ...


