Issues with supplies
Replace cartridge, printer region mismatch
Install the correct toner cartridge.
Non
‑
Printer Manufacturer supply
The printer has detected an unrecognized supply or part installed in the printer.
Your printer is designed to function best with genuine supplies and parts made by the printer manufacturer.
Use of third-party supplies or parts may affect the performance, reliability, or life of the printer and its imaging
components.
All life indicators are designed to function with supplies and parts from the printer manufacturer and may
deliver unpredictable results if third-party supplies or parts are used. Imaging component usage beyond
the intended life may damage your printer or associated components.
Warning—Potential Damage:
Use of third-party supplies or parts can affect warranty coverage.
Damage caused by the use of third-party supplies or parts may not be covered by the warranty.
To accept any and all of these risks and to proceed with the use of non-genuine supplies or parts in your
printer, from the control panel, press and hold
X
and
#
simultaneously for 15 seconds.
If you do not want to accept these risks, then remove the third-party supply or part from your printer and
install a genuine supply or part from the printer manufacturer.
Paper feed problems
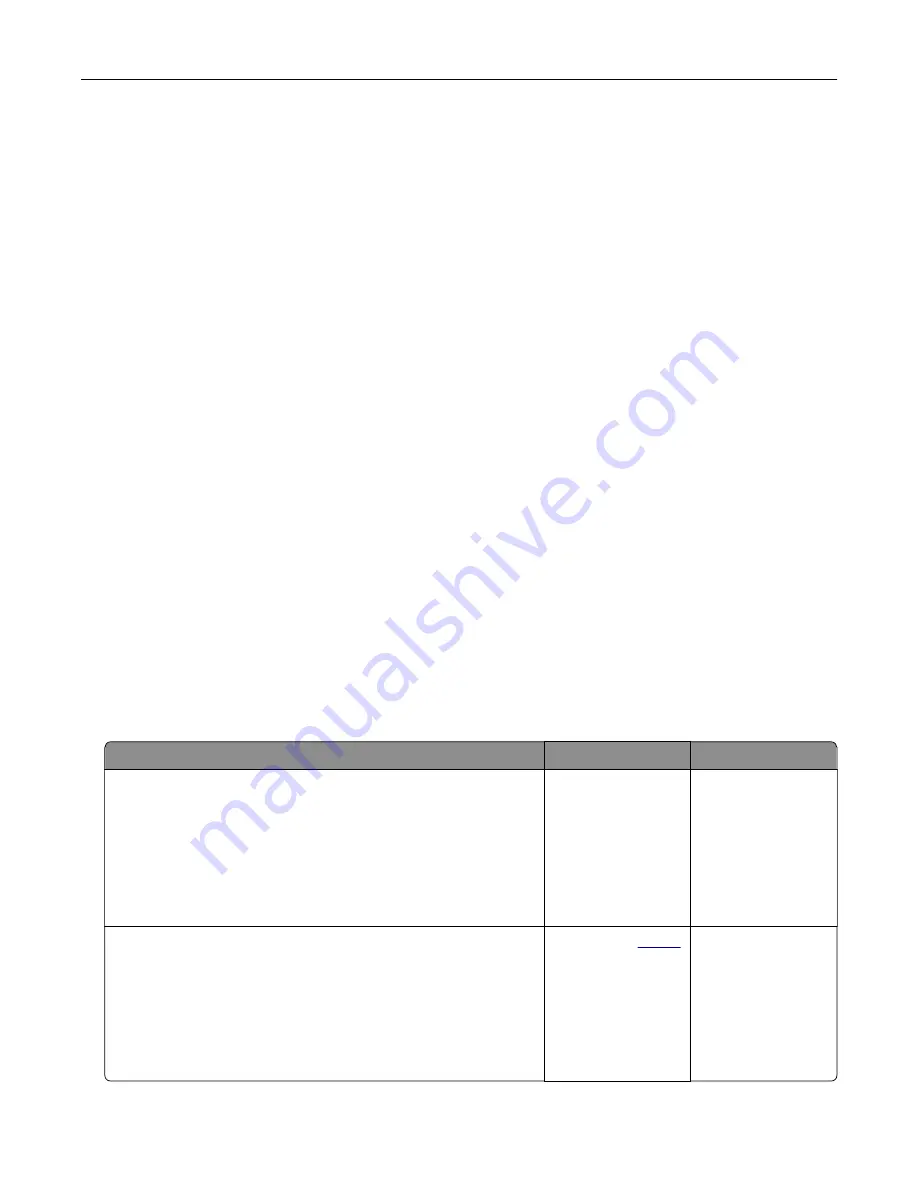
Envelope seals when printing
Action
Yes
No
Step 1
a
Use an envelope that has been stored in a dry environment.
Note:
Printing on envelopes with high moisture content can
seal the flaps.
b
Send the print job.
Does the envelope seal when printing?
Go to step 2.
The problem is
solved.
Step 2
a
Make sure that the paper type is set to Envelope.
From the control panel, touch
Settings
>
Paper
>
Tray
Configuration
>
Paper Size/Type
> select a paper source
b
Send the print job.
Does the envelope seal when printing?
Contact your
. The problem is
solved.
Troubleshooting
135
Содержание MX-C607P
Страница 1: ...DIGITAL FULL COLOR PRINTER MX C607P User s Guide October 2021 Machine type 5063 Model 53H ...
Страница 85: ...Replacing parts and supplies Replacing a developer unit 1 Open door A Maintaining the printer 85 ...
Страница 86: ...2 Remove the waste toner bottle Maintaining the printer 86 ...
Страница 88: ...7 Insert the imaging unit 8 Insert the waste toner bottle 9 Close door A Maintaining the printer 88 ...
Страница 91: ...Replacing a photoconductor unit 1 Open door A Maintaining the printer 91 ...
Страница 92: ...2 Remove the waste toner bottle Maintaining the printer 92 ...
Страница 94: ...7 Insert the imaging unit 8 Insert the waste toner bottle 9 Close door A Maintaining the printer 94 ...
Страница 95: ...Replacing an imaging unit 1 Open door A Maintaining the printer 95 ...
Страница 96: ...2 Remove the waste toner bottle Maintaining the printer 96 ...
Страница 100: ...2 Remove the waste toner bottle 3 Unpack the new waste toner bottle Maintaining the printer 100 ...
Страница 101: ...4 Insert the new waste toner bottle 5 Close door A Maintaining the printer 101 ...
Страница 102: ...Replacing the transfer belt 1 Turn off the printer 2 Open door A Maintaining the printer 102 ...
Страница 103: ...3 Remove the waste toner bottle 4 Open door A1 Maintaining the printer 103 ...
Страница 105: ...8 Close door A1 9 Insert the waste toner bottle 10 Close door A 11 Turn on the printer Maintaining the printer 105 ...
Страница 107: ...4 Insert the new transfer roller 5 Remove the white packing material 6 Close door B Maintaining the printer 107 ...
Страница 129: ...Staple jam in door G 1 Open door G 2 Pull out the staple cartridge holder Clearing jams 129 ...
Страница 131: ...5 Insert the staple cartridge holder 6 Close door G Clearing jams 131 ...


