4.1. HOW TO CONFIGURE THE ASTERX-U3 FOR RTK
Step 3: Verifying the con
fi
guration
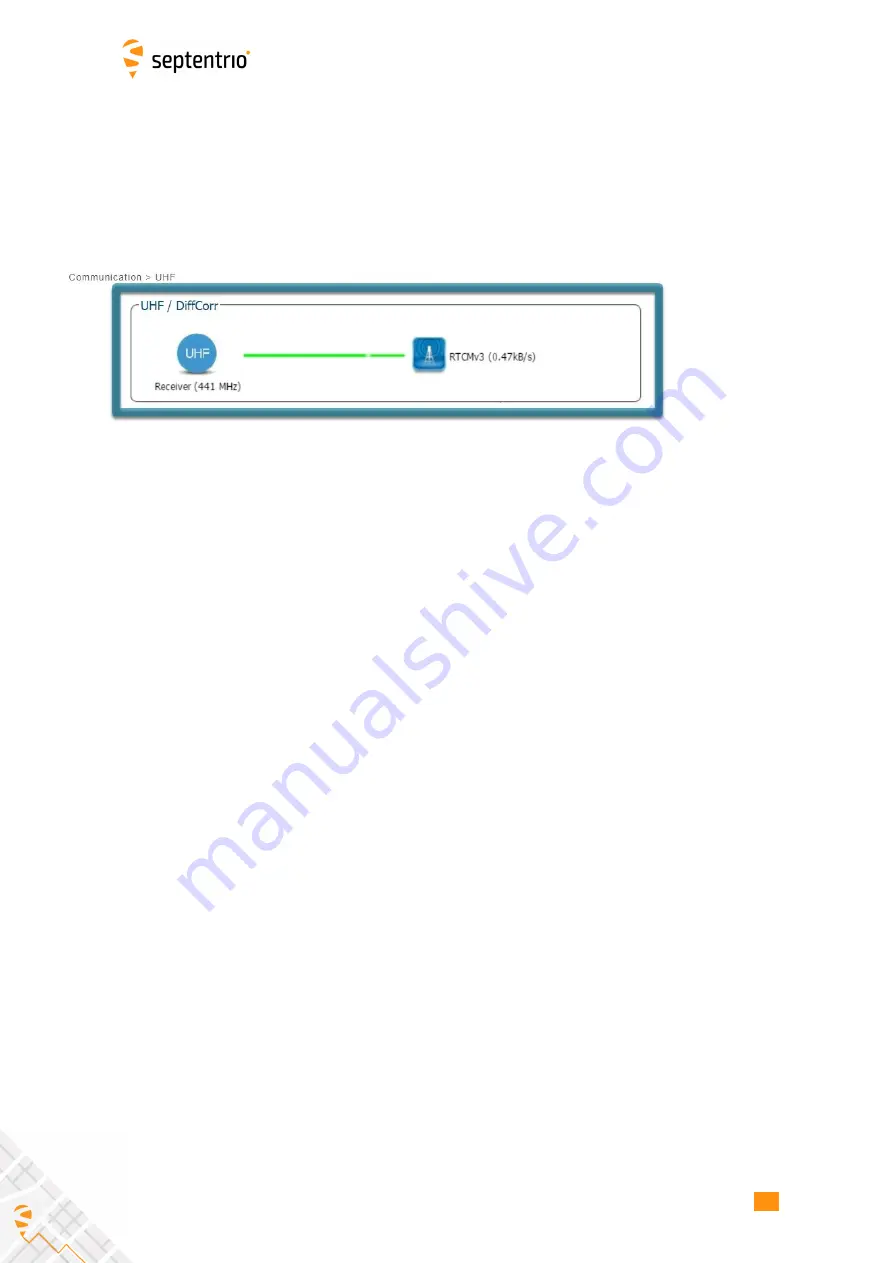
If the UHF radio of the AsteRx-U3 has been correctly con
fi
gured then you should see in the
UHF/DiffCorr
fi
eld, the grayed-out connection line is now replaced by a
‘
live
’
green line as
shown in Figure 4-3. The message format of the differential corrections will appear next to
the right-hand base station icon: RTCMv3 in this example. All being well, the positioning
mode icon in the upper status
fi
eld should also indicate
‘
RTK Fixed
’
after a few seconds.
Figure 4-3:
The AsteRx-U3 in RTK mode using differential correction data from a
base station transmitting over a UHF radio connection
36
Содержание AsteRx-U3
Страница 1: ...AsteRx U3 User Manual ...
Страница 14: ...2 3 ASTERX U3 DESIGN Figure 2 4 Mounting brackets fitted to the AsteRx U3 14 ...
Страница 39: ...4 1 HOW TO CONFIGURE THE ASTERX U3 FOR RTK Figure 4 6 Correctly configured cellular modem 39 ...
Страница 79: ...8 4 HTTP HTTPS Figure 8 7 Uploading a certificate to the receiver 79 ...


