


Machine status and advanced feature
_ 4
You can also print the machine's status information and browse status
with SyncThru™ Web Service. Open the Web browser on your
networked computer and type the IP address of your machine. When
SyncThru™ Web Service opens, click
Information
>
information
.
Clearing memory
You can selectively clear information stored in your machine’s memory.
1.
Press
Menu
on the control panel.
2.
Press the up/down arrow to highlight
System Setup
and press
OK
.
3.
Press the up/down arrow to highlight
Clear Setting
and press
OK
.
4.
Press the up/down arrow until the item you want to clear highlights and
press
OK
.
5.
Press
OK
when
Yes
highlights to confirm clearing.
6.
Repeat steps 4 through 5 to clear another item.
7.
Press
Stop/Clear
to return to ready mode.
Some menus may not appear in the display depending on options or
models. If so, it is not applicable to your machine.
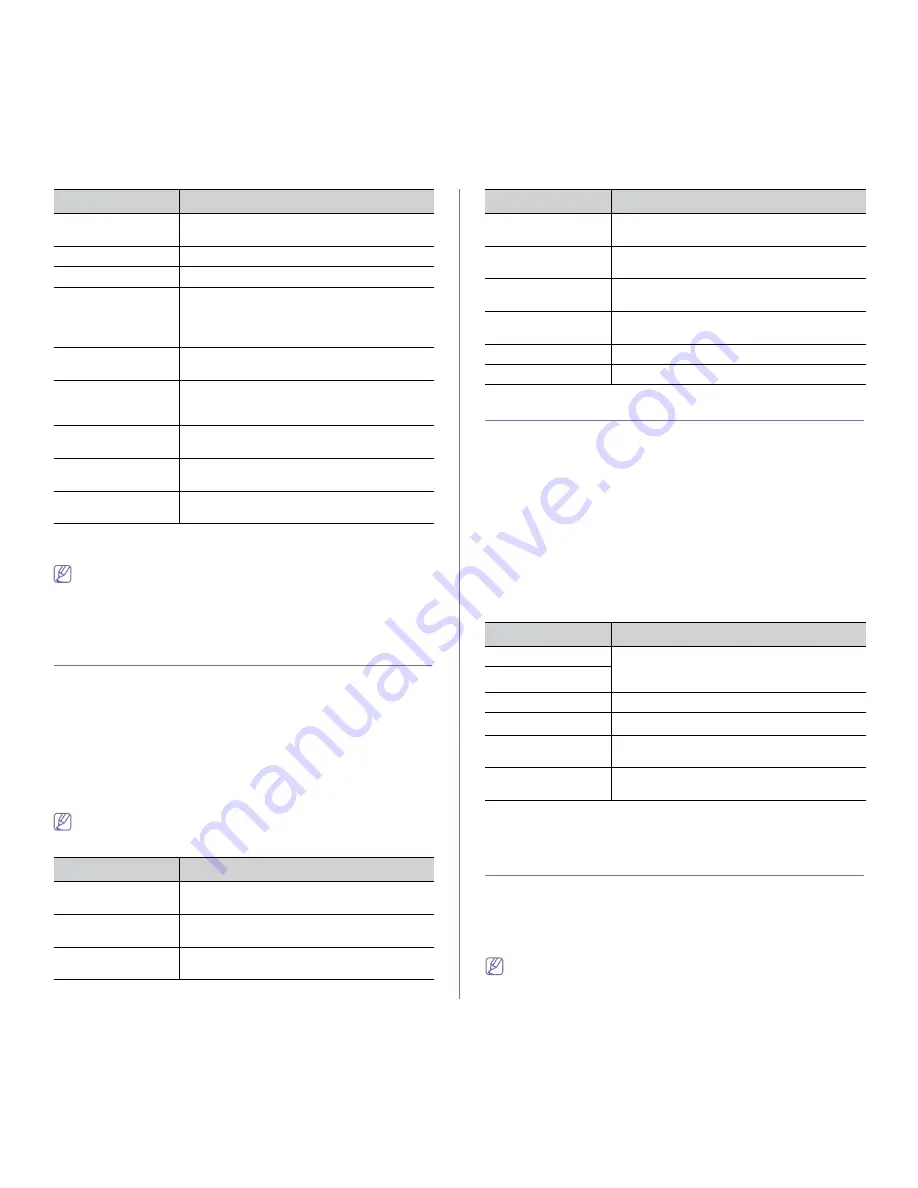
Option
Description
All Settings
Clears all of the data stored in memory and
resets all of your settings to the factory default.
Fax Setup
Restores all of the fax options to the factory
default.
Copy Setup
Restores all of the copy options to the factory
default.
Scan Setup
Restores all of the scan options to the factory
default.
System Setup
Restores all of the system options to the factory
default.
Network Setup
Restores all of the network options to the factory
default.
Address Book
Clears all of the email address entries stored in
memory.
Sent Report
Clears all records of sent faxes and emails.
Fax Rcv Report
Clears all records of received faxes.
Network
You may set up the network with the machine's display screen. Before doing
that, you must have the relevant information concerning the type of network
protocols and computer system you use. If you are not sure which setting to
use, contact your network administrator to configure this machine to the
network.
1.
Press
Menu
on the control panel.
2.
Press the up/down arrow to highlight
Network
and press
OK
.
3.
Press the up/down arrow until the setup option you want is highlighted
and press
OK
.
4.
Press the up/down arrow until the setting you want is highlighted and
press
OK
.
5.
Repeat steps 3 through 4, as needed.
6.
Press
Stop/Clear
to return to ready mode.
Option
Description
TCP/IP (IPv4)
Select appropriate protocol and configure
parameters to use the network environment.
TCP/IP (IPv6)
Ethernet Speed
Configure the network transmission speed.
Wireless
a
a. This menu only appears when an optional wireless network interface
has been installed.
Configure the wireless network environments.
Clear Setting
Reverts the network settings to the default
values.
Network Info.
This list shows information on your machine’s
network connection and configuration.
Document management
This menu only appears when an optional hard disk drive (HDD) has been
installed.
This menu allows you to store the scanned documents in a box, set various
options for stored documents and change the default settings for stored
documents.
•
To use this menu, you need to create a box first. Creating and editing
the box can only be done through SyncThru™ Web Service (See
"Box tab" on page 1).
User Auth List
This list shows authorized users who are
allowed to use the email function.
PCL Font List
You can print the PCL font list.
PS
3
Font List
You can print the PS3 font list.
Accounting Report
This is used only when network authentication in
enabled with SyncThru™ Web Service.
Prints
the report of printing out count for each login
user.
Stored Job
a
This list shows the current status of stored job
on hard disk drive (HDD).
Completed Job
a
The
Completed Job
page shows the list of
completed print jobs. The list contains up to 50
files from the latest print jobs.
Net Auth Log
This is shows users and their IDs who logged in
the domain.
Counter info.
You can view the amount of each category that
your machine has printed so far.
Fax Options
You can set to print the information of a fax
reports.
a.This menu only appears when an optional hard disk drive (HDD) has
been installed.
Option
Description
Option
Description


