Tel: 886. 909 602 109 Email: [email protected]
www.salukitec.com
86
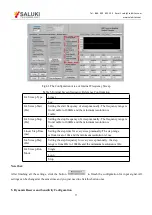
Note that:
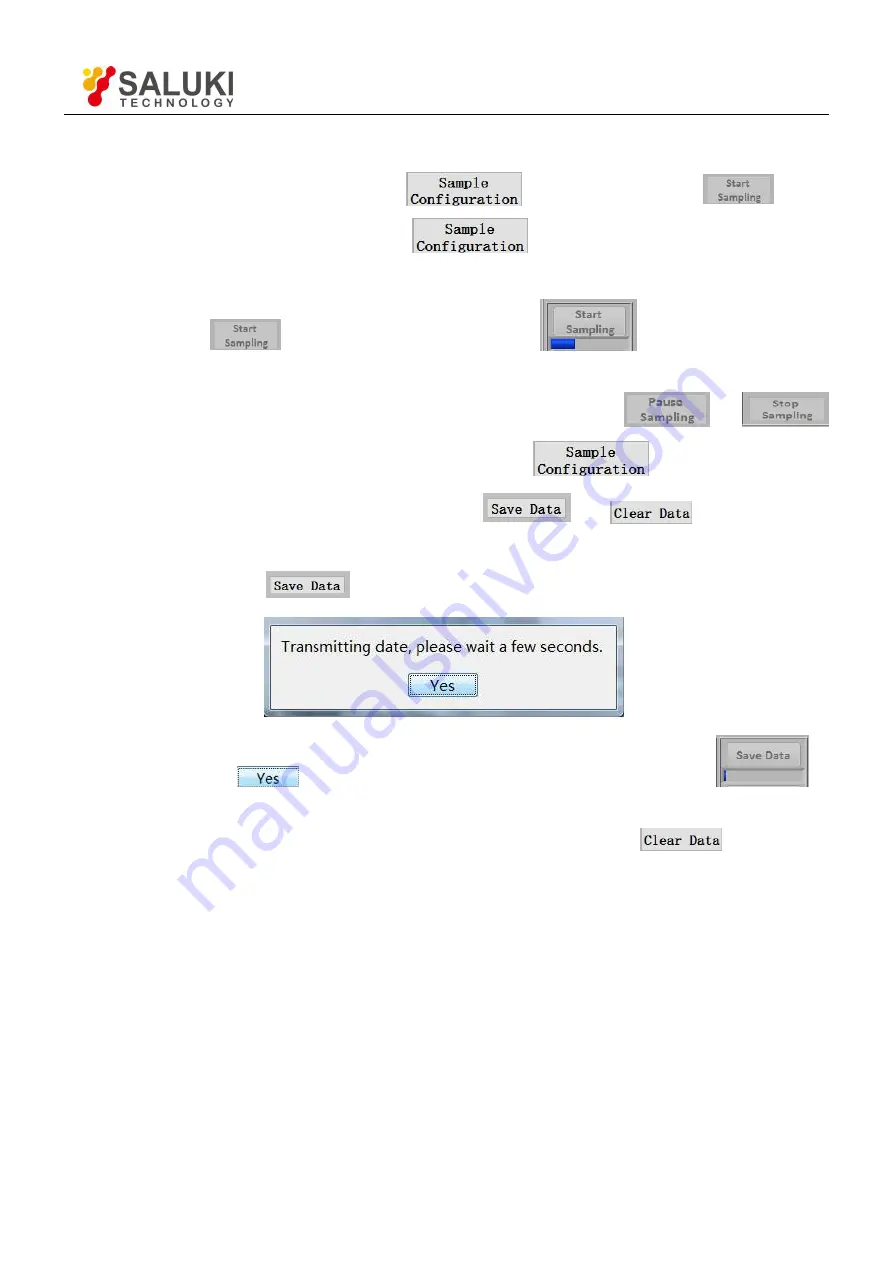
After choosing all the setting, click the button
and then click the button
to start.
Once settings are changed, you need to click
to update the configuration. Otherwise, the
settings are void.
Click the button
, and then there will be a progress bar
at the bottom of this button.
This means the SE1022 has started sampling. The sampling will finish if the progress bar runs to 100%.
During sampling, you can control the sampling progress by clicking the button
and
.
All settings can be set at the same time and you just need to click
once.
After finishing one sample, you can operate on the button
and
. These two buttons
are used to save and clear data in buffer.
After clicking the button
, the interface will callout this window
.
After clicking the button
, the SE1022 starts to save data. There will be a progress bar
at
the bottom of this button. When the progress runs to 100%, the buffer finishes saving the data. Now an excel will
be generated in current directory and its name is
“
Buffer_Data.xls
”
. Click the button
, then the 4 data
buffers and the excel will be cleared.
13. Data Storage
The software has the function of data storage. Users can choose to save the data or not that SE1022 collects in a period.
The saved data contains the X/Y/R/
θ
of measure signal or signal harmonic, frequency, noise and the ADC1/ADC2/
ADC3/ADC4 of 4 AUX_ADC inputs.


