Changing the frequency
band
F X - 4 0
22
•
Press the Modulation button
•
Select the modulation you wish to use, and press “Enter”.
•
The screen confirms your choice with the message
“Modulation type is changed. sure ?”
•
Confirm your selected modulation by pressing “Yes”.
The radio link to the receiver is now switched off.
•
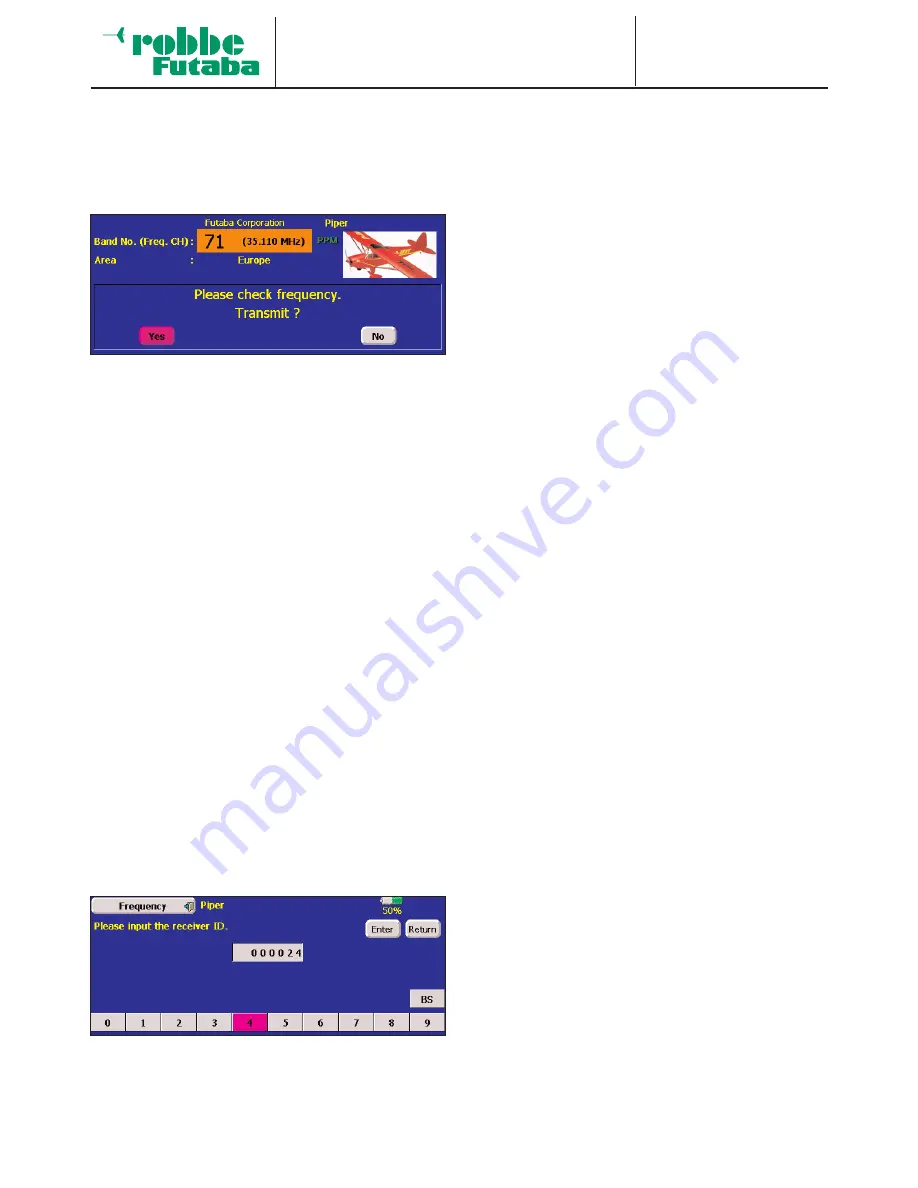
The screen now asks whether you wish to re-activate the
radio transmission of the control signals (Yes), or to conti-
nue without transmitting an RF signal (No).
•
If you press the “Yes” button, the transmitter resumes bro-
adcasting, but using the newly selected modulation.
NOTE!
If you change the modulation from PCM-G3 to PCM 1024 or
PPM 8-channel, only 8 (+ 1) channels are available to control
your models, instead of 12 (+ 2).
The transmitter software takes this into account at the model
select stage, and does not display model types with higher
channel counts. If you have already selected a model which
uses more than eight channels, the software blocks the modu-
lation change, and the screen displays the message “8-chan-
nel modulation! Change not possible.”
RECEIVER NUMBER
The last two lines of the “Frequency” Set-up menu are used to
enter the receiver numbers (receiver ID).
An individual number is permanently assigned to every recei-
ver; the number is printed on a label on the back of the recei-
ver.
This receiver ID is stored in the transmitter for each model
memory. When the wireless frequency change process is
used, this receiver number is also transmitted to ensure that
only this particular receiver changes its spot frequency in res-
ponse to the transmitter.
If you have a model equipped with two receivers, you can
enter the number of the second receiver in the line “2nd recei-
ver No.”
Enter the appropriate 7-figure number using the numeric but-
tons, then press “Enter”.


