Chapter 11 Troubleshooting
197
11
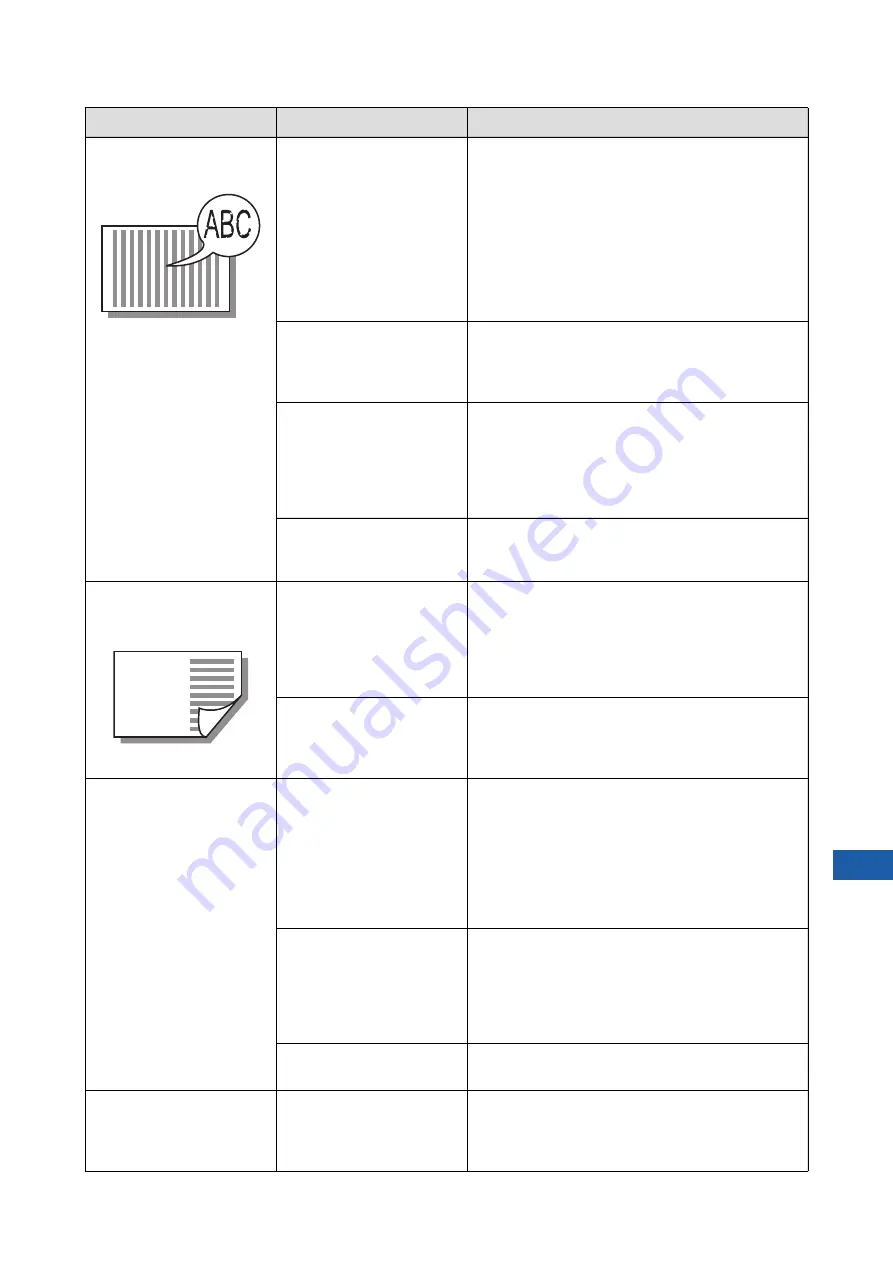
Printed images are faint.
Printed text is blurred.
Check if printing was per-
formed after the print drum
(cylinder) was not used for
an extended period of time.
If the print drum (cylinder) is not used for an
extended period of time, ink on the surface of the
print drum (cylinder) may dry. Printing in such a state
may result in faint printing for the first few papers just
after the printing has started.
Press the [PROOF] key and print several papers
before starting actual printing.
By executing [Idling Action] (
118) high print quality
may be instantly achieved from the beginning of
printing. This can reduce paper waste.
Check if the original itself is
faint.
Darken the contrast in [Contrast] (
master again.
For originals written with a pencil, set [Image] (
to [Pencil].
Check if the temperature is
low (below 15°C [59°F]) in
the place where this
machine is installed or ink
cartridges are stored.
Use this machine in a location where the tempera-
ture is 15°C (59°F) or higher.
For ink cartridges that have been stored in a location
at low temperature, keep them in a location at a tem-
perature of 15°C (59°F) or higher before using them.
(
Check if [Ink Saving] is set to
on.
If a master is made while [Ink Saving] is set to on
(
58), the ink on printed papers is lighter than
usual.
Although [Multi-Up Print]
was executed, nothing is
printed on one side.
Check if an original was
placed while a massage that
asks you to place the next
original was displayed.
If the specified time has elapsed before the second
and subsequent originals are placed, master making
automatically starts. Any sections that could not be
scanned remain as margins.
If the time is too short, change [Multi-Up Interval]
(
Check if the [STOP] key was
pressed while an original
was being scanned.
If you press the [STOP] key while an original is
scanned, scanning is interrupted.
Do not press the [STOP] key until all of the originals
are scanned.
Papers are loaded on the
print drum (cylinder).
Check if the margin at the
top of the printed paper is
enough.
The margin at the top of the printed paper (leading
edge in the paper output direction) must be at least
5 mm (3/16 inches). Lower the horizontal print posi-
tion, and then print. If it is not possible to lower the
print position, reduce the size of the original to allow
enough margin and perform master making again.
(
70 “Enlarging or Reducing the Size of the Origi-
Check if the printed paper
has a wide solid portion at its
top.
If a printed paper has a wide solid portion at its top
(leading edge in the paper output direction), papers
are more likely to stick to the print drum (cylinder).
Set the original upside down and perform master
making again. For this operation, it is convenient to
use [Rotate] under [Renew Page] (
Check if appropriate papers
are used.
Use papers that are suitable for this machine.
(
Curled printed papers are
output.
Check if the paper grain
(flow of the grain) is aligned
with the paper feeding direc-
tion.
Place the paper so that its grain is aligned with the
paper feeding direction. (
jams and paper feeding failures”)
Problem
Point to check
Action
Содержание MH 9350
Страница 21: ...Chapter 1 19 1 About This Machine ...
Страница 31: ...29 2 Chapter 2 Basic Operations ...
Страница 53: ...51 3 Chapter 3 Functions for Master Making ...
Страница 97: ...95 4 Chapter 4 Functions for Printing ...
Страница 109: ...107 5 Chapter 5 Useful Functions ...
Страница 130: ...Chapter 5 Useful Functions 128 ...
Страница 131: ...129 6 Chapter 6 Functions for Scanning ...
Страница 137: ...135 7 Chapter 7 Setting the Operation Conditions ...
Страница 159: ...157 8 Chapter 8 RISO Console ...
Страница 165: ...163 9 Chapter 9 Replacing Consumables ...
Страница 177: ...175 10 Chapter 10 Maintenance ...
Страница 181: ...179 11 Chapter 11 Troubleshooting ...
Страница 205: ...203 12 Chapter 12 Appendix ...
Страница 215: ...Chapter 12 Appendix 213 12 V View edit 48 W WAKE UP key 23 Z Zoom 71 ...


