Chapter 4 Functions for Printing
98
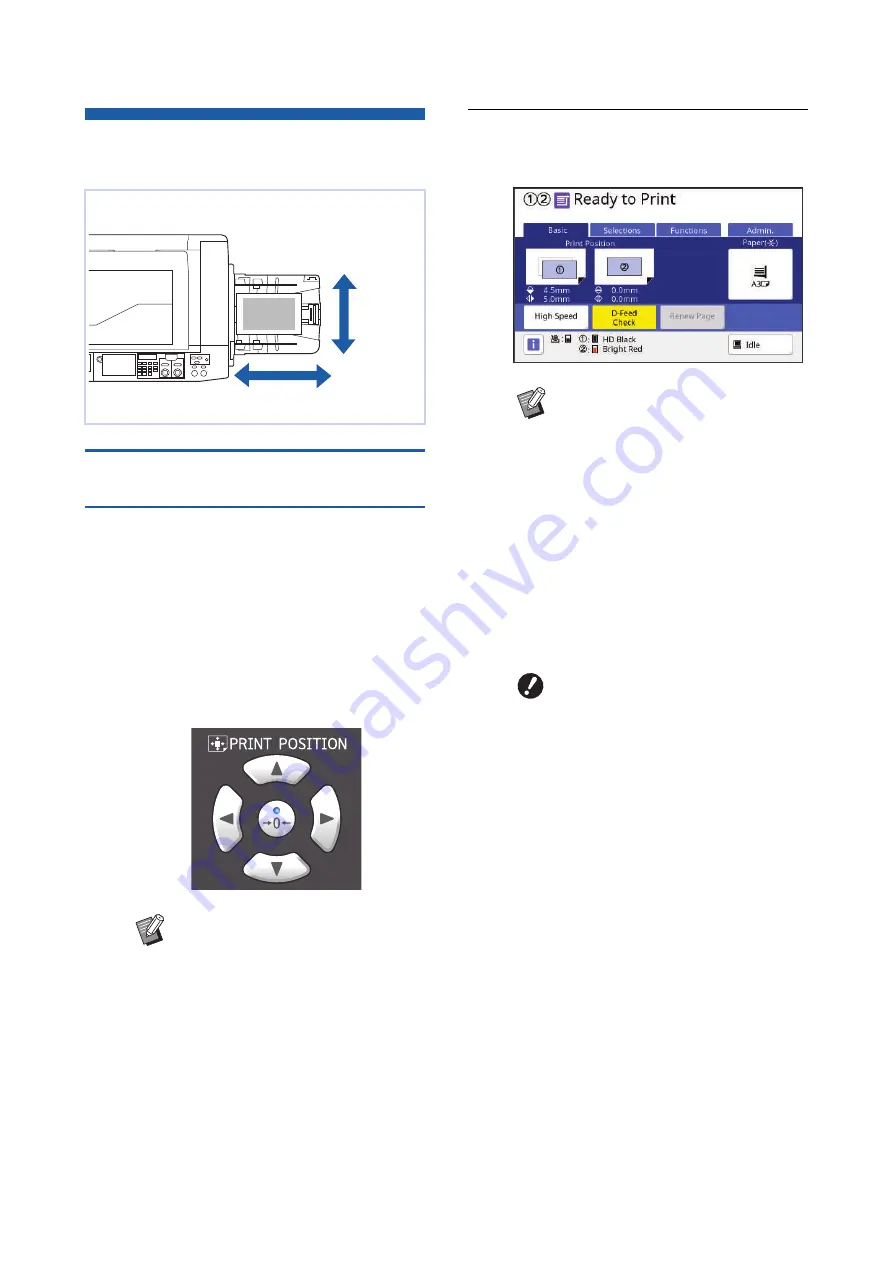
Adjusting the Print Position
[PRINT POSITION]
Print position adjustment for each
print drum (cylinder)
You can adjust the print position using the [PRINT
POSITION] keys on the control panel.
It is possible to adjust the print position not only before
but also during the printing process.
1
Press the [PRINT POSITION] keys
([
M
], [
V
], [
O
], and [
N
]) for the
print drum (cylinder) that you want
to adjust.
Each press of the key moves the printed image
by 0.5 mm (1/64 inches).
2
Check the shifted length.
The length that the printed image has been
shifted is displayed on the touch panel screen.
You can adjust the print position.
B
Press the [
P
] key to return the
printed image to the standard posi-
tion.
B
To return the printed image to the
standard position during the printing
process, press and hold the [
P
]
key.
B
When [Fine Adjust Mode] in the
[Functions] tab screen is turned on,
you can adjust the print position by
approximately 0.1 mm (1/254
inches). If [Fine Adjust Mode] is not
displayed, consult your dealer or
authorized service representative.
Vertical
direction
Horizontal direction
B
The shifted length that is displayed
on the screen is a reference value.
After the adjustment, press the
[PROOF] key to check the printed
paper.
B
Immediately after the print position
is adjusted for only one of the print
drums (cylinders), the afterimage of
the previous print position may
remain along the print path. This
afterimage may cause a fluctuation
in the printing. In this case, print
several sheets of the proof copy
until the afterimage disappears.
B
If the following operations are
performed, the print position is
returned to the standard position.
C
Press the [RESET] key.
C
Turn off the power.
Содержание MH 9350
Страница 21: ...Chapter 1 19 1 About This Machine ...
Страница 31: ...29 2 Chapter 2 Basic Operations ...
Страница 53: ...51 3 Chapter 3 Functions for Master Making ...
Страница 97: ...95 4 Chapter 4 Functions for Printing ...
Страница 109: ...107 5 Chapter 5 Useful Functions ...
Страница 130: ...Chapter 5 Useful Functions 128 ...
Страница 131: ...129 6 Chapter 6 Functions for Scanning ...
Страница 137: ...135 7 Chapter 7 Setting the Operation Conditions ...
Страница 159: ...157 8 Chapter 8 RISO Console ...
Страница 165: ...163 9 Chapter 9 Replacing Consumables ...
Страница 177: ...175 10 Chapter 10 Maintenance ...
Страница 181: ...179 11 Chapter 11 Troubleshooting ...
Страница 205: ...203 12 Chapter 12 Appendix ...
Страница 215: ...Chapter 12 Appendix 213 12 V View edit 48 W WAKE UP key 23 Z Zoom 71 ...


