Chapter 5 Useful Functions
126
Sending E-Mails of the Operation
History [Service Info. Mail]
Presetting
1
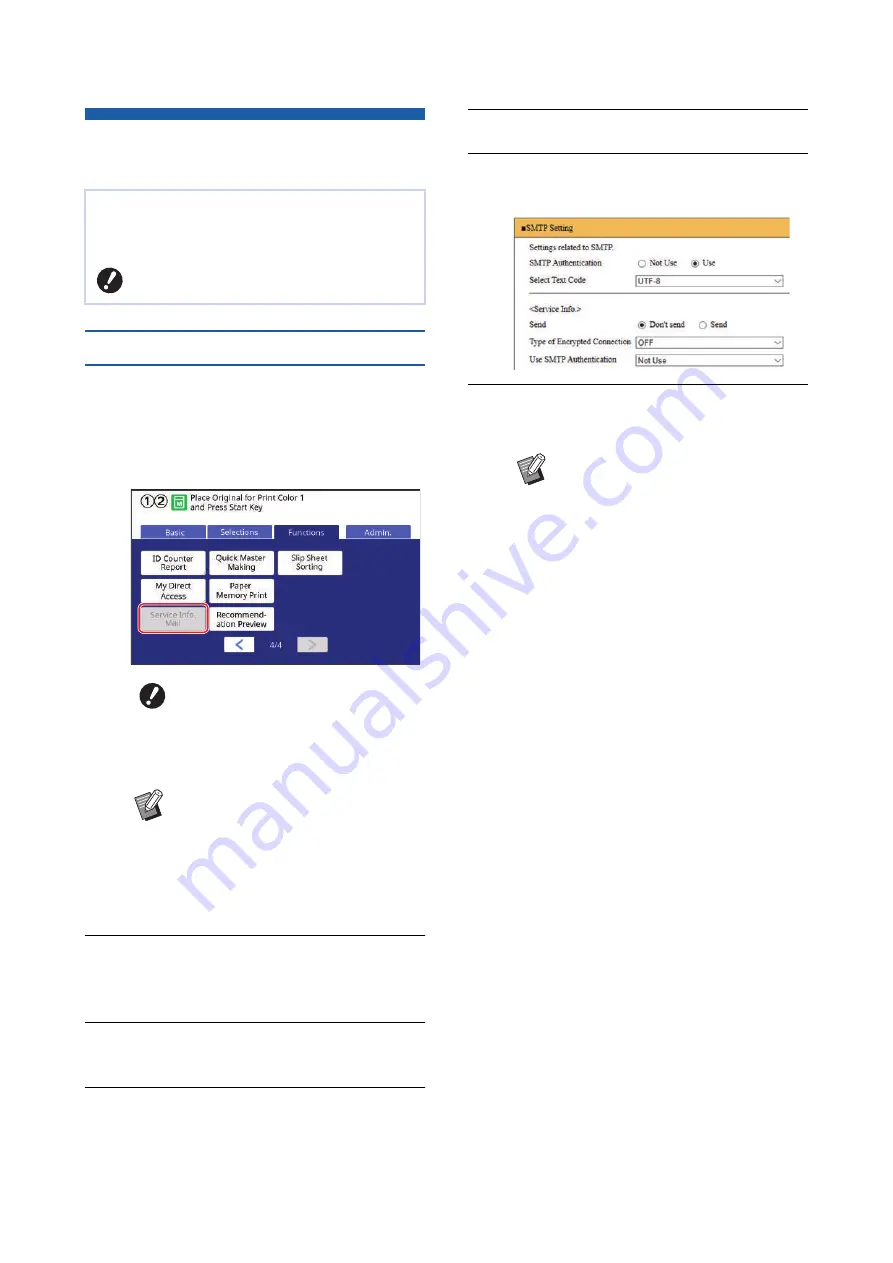
Check that [Service Info. Mail] is
displayed in the [Functions] tab
screen of this machine.
[Service Info. Mail] is grayed out as the required
settings have not yet been completed.
2
Access the RISO Console from the
computer.
3
Log in to the RISO Console.
4
Click [Network].
5
Click [SMTP Setting].
6
Set [Use] for [SMTP Authentica-
tion].
7
Perform the required settings for
[Service Info.].
■
[Send]
Select [Send].
■
[Type of Encrypted Connection]
Select either option as necessary.
■
[Use SMTP Authentication]
Select either option as necessary.
■
[User name]
When you have selected the [Use] option for
[Use SMTP Authentication], enter the user
name for SMTP authentication.
■
[Password]
When you have selected the [Use] option for
[Use SMTP Authentication], enter the pass-
word for SMTP authentication.
■
[SMTP Server Name]
Enter the SMTP server name.
■
[Sender Address]
Enter an e-mail address of a person, such as a
person in charge of managing this machine.
■
[Receiver Address]
You can specify any e-mail destination.
■
[Port No.]
Enter the port number of the SMTP server.
■
[Subject]
Enter a subject for the e-mail as necessary.
You can send the operation history data that is
stored in this machine to e-mail addresses that
have been specified in advance.
B
This machine must be connected to the
computer via a network.
B
If [Service Info. Mail] is not dis-
played, special settings are
required. For more information,
consult your dealer or authorized
service representative.
B
When [Service Info. Mail] is not
grayed out and the [Service Info.
Mail] button is available, the
required settings have been com-
pleted. In this case, you do not have
to perform the procedure of “Preset-
ting”.
B
For the SMTP server settings,
please contact your network admin-
istrator.
Содержание MH 9350
Страница 21: ...Chapter 1 19 1 About This Machine ...
Страница 31: ...29 2 Chapter 2 Basic Operations ...
Страница 53: ...51 3 Chapter 3 Functions for Master Making ...
Страница 97: ...95 4 Chapter 4 Functions for Printing ...
Страница 109: ...107 5 Chapter 5 Useful Functions ...
Страница 130: ...Chapter 5 Useful Functions 128 ...
Страница 131: ...129 6 Chapter 6 Functions for Scanning ...
Страница 137: ...135 7 Chapter 7 Setting the Operation Conditions ...
Страница 159: ...157 8 Chapter 8 RISO Console ...
Страница 165: ...163 9 Chapter 9 Replacing Consumables ...
Страница 177: ...175 10 Chapter 10 Maintenance ...
Страница 181: ...179 11 Chapter 11 Troubleshooting ...
Страница 205: ...203 12 Chapter 12 Appendix ...
Страница 215: ...Chapter 12 Appendix 213 12 V View edit 48 W WAKE UP key 23 Z Zoom 71 ...


