Chapter 9 Replacing Consumables
171
9
4
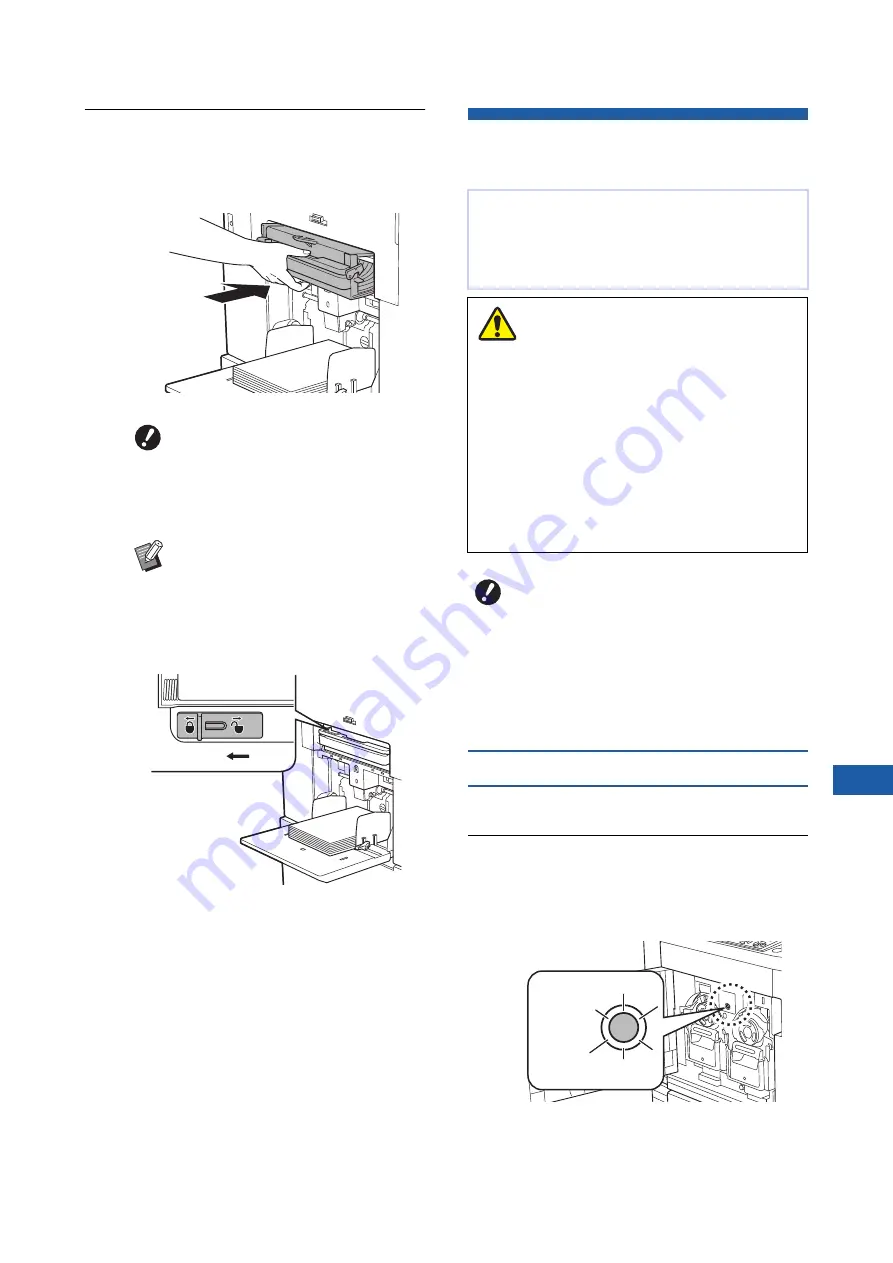
Set the master disposal box in
place.
Insert the master disposal box as far as it will
go.
Replacing the Print Drum (Cylin-
der)
Removing the print drum (cylinder)
1
Open the front door.
2
Check that the [Print Drum (Cylin-
der) Release Button] lamp is lit.
If the lamp is off, press [Print Drum (Cylinder)
Release Button] to light it up.
B
Dispose of the used masters
according to the disposal regula-
tions of your local community.
(
B
Normally, you can use this machine
while the master disposal box is
unlocked. Slide the lock lever to the
left to lock the master disposal box
as necessary. You can also attach
the padlock (
Lock
If you want to print in a different color, replace the
print drum (cylinder).
When you want to remove jammed paper inside this
machine, you can also remove the print drum (cylin-
der).
• Ink may be left on the area around the print drum
(cylinder) or the inside of this machine after the
print drum (cylinder) unit has been removed.
Take care not to smudge your hands or clothes
with the ink. Wash immediately with soap if you
get ink on your hands, etc.
• When you put your hands inside the main unit,
take care not to touch any protrusions or edges
of the metal plate. It may result in injury.
• Do not stand the print drum (cylinder) vertically.
Doing so may stain the floor, etc.
B
Use the dedicated print drum (cylinder)
for this machine.
(
B
Keep the power on while removing or
replacing the print drum (cylinder).
B
Store the replaced print drum (cylinder)
horizontally in the print drum (cylinder)
case.
Caution
Print Cylinder
Release Button
Содержание MH 9350
Страница 21: ...Chapter 1 19 1 About This Machine ...
Страница 31: ...29 2 Chapter 2 Basic Operations ...
Страница 53: ...51 3 Chapter 3 Functions for Master Making ...
Страница 97: ...95 4 Chapter 4 Functions for Printing ...
Страница 109: ...107 5 Chapter 5 Useful Functions ...
Страница 130: ...Chapter 5 Useful Functions 128 ...
Страница 131: ...129 6 Chapter 6 Functions for Scanning ...
Страница 137: ...135 7 Chapter 7 Setting the Operation Conditions ...
Страница 159: ...157 8 Chapter 8 RISO Console ...
Страница 165: ...163 9 Chapter 9 Replacing Consumables ...
Страница 177: ...175 10 Chapter 10 Maintenance ...
Страница 181: ...179 11 Chapter 11 Troubleshooting ...
Страница 205: ...203 12 Chapter 12 Appendix ...
Страница 215: ...Chapter 12 Appendix 213 12 V View edit 48 W WAKE UP key 23 Z Zoom 71 ...


