


4.
If you need to change the print settings, press [To Printing Screen].
To register new printing conditions or numbers of copies, press [Save Print Settings].
5.
Press [Connect Print].
The key is highlighted and the two machines are connected.
6.
Enter the number of sets with the number keys.
The maximum copy quantity that can be set is 9999.
7.
Press the [Start] key.
To stop the printing, press the [Clear/Stop] key on the main machine, and then follow the instructions
on the display.
• Some documents may not be displayed, depending on the security function settings.
• To change the printing order, press the highlighted documents to cancel your selection. Select
documents again in the desired order.
• You can also cancel all your selections by pressing the [Clear Modes] key.
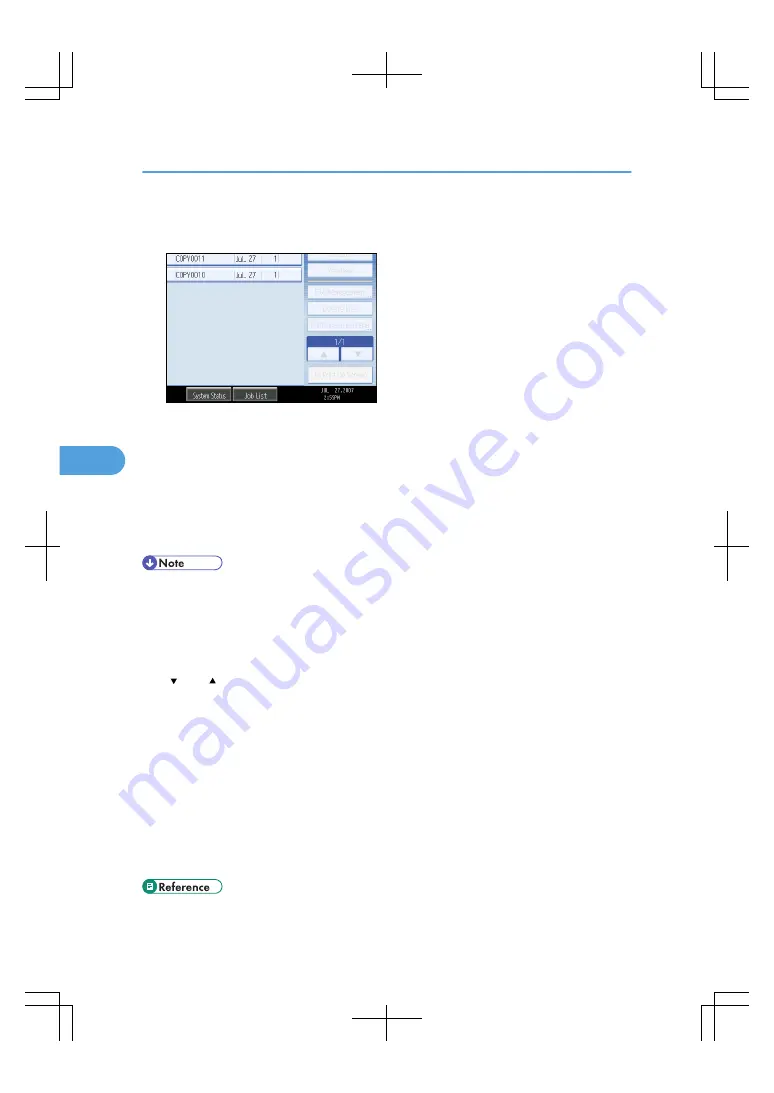
• If you are selecting two or more files, you can check the file names and printing order by pressing
[ ] and [ ] to scroll through the list.
• Press [Select File] to return to the Select Files to Print display.
• To change the value you entered, press the [Clear/Stop] key and then enter a new value.
• When using the Sort function, you can check the print results by making a sample copy on the main
machine. See “Sample Print”.
• Sample prints can only be made on the main machine.
• The main machine begins printing using data stored in the Document Server. Printing on the sub-
machine starts after the data is transferred from the main machine.
• The number of print sets might differ on the main and sub machines.
• Both machines may not finish printing at the same time.
5. Connect Copy
212
5
Содержание LD260c
Страница 10: ...BAT174S Background Density Adjusts the background density of an image See p 120 Background Density BAT175S 8...
Страница 22: ...User Tools Menu Copier Document Server Features 262 INDEX 269 20...
Страница 33: ...BAT021S 1 Press Special Original 2 Select the original orientation and then press OK Placing Originals 31 1...
Страница 42: ...1 Placing Originals 40 1...
Страница 110: ...2 Basic Copying 108 2...
Страница 128: ...3 Color Copying 126 3...
Страница 163: ...2 Select the stamp position and then press OK Stamps 161 4...
Страница 221: ...2 Sub machine Connect Copy Job Flow 219 5...
Страница 222: ...5 Connect Copy 220 5...
Страница 246: ...6 Document Server 244 6...
Страница 248: ...BAT196S 7 Appendix 246 7...