Digital Video Recorder
11
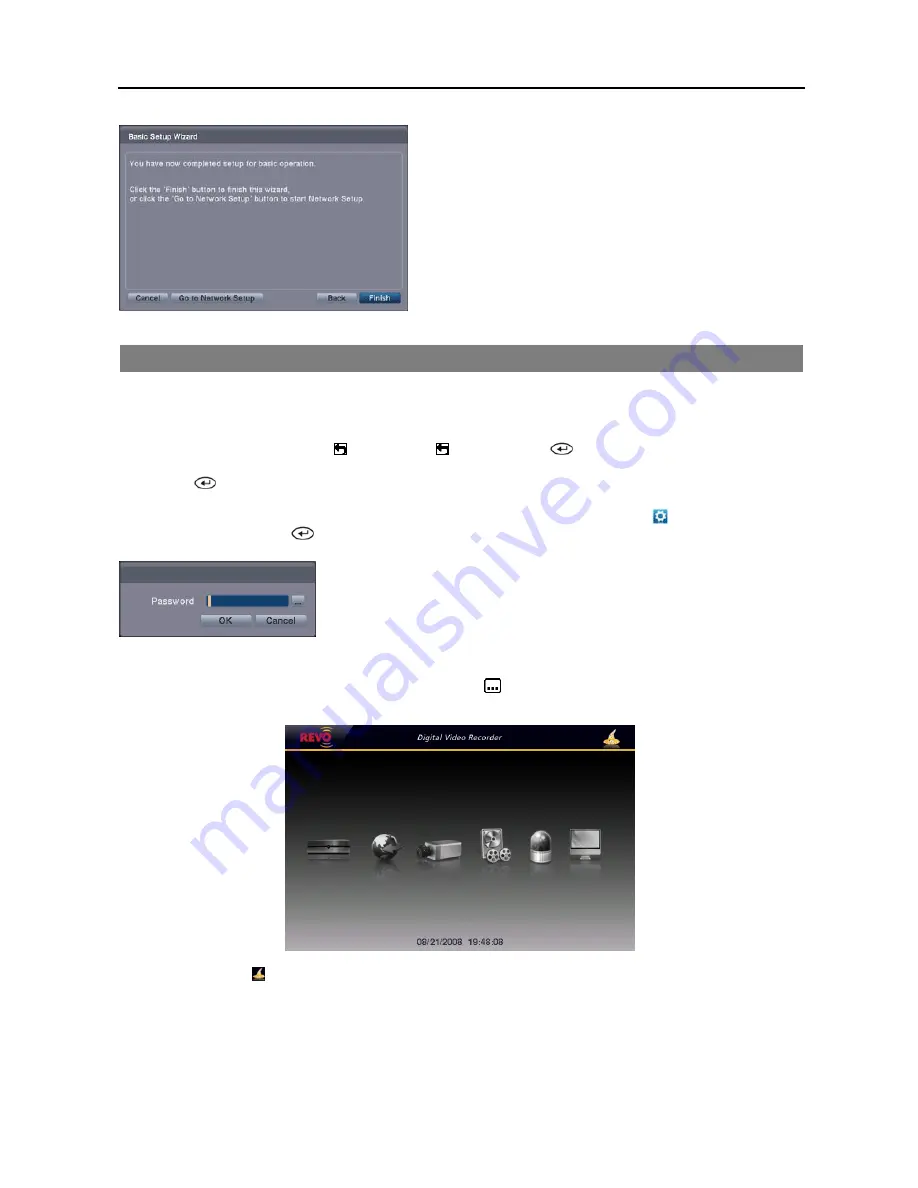
Select the
Finish
button to finish the Basic Setup Wizard.
NOTE: Selecting the
Go to Network Setup
button moves to the
Network Setup directly after finishing this wizard.
MAIN SETUP
The Main Setup screen gives you to access to all the DVR’s setup screens. Your DVR can be set up using various screens
and dialog boxes.
Throughout the screens you will see . Selecting the and pressing the
button on the remote control gives you
the opportunity to reset that screen to its default settings. You can save your changes by selecting the
Save
button and
pressing the
button. Selecting the
Cancel
button exits the screen without saving the changes.
To enter the Main Setup screen, press the
MENU
button on the remote control. Select the (
Setup
) icon at the top
of the screen by pressing the
button. The password screen appears.
Enter the password by pressing the appropriate combination of Camera number
buttons on the remote control and select the OK button. The following Main Setup
screen appears. There is no default password when logging in for the first time.
NOTE: Setting up a password is strongly recommended to ensure secure management of the system.
NOTE: To enter a password by using the mouse, click the
button, and a virtual keyboard displays. See
instructions above for using the virtual keyboard.
NOTE: Selecting the icon in the top-right corner allows you to access the Basic Setup wizard.
NOTE: When the installed hard disk drive is not formatted, a message box appears asking you to format the
hard disk drive. If you want to record video, you must format the hard disk drive.
Содержание R4-8-16DVR2
Страница 1: ......
Страница 2: ......
Страница 3: ......
Страница 4: ......
Страница 8: ...User s Manual iv...
Страница 53: ......
Страница 54: ......
Страница 56: ...User s Manual ii...
Страница 58: ...User s Manual 2...
Страница 63: ...Netcon Remote Administration System 7 14 Click Finish to complete the MSXML installation...
Страница 64: ...User s Manual 8...
Страница 86: ...User s Manual 30...
Страница 96: ...User s Manual 40...


