Configuring the Routing Table
Quantum Spark 1500, 1600 and 1800 Appliance Series R80.20.40 Locally Managed Administration Guide | 92
Configuring the Routing Table
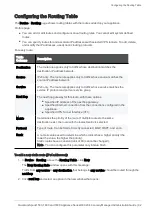
The
Device
>
Routing
page shows routing tables with the routes added on your appliance.
On this page:
n
You can add or edit routes and configure manual routing rules. You cannot edit system defined
routes.
n
You can specify routes for and associate IP addresses with selected VPN tunnels. To add, delete,
and modify the IP addresses, use dynamic routing protocols.
For every route:
Table
Columns
Description
Destination
The route rule applies only to traffic whose destination matches the
destination IP address/network.
Source
IPv4 only. The route rule applies only to traffic whose source matches the
source IP address/network.
Service
IPv4 only. The route rule applies only to traffic whose service matches the
service IP protocol and ports or service group.
Next Hop
The next hop gateway for this route, with these options:
n
Specified IP address of the next hop gateway.
n
Specified Internet connection from the connections configured in the
appliance.
n
Specified VPN Tunnel Interface (VTI).
Metric
Determines the priority of the route. If multiple routes to the same
destination exist, the route with the lowest metric is selected.
Protocol
Type of route. Can be Static, Directly connected, BGP, OSPF, and so on.
Rank
A numeric value used to determine which protocol has a higher priority (the
lower the value, the higher the priority).
Static routes have a constant rank of 60 (cannot be changed).
Note - You can configure this parameter only in Gaia Clish.
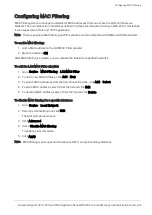
To add a new static route (IPv4 addresses):
1. In
Device
>
Routing
, above the
Routing Table
, click
New
.
The
New Routing Rule
window opens with this message:
Traffic from
any source
to
any destination
that belongs to
any service
should be routed through the
next hop
.
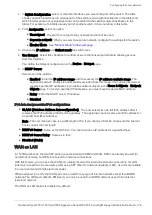
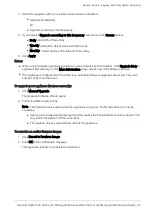
2. Click
next hop
and select an option in the new window that opens:

