


E-67
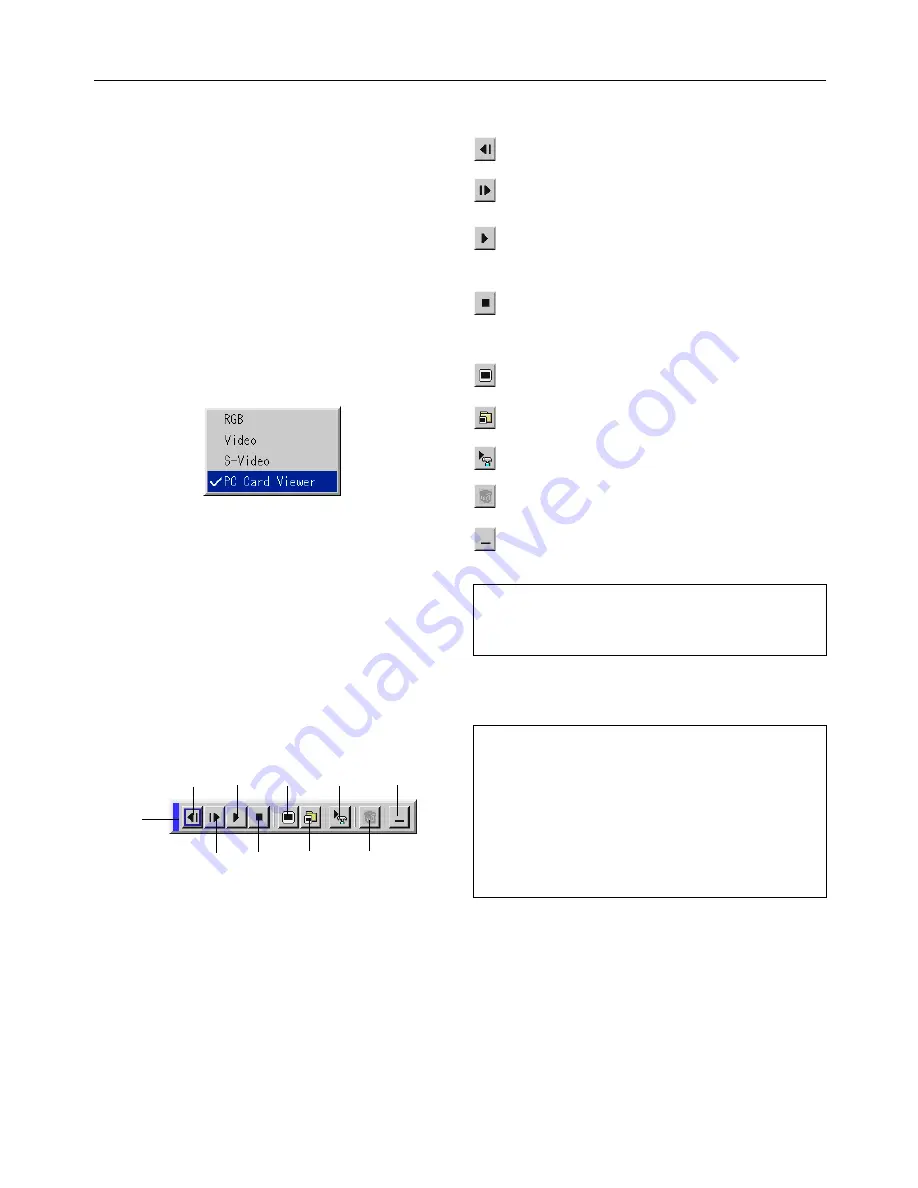
Drag
Prev
Next
Play
Setup
Jump
Delete
Select
A tool bar will appear when you press the MENU button on the
remote control or the projector cabinet or clicking with the right
button of a mouse.
Operating the PC Card Viewer Function from
the Projector (playback)
This section describes the operation for showing slides of pre-
sentation documents created using the PC Card Viewer func-
tion with the projector.
It is also possible to make slides directly from the images pro-
jected with the projector.
Projecting slides
1. Insert a CompactFlash card into the card slot.
Insert the CompactFlash card with the side with the inser-
tion direction arrow on the top.
* Press the eject button to eject the card.
2. Select the “PC Card Viewer” from the Source Select menu.
3. Project slides.
Checking “
Show Folder List
”, means that selecting PC Card
Viewer input displays a list of the folders in the CompactFlash
card and if “
Auto Play
” is checked the projector automatically
starts to play slides at the first slide of the folder you have
selected.
The tool bar includes the following buttons:
Drag:
Drags to move the tool bar. This is available
for USB mouse operation only.
Prev:
Returns to the previous slide or folder. Or this
lets you play slides back in reverse.
Next:
Advances to the next slide or folder. Or this
lets you play slides back.
Play:
Plays back automatically or manually depend-
ing on the setting on PC Card Viewer Options
of the menu. This allows you to move on to the
next slide when “Manual Play” is selected.
Stop:
This allows you to stop Auto Play while you
are playing back and to resume playing from
the selected slide or folder when “Auto Play” is
selected.
Jump:
Displays a list of slides while you are playing
back.
Select:
Displays a list of folders while you are playing
back.
Setup:
Displays the PC Card Viewer Options dialog
box on Page 2 of the Setup dialog box.
Delete:
Deletes a captured slide(s) or all the captured
slides in the Capture – specific folder.
View:
Hides the tool bar while you are playing back.
Pressing the MENU button or clicking with the
right button of a mouse shows it again.
Note:
If no memory card is inserted in the PC CARD slot, there is no
signal, and a black, blue or logo background is displayed, depend-
ing on the setting.
Playback is stopped when SLIDE +/- button on the remote
control or
button on the cabinet is pressed in Auto Play
mode.
Note:
Up to 12 indexes can be displayed on the list of folders. The folder
in the right bottom is always a folder exclusively for captured im-
ages, but is only displayed when images have been captured. To
display the list of folders when there are 13 or more indexes stored
on the CompactFlash card, select "Edit index" from the PC Card
Viewer software's "File" menu and move the index you want to
display to within 12 indexes from the top of the folder index. For
details on indexes, refer to the PC Card Viewer software's help
folder.
Stop
View
Using the PC Card Viewer function


