87
■
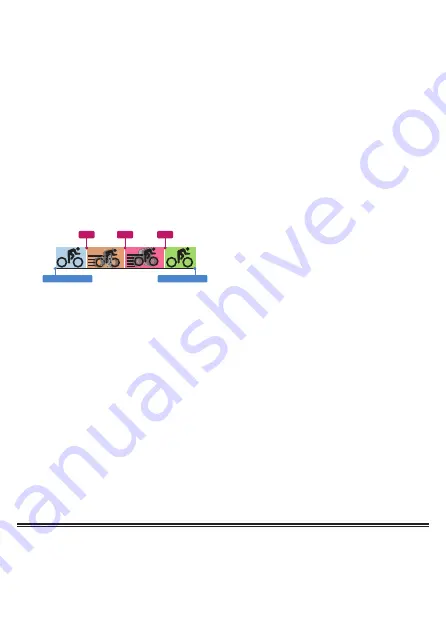
Laps
Training to ride at an average speed and training to gain explosive sprint power
work on different areas and thus require different training methods.
Even within one training menu, there is a separator for every time spent, for exam-
ple, warming up, riding focusing on cadence, riding focusing on pedaling, and
cooling down, and these separators are called "laps."
Furthermore, the segment between one separator and another is called an
"interval."
A lap is used for the separator between training, and for the separator of intervals
within training.
A lap is the end point of the previous interval, as well as the start point of the next
interval.
Accurate analysis of each interval segment can be performed later by correctly
separating the collected data by lap.
Training Start
Training Stop
Warm Up
Cool Down
Cadence focus
Pedaling focus
Lap1
Lap2
Lap3
If not separated by lap...
Data that has been averaged overall is collected so analysis cannot be performed
properly later.
It is difficult to know during training from where the ride method needs to be
changed.
■
Laying out an Appropriate Display for a Lap
The device allows you to select which numerical values to show on the display.
This enables arbitrarily setting the value you wish to monitor the most during that
training, as well as the other values you think are important.
For details, refer to "
."
■
Auto Lap Function
The Auto Lap function operates only during logging. It does not operate when log-
ging is stopped, during auto pause, and while a training menu is in progress.
Using Training Assistance
A training menu created using the training assistance of the Cyclo-Sphere Analysis
App (for iPhone) can be imported into the device.
Содержание SGX-CA600
Страница 6: ...6 Introduction Checking Accessories This product contains the following parts Main unit Bracket ...
Страница 25: ...25 ...
Страница 128: ...128 4 Use the buttons to select Threshold Training and then press the Confirm button ...
Страница 141: ...141 4 Use the buttons to select Power Alert and then press the Confirm button Setting item Description ...
Страница 147: ...147 4 Use the buttons to select Intensity Alert and then press the Confirm button Setting item Description ...
Страница 174: ...174 5 Use the buttons to select Delete and then press the Confirm button 6 Press the Confirm button ...
Страница 183: ...183 4 Use the buttons to select the log data you wish to display and then press the Confirm button ...
Страница 287: ...287 4Number of data fields 6 5Number of data fields 7 6Number of data fields 8 7Number of data fields 9 ...
Страница 305: ...305 Training Drawing mode Display type Training Timer 5 min 10 min 20 min 60 min TSS Drawing mode Display type ...
Страница 306: ...306 MMP Drawing mode Display type Intensity Drawing mode Display type ...
Страница 307: ...307 Level Drawing mode Display type Balance Drawing mode Display type ...
Страница 310: ...310 Partner Drawing mode Display type Partner Partner 1 Partner 2 Partner 3 Cue sheet Drawing mode Display type ...
Страница 315: ...315 3 Use the buttons to select System and then press the Confirm button ...
Страница 326: ...326 3 Use the buttons to select Bluetooth Setting and then press the Confirm button ...


