334
4
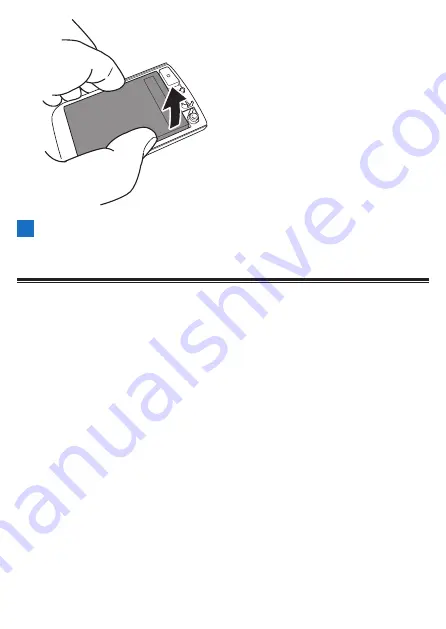
Remove the lithium-ion battery from the back cover.
Dispose of the device with the battery removed in accordance with the
rules and regulations of the local government where you live.
Warranty and After-Sales Service
Warranty card
Check that the date of purchase, store name, and other information have been
filled in on the warranty card when you receive it from the store at the time of
purchase.
The warranty will be invalid even during the warranty period if any information has
not been filled in on the warranty card or if you lose the warranty card.
Carefully read the details of the warranty card and then store it in a safe place.
Warranty period
The warranty period of this product is one year from the date of purchase.
About repairs during the warranty period
In the event that a failure occurs, Pioneer will repair the product in accordance with
the Pioneer warranty provisions described on the warranty card.
Consult with the store where you purchased the product.
If making a request to the store is difficult, consult with a repair center.
About repairs after the warranty period expires
Consult with the store where you purchased the product. If making a request to the
store is difficult, consult with a repair center.
A product that will be able to be used if repaired will be repaired for a fee upon
request.
Minimum retention period of performance parts for repair
Содержание SGX-CA600
Страница 6: ...6 Introduction Checking Accessories This product contains the following parts Main unit Bracket ...
Страница 25: ...25 ...
Страница 128: ...128 4 Use the buttons to select Threshold Training and then press the Confirm button ...
Страница 141: ...141 4 Use the buttons to select Power Alert and then press the Confirm button Setting item Description ...
Страница 147: ...147 4 Use the buttons to select Intensity Alert and then press the Confirm button Setting item Description ...
Страница 174: ...174 5 Use the buttons to select Delete and then press the Confirm button 6 Press the Confirm button ...
Страница 183: ...183 4 Use the buttons to select the log data you wish to display and then press the Confirm button ...
Страница 287: ...287 4Number of data fields 6 5Number of data fields 7 6Number of data fields 8 7Number of data fields 9 ...
Страница 305: ...305 Training Drawing mode Display type Training Timer 5 min 10 min 20 min 60 min TSS Drawing mode Display type ...
Страница 306: ...306 MMP Drawing mode Display type Intensity Drawing mode Display type ...
Страница 307: ...307 Level Drawing mode Display type Balance Drawing mode Display type ...
Страница 310: ...310 Partner Drawing mode Display type Partner Partner 1 Partner 2 Partner 3 Cue sheet Drawing mode Display type ...
Страница 315: ...315 3 Use the buttons to select System and then press the Confirm button ...
Страница 326: ...326 3 Use the buttons to select Bluetooth Setting and then press the Confirm button ...


