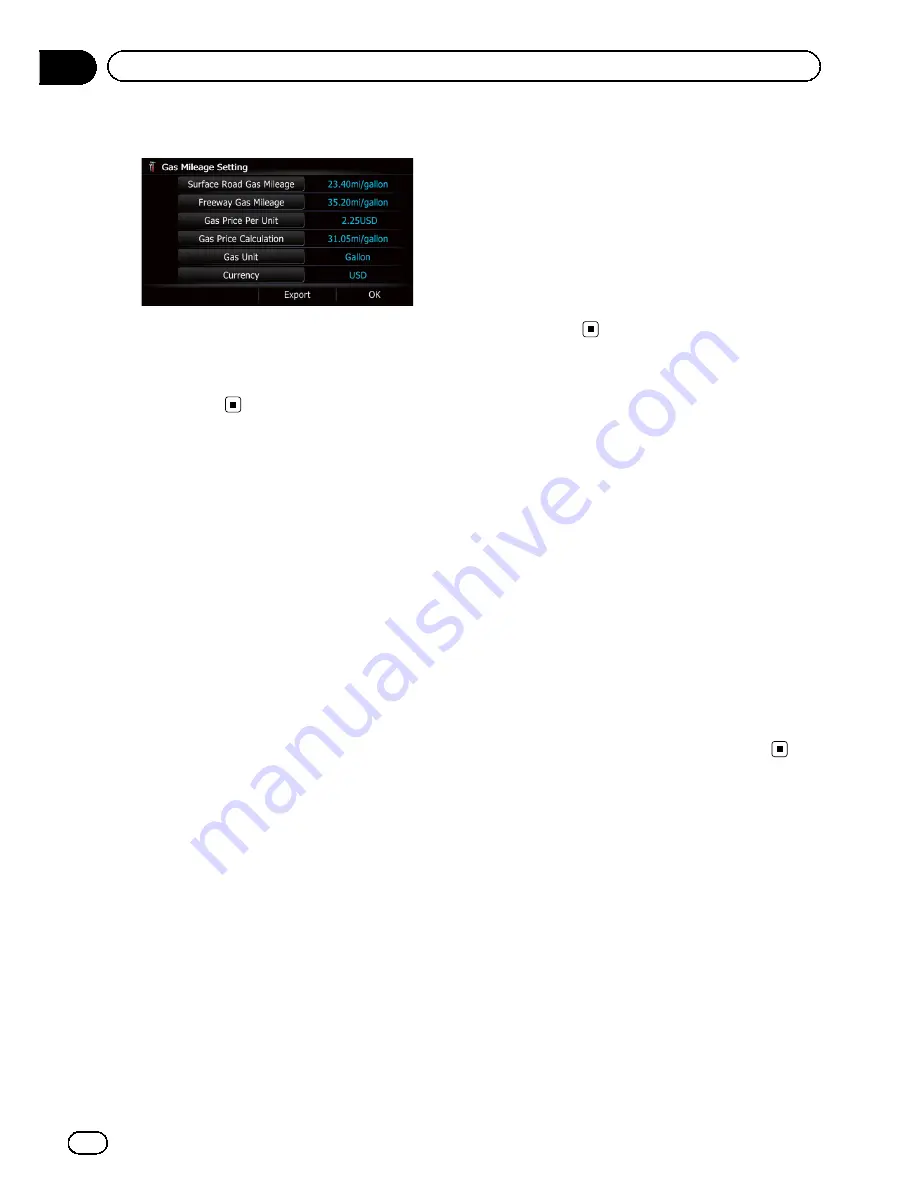
4
Touch [Export].
After a message confirming whether to export
the data appeared, exporting the data to the
SD memory card starts.
The
“
Gas Mileage Setting
”
screen appears
when it is done.
Recording your travel history
Activating the track logger enables you to re
cord your driving history (called
“
track log
”
below). You can review the travel history later.
p
If an SD memory card is inserted into the
SD card slot, the track logs will be stored in
the SD memory card.
1
Insert an SD memory card into the SD
card slot.
=
For details of the operation, refer to
Insert
ing and ejecting an SD memory card
on
page 15.
2
Display the
“
Navi Settings
”
screen.
=
For details, refer to
Displaying the
“
Navi
Settings
”
screen
on page 148.
3
Touch [Drive Log Settings].
The
“
Drive Log Settings
”
screen appears.
4
Touch [Drive Log Settings].
Each time you touch the key changes that set
ting.
!
On
:
You can export your track log to the SD
memory card.
!
Off
(default):
You cannot export your track log to the SD
memory card.
p
While the setting is
“
On
”
, the navigation
system continues to store the track logs in
the inserted SD memory card.
5
Touch [Type].
Each time you touch the key changes that set
ting.
!
Private
(default):
Changes the track log attribute to
“
Private
”
.
!
Business
:
Changes the track log attribute to
“
Busi-
ness
”
.
!
Other
:
Changes the track log attribute to
“
Other
”
.
Using the demonstration
guidance
This is a demonstration function for retail
stores. After a route is set, touching this key
starts the simulation of route guidance.
1
Display the
“
Navi Settings
”
screen.
=
For details, refer to
Displaying the
“
Navi
Settings
”
screen
on page 148.
2
Touch [Demo Mode].
Each time you touch the key changes that set
ting.
!
On
:
Repeats demo drive.
!
Off
(default):
Demo Mode
is set off.
3
Display the map screen.
The demonstration guidance will begin.
Registering your home
Registering your home position saves time
and effort. Also, routes to home positions can
be calculated easily with a single touch of the
key from the
“
Destination Menu
”
. The regis
tered home position can also be modified
later.
1
Display the
“
Navi Settings
”
screen.
=
For details, refer to
Displaying the
“
Navi
Settings
”
screen
on page 148.
2
Touch [Set Home].
The
“
Set Home
”
screen appears.
En
152
Chapter
31
Customizing preferences
Содержание AVIC-X920BT
Страница 21: ...En 21 Chapter 02 Basic operation Basic operation ...
Страница 22: ...Screen switching overview 2 5 6 1 1 3 4 En 22 Chapter 03 How to use the navigation menu screens ...
Страница 253: ...Section ln_s_ta_I_la_ti_o_n GI Adjusting the microphone angle The microphone angle can be adjusted m J to iii r En ill ...
Страница 287: ......


