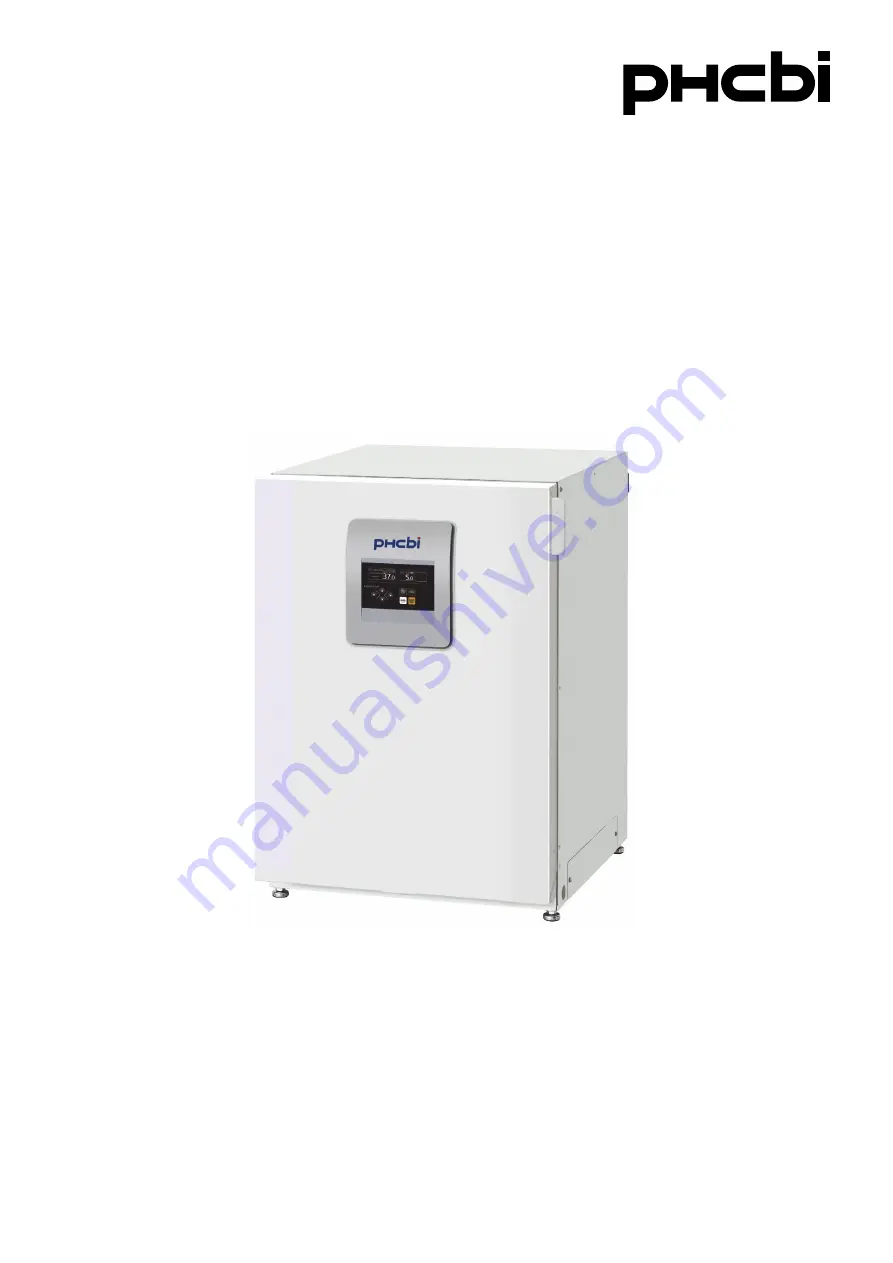
MCO-170AC
Please read the operating instructions carefully before using this product, and keep the operating
instructions for future use.
See page 78 for model number.
Operating Instructions
CO
2
Incubator
Страница 1: ...CO 170AC Please read the operating instructions carefully before using this product and keep the operating instructions for future use See page 78 for model number Operating Instructions CO2 Incubator...
Страница 2: ...Removing inner attachments 21 Installing inner attachments 23 Filling the humidifying pan 24 FOR OPTIMAL CULTIVATION Precautions for cultures 25 Preventing contamination 26 CORRECT OPERATION 27 HOME...
Страница 3: ...Setting UV lamp ON period 56 UV lamp life indication 57 Setting UV timer extension 58 Lighting the UV lamp for 24 hours 59 GAS AUTO CHANGER OPTION Connecting CO2 gas cylinders 60 Automatic CO2 gas su...
Страница 4: ...the express written permission of PHC Corporation IMPORTANT NOTICE PHC Corporation guarantees this product under certain warranty conditions However please note that PHC Corporation shall not be resp...
Страница 5: ...igns could result in injury to personnel and damage to the unit and associated property Symbols have the following meaning This symbol means caution This symbol means an action is prohibited This symb...
Страница 6: ...nts to corrode leading to leakage and or electric shock due to the deterioration of insulation resulting from corroded electrical components Do not place this unit in a location where it is difficult...
Страница 7: ...upply cord may cause fire or electric shock Never disassemble repair or modify the unit yourself A high voltage area is located inside the unit Any work carried out by an unauthorized personnel may re...
Страница 8: ...quate ventilation Using CO2 gas in a small room without adequate ventilation may cause gas poisoning or oxygen deprivation In addition when opening the incubator doors do not directly inhale the air i...
Страница 9: ...vement to prevent damage or injury Prepare a safety check sheet copy the last page when you request any repair or maintenance for the safety of service personnel Do not climb on top of the incubator o...
Страница 10: ...UV lamp without the cover Personal injury Gas Poisoning or Oxygen Deprivation Environment When using CO2 gas ensure there is adequate ventilation Using CO2 gas in a small room without adequate ventil...
Страница 11: ...tes ON for a power switch Indicates OFF for a power switch ENVIRONMENTAL CONDITIONS This equipment is designed to be safe at least under the following conditions based on the IEC 61010 1 Indoor use Al...
Страница 12: ...CO 170UVS is installed 2 Type FG 7P or FG 7PL When some inner attachments are removed Leveling eet Handle Control Panel 12 19 20 9 When 9 is removed Sample air outlet cap 17 16 15 2 14 13 Lower right...
Страница 13: ...differs depending on the environment 9 Switch cover Prevents shutting down of the unit in case of accidental pressing of the main power switch 10 Access port Place the silicon caps on both the outsid...
Страница 14: ...reen It is possible to set various setting on the menu screen On the screen other than the home screen pressing this key leads the home screen Cancel key CANCEL On the setting screen pressing this key...
Страница 15: ...ied service personnel Table 1 Behaviour of remote alarm when pressing BUZZER STOP key Remote Alarm setting Refer to pages 48 54 Connecting terminal Normal condition Abnormal condition Including in the...
Страница 16: ...ure to become too high Strong and level floor Select a site with a strong and level floor If the floor is uneven or the installation is not level the incubator will be unstable and this may cause acci...
Страница 17: ...rgent Wipe off the residual detergent with a wet cloth and then wipe off any moisture Note Remove the cable tie around the power supply cord to prevent corrosion of the cord coating 2 Set up the humid...
Страница 18: ...ersonnel Double stacking For stacking the incubators securely refer to the procedure included with the optional double stacking bracket MCO 170PS or the stacking plate MCO 170SB Note Two hooks are att...
Страница 19: ...folded If the CO2 gas is supplied to multiple CO2 incubators from a single gas cylinder a CO2 solid will be formed in the gas regulator The gas regulator safety valve will operate and there may be an...
Страница 20: ...r antiseptic solutions with acid alkali or chlorine Doing so may cause discoloration corrosion or rusting Be careful to keep the diluted detergent or water out of the temperature sensor the CO2 gas in...
Страница 21: ...he UV lamp in the duct When an optional UV system set MCO 170UVS is installed 1 Turn OFF the power to the incubator 2 Open the outer and inner doors and pull out all the trays Fig 1 3 Pull out the hum...
Страница 22: ...N 6 Loosen the screws at the rear and lift out the duct Fig 5 7 Pull out the fan Fig 6 8 Remove the silicon caps for the access port from the interior Fig 7 and exterior Fig 8 Duct Fig 5 Fig 6 Fig 7 F...
Страница 23: ...he fan cover align the long hole of duct with the projection of the fan cover and push until it clicks into place Fig 3 The same applies for the humidifying pan cover Make sure that there is no space...
Страница 24: ...umidifying pan with water promptly when the volume of water decreases Mixing any reagent into the water for humidifying may have an adverse effect on the cultivation Do not add any reagent to the wate...
Страница 25: ...en closing the outer door Not doing so may cause injury by getting fingers caught in the door Do not lean on the outer door Doing so may result in injury from the outer door coming loose or the incuba...
Страница 26: ...s or trays dirty when taking them in and out Keep the chamber clean Wipe off any fingerprints If water spills from the humidifying pan or if the doors are left open for a long time condensation may fo...
Страница 27: ...ferring to page 20 3 Add approximately 1 5 L of sterile distilled water to the humidifying pan Refer to page 24 4 Connect the removable power supply cord to the port on the lower right side Note Two r...
Страница 28: ...he current value of the internal temperature It blinks when the current value of the internal temperature exceeds the set temperature warning range CO2 gas injection indicator Highlighted while CO2 ga...
Страница 29: ...If the left right keys are displayed the contents of the message number can be switched using the left and right keys Error Alarm display Displays the currently occurring error alarm See pages 67 68...
Страница 30: ...when displaying various log data on screen or to output it to a USB memory Move the cursor to this item and press the enter key ENTER to go to the Data Log screen Key lock settings Select this when c...
Страница 31: ...temperature alarm delay 49 CO2 Alarm Setting automatic set CO2 density alarm 50 CO2 Alarm Delay Setting automatic set CO2 density alarm delay 51 Other Alarm Set screen Door Alarm Delay Setting door al...
Страница 32: ...cursor using the left right keys and select the digit you want to change and then use the up down keys to change the number 5 Press the enter key ENTER The input value will be confirmed and you will b...
Страница 33: ...ON OFF screen and the current set value ON will be displayed Fig 3 4 Use the up down keys to change the control setting value Each time the up down key is pressed the input value will change between...
Страница 34: ...the up down keys and press the enter key ENTER The right side of the display will change to the CO2 Setting screen and the current setting value 05 0 will be displayed Fig 3 4 Move the cursor using th...
Страница 35: ...en 3 Move the cursor on the Set Value screen to Overtemp Fig 2 using the up down keys and press the enter key ENTER The right side of the screen will change to the Overtemp screen and the current sett...
Страница 36: ...mp on the upper left of the screen highlighted press the enter key ENTER The display will change to the Data Select screen and the current setting value TEMP will be displayed Fig 4 5 Use the up down...
Страница 37: ...right keys to move the cursor to the digit you want to change change the numerical value using the up down keys 9 Press the enter key ENTER The data from the selected date will be displayed in a grap...
Страница 38: ...Even after the export of operation log data is complete operation log data saved in the incubator are not deleted The following messages may come up on the right side of the display USB memory is dis...
Страница 39: ...ght side of the display will change to the Date Select screen Fig 4 6 Move the cursor using the left right keys and select the digit you want to change and then use the up down keys to change the numb...
Страница 40: ...t can be changed in the settings see page 63 Example When the device is set to A00001 and data from Jan 1 2019 Oct 1 2019 is output using All YY MM DD DD MM YY The oldest date of operation log date of...
Страница 41: ...nd then use the up down keys to change the number If the entered setting value is out of the setting range the following screen will be displayed on the right side of the display Press any key on the...
Страница 42: ...ursor on the Log Setting screen to Unique File ID Fig 3 using the up down keys and press the enter key ENTER The right side of the display will change to the Unique File ID screen Fig 4 5 Move the cur...
Страница 43: ...to the Menu screen 2 Move the cursor on the Menu screen to Data Log Fig 1 using the up down keys and press the enter key ENTER The display will change to the Data Log screen 3 Move the cursor on the D...
Страница 44: ...of the display will change to the Date Select screen Fig 4 6 Move the cursor using the left right keys and select the digit you want to change and then use the up down keys to change the number 7 Pres...
Страница 45: ...me will be displayed with the device ID date and time of output and data name The date format can be changed in the settings see page 63 Example When the device is set to A00001 and data from Jan 1 20...
Страница 46: ...e cursor around to the digit to be changed on the password 6 digits use the up down keys to set the numerical value and press the enter key ENTER The Confirm Password screen will be displayed Fig 5 7...
Страница 47: ...be displayed Fig 4 6 Use the left right keys to move the cursor around to the digit to be changed on the password 6 digits use the up down keys to set the numerical value and press the enter key ENTER...
Страница 48: ...displayed Fig 4 5 Move the cursor using the left right keys and select the digit you want to change and then use the up down keys to change the number 6 Press the enter key ENTER The input value will...
Страница 49: ...ect the digit you want to change and then use the up down keys to change the number 6 Press the enter key ENTER The input value will be confirmed and you will be returned to the Temp Gas Alarm Set scr...
Страница 50: ...ue 1 0 will be displayed Fig 4 5 Move the cursor using the left right keys and select the digit you want to change and then use the up down keys to change the number 6 Press the enter key ENTER The in...
Страница 51: ...digit you want to change and then use the up down keys to change the number 6 Press the enter key ENTER The input value will be confirmed and you will be returned to the Temp Gas Alarm Set screen If...
Страница 52: ...want to change and then use the up down keys to change the number 6 Press the enter key ENTER The input value will be confirmed and you will be returned to the Other Alarm Set screen If the entered se...
Страница 53: ...n keys to change the number 6 Press the enter key ENTER The input value will be confirmed and you will be returned to the Other Alarm Set screen If the entered setting value is out of the setting rang...
Страница 54: ...keys and press the enter key ENTER The display will change to the Other Alarm Set screen 4 Move the cursor on the Other Alarm Set screen to Remote Alarm Fig 3 using the up down keys and press the ent...
Страница 55: ...it the lamp will turn OFF When the door is closed again the lamp will light for the preset period Repeated opening and closing of the outer door may adversely affect the condensation in the chamber an...
Страница 56: ...ting Time screen and the current setting value 10 will be displayed Fig 4 5 Move the cursor using the left right keys and select the digit you want to change and then use the up down keys to change th...
Страница 57: ...the UV Setting screen to UV Life Counter Fig 3 using the up down keys and press the enter key ENTER The right side of the display will change to the UV Life Counter screen and the current cumulative U...
Страница 58: ...ress the enter key ENTER The display will change to the UV Setting screen 4 Move the cursor on the UV Setting screen to Auto Extended Time Fig 3 using the up down keys and press the enter key ENTER Th...
Страница 59: ...display will change to the UV 24h Mode Start setting screen and the current setting value OFF will be displayed Fig 4 8 Use the up down keys to change the UV 24h lighting mode setting value to ON Eac...
Страница 60: ...formed in the gas regulator The gas regulator safety valve will operate and it may make an explosive sound 4 After connecting the gas tube make sure that no gas is leaking ex by using a gas leak dete...
Страница 61: ...O2 gas supply line automatic changeover Situation CO2 gas CO2 gas supply line indicator Message display field Supply line Cylinder A Cylinder B A B 1 CO2 gas is supplying from valve A A Remaining Rema...
Страница 62: ...y ENTER The input value will be confirmed and you will be returned to the Gas Supply Setting screen 7 Press the menu key MENU HOME to display the home screen The display returns to the home screen aut...
Страница 63: ...press the enter key ENTER The right side of the display will change to the Date Format screen and the current setting value DD MM YY will be displayed Fig 4 5 Use the up down keys to change the date f...
Страница 64: ...it you want to change and then use the up down keys to change the number Even when the date display format is DD MM YY the numerical values can be changed in the same way 6 Press the enter key ENTER T...
Страница 65: ...then use the up down keys to change the number 6 Press the enter key ENTER The input is confirmed and you will be returned to the Date Time screen When the entered time is out of the setting range th...
Страница 66: ...ess the enter key ENTER The right side of the display will change to the Keypad Click Set screen and the current setting value ON will be displayed Fig 4 5 Use the up down keys to change the key opera...
Страница 67: ...F Err 09 AT Sensor Open The ambient temperature sensor is disconnected Ambient temperature sensor error Err 10 AT Sensor Short The ambient temperature sensor is short circuited Err 11 CO2 Sensor Error...
Страница 68: ...nt tone after set time of alarm delay 0 min to 15 min has elapsed ON after set time of alarm delay 0 min to 15 min has elapsed Warning UV Bulb Life The accumulated ON time has reached approx 5 000h Ne...
Страница 69: ...ng Back set time passes When pressing the BUZZER STOP key When the Ring Back set time passes ON Remote alarm setting not connected with BUZZER STOP key ON ON ON Under continuation ON Continue ON Under...
Страница 70: ...k A primary pressure reading of 3 8 MPa G 38 kgf cm2 G 551 psi G or lower is a sign that there is little gas remaining Replace the cylinder soon Is the incubator operating beside an appliance that gen...
Страница 71: ...O2 control for the incubator follows the ON OFF method CO2 gas is intermittently injected as the gas density in the chamber approaches the set value Injections may be stopped for periods of approximat...
Страница 72: ...tact our sales representative or agent for further information Improper handling of biohazardous waste can result in accidental exposure to infectious agents If there is a danger of biohazard decontam...
Страница 73: ...z s megakad lyozza az emberi eg szs g s a k rnyezet k rosod s t Amennyiben a begy jt ssel s jrafelhaszn l ssal kapcsolatban tov bbi k rd se lenne k rj k rdekl dj n a helyi nkorm nyzatn l E hullad kok...
Страница 74: ...cycling gem den gesetzlichen Bestimmungen den zust ndigen Sammelpunkten zu Endnutzer sind in Deutschland gesetzlich zur R ckgabe von Altbatterien an einer geeigneten Annahmestelle verpflichtet Batteri...
Страница 75: ...med almindeligt husholdningsaffald For korrekt behandling indsamling og genbrug af gamle produkter og batterier skal du tage dem til indsamlingssteder i overensstemmelse med den nationale lovgivning...
Страница 76: ...weg te gooien helpt u mee met het besparen van kostbare hulpbronnen en voorkomt u potenti le negatieve effecten op de volksgezondheid en het milieu Voor meer informatie over inzameling en recycling ku...
Страница 77: ...connection 4 mm to 6 mm 0 157 in to 0 236 in diameter tube can be connected CO2 inlet pressure 0 03 MPa G 0 1 MPa G 0 3 kgf cm2 G 1 kgf cm2 G 4 4 psi G 14 5 psi G Weight 74 kg Accessories 1 power sup...
Страница 78: ...performance may not be obtained if the ambient temperature is not above 15 o C Noise level 29 dB A scale Power consumption Max 298 W Heat emission Max 1 050 kJ h Rated voltage frequency AC 220 V 240 V...
Страница 79: ...of the unit Unit interior No contamination Decontaminated Contaminated Others 3 Instructions for safe repair maintenance disposal of the unit a The unit is safe b There is some danger see below Proce...
Страница 80: ...ting Instructions 1 1 1 Sakada Oizumi machi Ora gun Gunma 370 0596 Japan EU countries only PHC Corporation 2018 Nijverheidsweg 120 4879 AZ Etten Leur The Netherlands Printed in Indonesia LDCL055800 0...