


08
July 27, 09 K.Okada
A.Miyoshi I.Fujioka
Refer to Revision Record on page 2.
TITLE
fi-6140/fi-6240/fi-6130/fi-6230/fi-614PR
Maintenance Manual
07
Nov.12, 08 K.Okada
T.Anzai
I.Fujioka
Refer to Revision Record on page 2.
CUST.
06
Mar.10, 08 K.Okada
T.Anzai
I.Fujioka
Refer to Revision Record on page 2.
DRAW
No.
P1PA03540-B0XX/6
Rev. DATE DESIGN CHECK APPR. DESCRIPTION
Design
July 27, 2007
K.Okada
CHECK
K.Okada
APPR.
T.Anzai
PFU LIMITED
Page
156
/
257
Section 6-1-1
Chapter 6 Adjustment/Settings
6-1 Maintenance mode
The scanner supports built-in Maintenance mode that allows service engineers to check scanner’s performance and settings. This
section gives the description of Maintenance mode.
6-1-1 Activating the Maintenance mode
(1) How to activate the Maintenance mode
Open the ADF and press the power button once while holding down the Scan/Stop button. Keep holding the Scan/Stop button
down until Screen T04 is displayed. This will put the scanner into Maintenance mode. While in Maintenance mode, the scanner
interface is off-line.
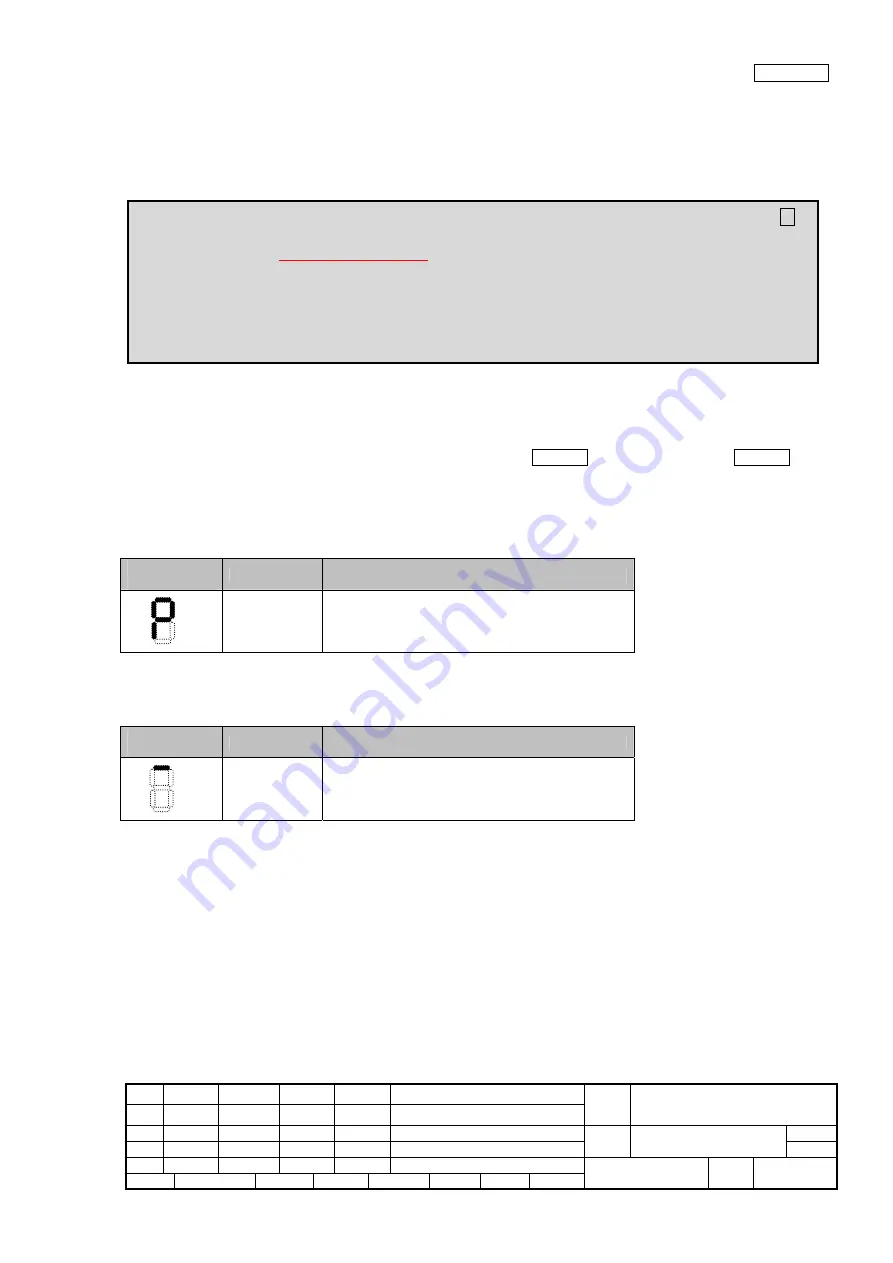
The following display appears during power up processing in Maintenance mode.
Screen T01
Function No.
Display
Power LED
Scanner status
ON
Initial processing in Maintenance mode
When Maintenance mode is activated normally after the initial processing, the following display appears.
Screen T04
Function No.
Display
Power LED
Scanner status
ON
Maintenance mode #1 selected
(2) Test/adjustment items of the Maintenance mode
The following lists test/adjustment items #1 ~ #7 that are supported by the scanner.
Mode 1: Paper transportation / Sensor / Background changeover test
Mode 2: Main scanning/Sub-scanning magnification adjustment
Mode 3: Offset adjustment
Mode 4: White level adjustment
Mode 5: Consumables counter display and reset
Mode 6: Miscellaneous information display
Mode 7: EEPROM data restore
Note on Maintenance Mode 08
If you want to perform “White level adjustment” for Flatbed with a “Black document holding pad” installed onto
the scanner, replace it with the standard “White document holding pad” before starting the adjustment.
If you cannot install the standard “White document holding pad”, pile up three white reference sheets and close the
“Black document holding pad”, and then start adjustment.
* If White level adjustment is performed with a “Black document holding pad” installed, the correct offset may
not be acquired which results in abnormal image (the image is too bright).


