74
Chapter 5 How to Operate the Arizona 250 GT
How to Power the Printer On and Off
How to Power ON
1.
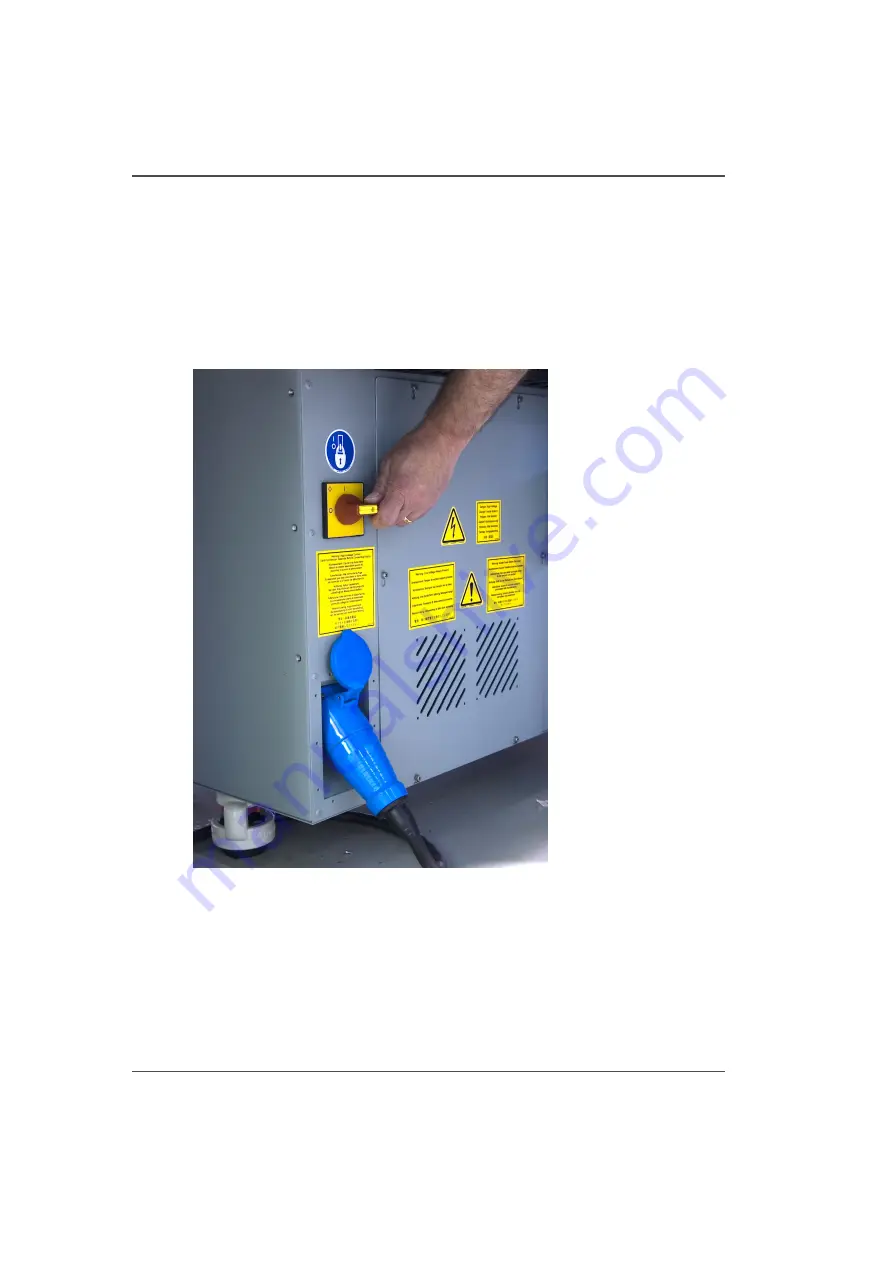
Ensure that the blue AC power plug is properly seated.
2.
Turn on the AC power On/Off switch.
3.
If it is not already on, turn on the power of the Control Station LCD display.
4.
During the boot-up procedure, the printer operating system is loaded and the User
Interface software is automatically started. The software displays a splash screen
followed by a screen that requests you to raise and then lower the carriage guard.
5.
Walk over to the carriage and lift the aluminum guard slighty and then replace. Walk
back to the control station and click on Continue to finish the boot-up procedure.
[46]
[46] AC Power Switch
6.
The splash screen will show some further initialization messages and then the initial
Job Control module screen appears. The initialization is complete when the top left
panel of the display shows "Ready". Your printer is now ready for use.
Содержание Arizona 250 GT
Страница 1: ...Arizona 250 GT Oc User manual User Manual Revision D...
Страница 6: ...6 Table of Contents...
Страница 7: ...7 Chapter 1 Introduction...
Страница 16: ...16 Chapter 1 Introduction Product Compliance...
Страница 17: ...17 Chapter 2 Product Overview...
Страница 21: ...21 Chapter 3 Safety Information...
Страница 45: ...45 Chapter 4 How to Navigate the User Interface...
Страница 47: ...47 Operator Interface Hardware Illustration 33 33 Vacuum System Hardware 34 34 Carriage Area Hardware...
Страница 51: ...51 Operator Interface Hardware Thermal fluid heater Purge pump Purge valve Printheads jetting...
Страница 70: ...70 Chapter 4 How to Navigate the User Interface Installation and Upgrade Module...
Страница 71: ...71 Chapter 5 How to Operate the Arizona 250 GT...
Страница 96: ...96 Chapter 5 How to Operate the Arizona 250 GT Underlay Board to Reduce Artifacts...
Страница 97: ...97 Chapter 6 How to Operate the Roll Media Option...
Страница 122: ...122 Chapter 6 How to Operate the Roll Media Option How to Determine Media Advance Correction...
Страница 123: ...123 Chapter 7 How to Use the Static Suppression Upgrade Kit...
Страница 127: ...127 Chapter 8 Ink System Management...
Страница 134: ...134 Chapter 8 Ink System Management How to Change Ink Bags...
Страница 135: ...135 Chapter 9 Error Handling and Troubleshooting...
Страница 139: ...139 Chapter 10 Printer Maintenance...
Страница 172: ...172 Chapter 10 Printer Maintenance How to Clean the Rubber Capstan...
Страница 173: ...173 Appendix A Application Information...
Страница 176: ...176 Appendix A Application Information Application Resources on the Web Site...


