117
How to Print on Roll Media
How to Print on Roll Media
Introduction
If media is loaded and the Roll Media unit has been initialized, the printer is ready
to print an image. Use the Print Job module and the Roll Media Manager to prepare
and start the print.
Note:
All Roll media operations that involve media movement are disabled while a
Flatebd job prints.
Before you begin
Media must be loaded and initialized as explained in the section "How to Load Roll
Media".
Prepare a Roll Media Print Job
1.
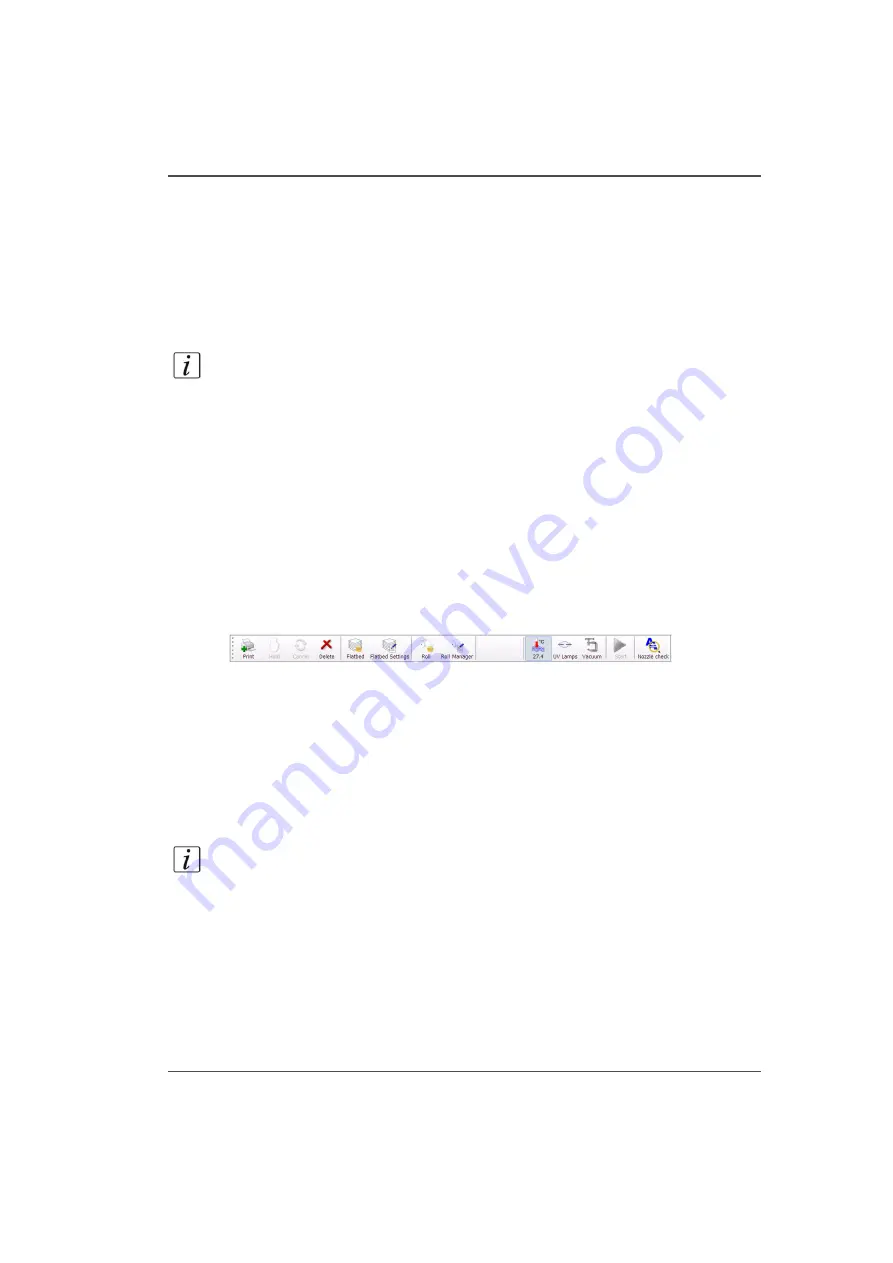
Click on the Roll icon in the menu bar of the Job Control module to disable the RMO
print queue (this allows you to check media parameters before the job actually prints
in case the job was not given a Hold status when it was generated in Onyx
ProductionHouse).
[64]
[64] Roll Icon
2.
In the Print Job Control module, transfer a print job from ProductionHouse.
3.
Click on the Roll Manager icon to enter the Roll Media Manager dialog window.
4.
Check that the media parameters displayed match the particular media you are using.
5.
You can create a new media or edit an existing one by changing the parameter values
and then saving them under a new media name. When you create a new media it
takes the current values as default and automatically creates a unique media name
based on the existing name. You can change the assigned name by selecting
characters from the virtual keyboard.
Note:
Any changed parameter in the dialog window will be applied to the next roll
media print job, even if the change was not saved. This allows temporary changes to
the parameters without the need to save that media.
Содержание Arizona 250 GT
Страница 1: ...Arizona 250 GT Oc User manual User Manual Revision D...
Страница 6: ...6 Table of Contents...
Страница 7: ...7 Chapter 1 Introduction...
Страница 16: ...16 Chapter 1 Introduction Product Compliance...
Страница 17: ...17 Chapter 2 Product Overview...
Страница 21: ...21 Chapter 3 Safety Information...
Страница 45: ...45 Chapter 4 How to Navigate the User Interface...
Страница 47: ...47 Operator Interface Hardware Illustration 33 33 Vacuum System Hardware 34 34 Carriage Area Hardware...
Страница 51: ...51 Operator Interface Hardware Thermal fluid heater Purge pump Purge valve Printheads jetting...
Страница 70: ...70 Chapter 4 How to Navigate the User Interface Installation and Upgrade Module...
Страница 71: ...71 Chapter 5 How to Operate the Arizona 250 GT...
Страница 96: ...96 Chapter 5 How to Operate the Arizona 250 GT Underlay Board to Reduce Artifacts...
Страница 97: ...97 Chapter 6 How to Operate the Roll Media Option...
Страница 122: ...122 Chapter 6 How to Operate the Roll Media Option How to Determine Media Advance Correction...
Страница 123: ...123 Chapter 7 How to Use the Static Suppression Upgrade Kit...
Страница 127: ...127 Chapter 8 Ink System Management...
Страница 134: ...134 Chapter 8 Ink System Management How to Change Ink Bags...
Страница 135: ...135 Chapter 9 Error Handling and Troubleshooting...
Страница 139: ...139 Chapter 10 Printer Maintenance...
Страница 172: ...172 Chapter 10 Printer Maintenance How to Clean the Rubber Capstan...
Страница 173: ...173 Appendix A Application Information...
Страница 176: ...176 Appendix A Application Information Application Resources on the Web Site...


