52
Chapter 4 How to Navigate the User Interface
Operator Interface Software
Operator Interface Software
Introduction
The Arizona 250 GT software interface is displayed on the LCD monitor that is part
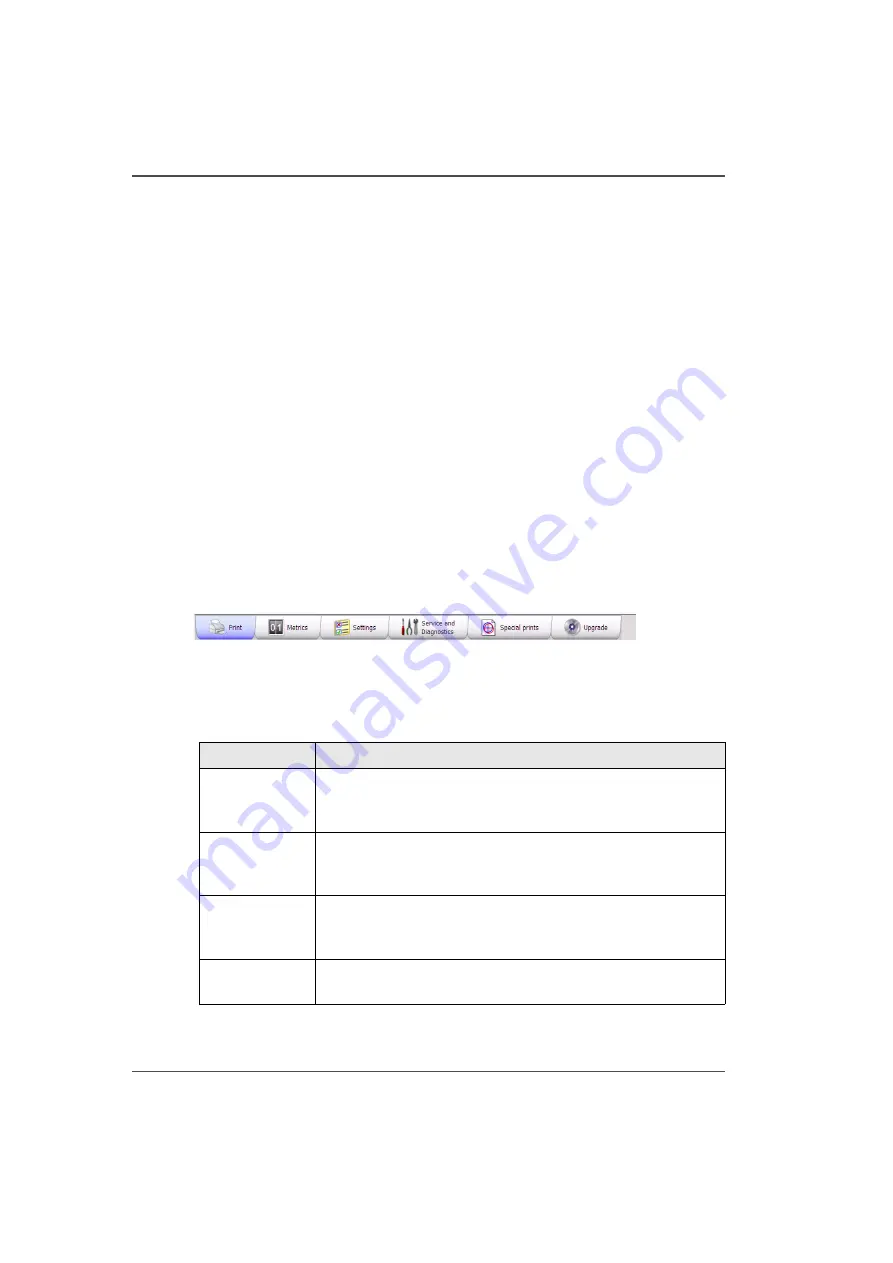
of the Operator Control Station. The interface has five main working modules that
are accessed by tabs located at the bottom of the display. Click on these tabs with the
mouse to access the modules. Print Job Control is the default module displayed when
the software interface has finished loading after the printer is switched on or reset.
The Print Job Control display is divided into functional and status areas. The
functional areas supports all operator input necessary to operate, maintain and
service the printer. The status areas are used to report printer status.
Onscreen Keyboard & Numeric Keypad
A mouse is used as the input device. For operations that require operator input, the
mouse is used to select either numeric characters from a virtual keypad or
alphanumeric charaters from a virtual keyboard. These virtual input screens are
displayed on the interface LCD monitor when data entry is required.
Illustration
[35]
[35] Interface Tabs
Operator Interface Module Tabs
[19]
[19] Interface Modules
(1 – 2)
Component
Function
Print Job
Control
(Print tab)
Provides management of all aspects of working with print jobs
and also controls some features of the printer.
Printer Metrics
(Metrics Tab)
Provides information about the amount of ink consumed, the
amount of media printed and the number of print jobs started.
Also provides counters for the UV lamp bulbs use.
Printer Settings
(Settings tab)
Displays information about, and also allows you to change
network connection settings, how units are displayed, the
language preference, and the date and time.
Service and
Diagnostics
This area is reserved for use by trained field service technicians
only.
Содержание Arizona 250 GT
Страница 1: ...Arizona 250 GT Oc User manual User Manual Revision D...
Страница 6: ...6 Table of Contents...
Страница 7: ...7 Chapter 1 Introduction...
Страница 16: ...16 Chapter 1 Introduction Product Compliance...
Страница 17: ...17 Chapter 2 Product Overview...
Страница 21: ...21 Chapter 3 Safety Information...
Страница 45: ...45 Chapter 4 How to Navigate the User Interface...
Страница 47: ...47 Operator Interface Hardware Illustration 33 33 Vacuum System Hardware 34 34 Carriage Area Hardware...
Страница 51: ...51 Operator Interface Hardware Thermal fluid heater Purge pump Purge valve Printheads jetting...
Страница 70: ...70 Chapter 4 How to Navigate the User Interface Installation and Upgrade Module...
Страница 71: ...71 Chapter 5 How to Operate the Arizona 250 GT...
Страница 96: ...96 Chapter 5 How to Operate the Arizona 250 GT Underlay Board to Reduce Artifacts...
Страница 97: ...97 Chapter 6 How to Operate the Roll Media Option...
Страница 122: ...122 Chapter 6 How to Operate the Roll Media Option How to Determine Media Advance Correction...
Страница 123: ...123 Chapter 7 How to Use the Static Suppression Upgrade Kit...
Страница 127: ...127 Chapter 8 Ink System Management...
Страница 134: ...134 Chapter 8 Ink System Management How to Change Ink Bags...
Страница 135: ...135 Chapter 9 Error Handling and Troubleshooting...
Страница 139: ...139 Chapter 10 Printer Maintenance...
Страница 172: ...172 Chapter 10 Printer Maintenance How to Clean the Rubber Capstan...
Страница 173: ...173 Appendix A Application Information...
Страница 176: ...176 Appendix A Application Information Application Resources on the Web Site...


