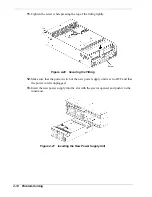
9.
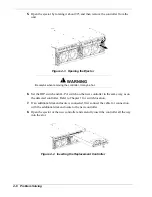
Insert the controller as far as it will go, and close the ejector.
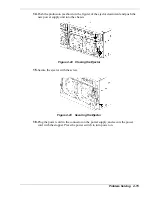
Figure 4-5 Closing the Ejector of the Replacement Controller
10.
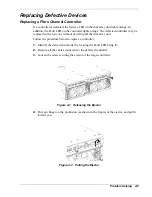
Strongly push the ejector (the part indicated by the arrow in the figure) until the
controller is inserted firmly.
Figure 4-6 Pushing the Ejector of the Replacement Controller
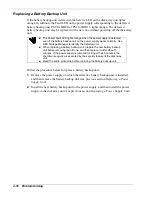
11.
Secure the ejector with the screw.
Figure 4-7 Securing the Ejector of the Replacement Controller
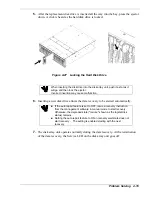
12.
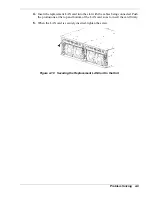
Connect the FC cables removed in step 2 as they were before.
Problem Solving 4-7
Содержание VERSA S1300 Series
Страница 1: ... U s e r s G u i d e NEC Storage S1300 ...
Страница 2: ......
Страница 4: ......
Страница 8: ...vi Contents ...
Страница 18: ...xvi Using This Guide ...
Страница 19: ...1 System Overview Overview System Chassis System Features ...
Страница 54: ...A B Figure 2 3 Installing the Rack Mounting Kit 2 6 Setting Up the System ...
Страница 73: ...3 Upgrading the System Overview Adding Hard Disk Drives Adding Disk Enclosures ...
Страница 86: ...3 14 Upgrading the System ...
Страница 107: ...A Appendix Technical Specifications Creating a Logical Disk How to Change the Topology and Data Transfer Rate ...
Страница 114: ...A 8 Appendix ...
Страница 117: ...xx ...
Страница 118: ... ...


