6.
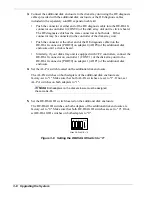
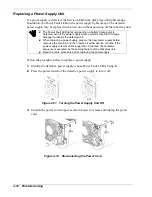
Check that the two power switches on the additional disk enclosure are set to OFF.
ON OFF
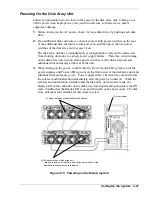
Figure 3-9 Turning the Power Supply Off
7.
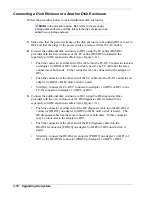
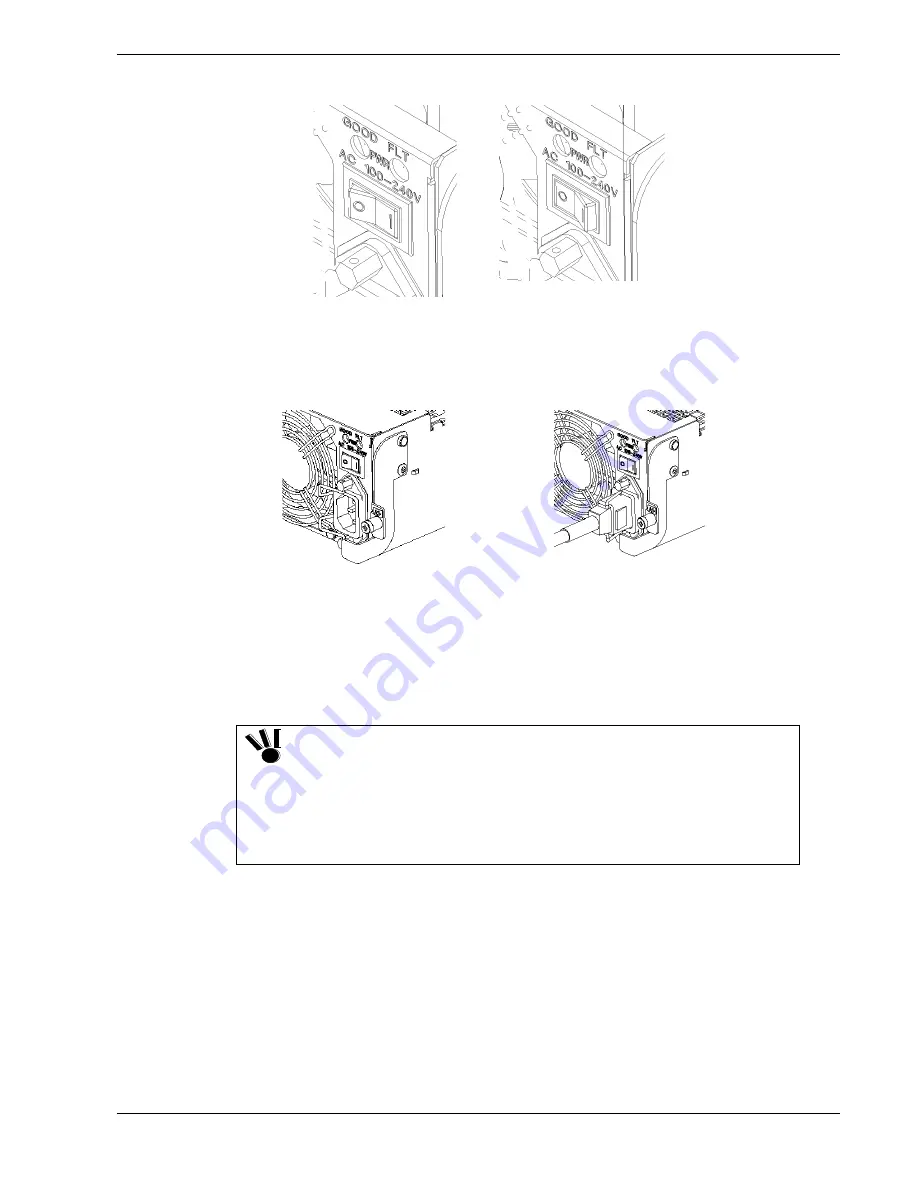
Insert the power cords provided with the additional disk enclosure into the plugs on
the power supply units, and secure them with the power cord stoppers.
Figure 3-10 Connecting the Power Cord to the Power Receptacle
8.
Insert the plugs of the power cords provided with the additional disk enclosure into
properly grounded AC outlets.
9.
Power on the additional disk enclosure by setting the power switches of the
enclosure to ON.
Be sure to install disk drives into PD0 and PD1 slots of the additional
disk enclosure.
If the disk drives in both PD0 and PD13 slots are faulty or they have
not been installed, the Service LED on the additional disk enclosure
and the Fault LED on the ADP0 side light.
If the disk drives in both PD1 and PD14 slots are faulty or they have
not been installed, the Service LED on the additional disk enclosure
and the Fault LED on the ADP1 side light.
The newly installed disk enclosure must then be configured properly using NEC
Storage Manager. For more information, contact your service representative.
Upgrading the System
3-9
Содержание VERSA S1300 Series
Страница 1: ... U s e r s G u i d e NEC Storage S1300 ...
Страница 2: ......
Страница 4: ......
Страница 8: ...vi Contents ...
Страница 18: ...xvi Using This Guide ...
Страница 19: ...1 System Overview Overview System Chassis System Features ...
Страница 54: ...A B Figure 2 3 Installing the Rack Mounting Kit 2 6 Setting Up the System ...
Страница 73: ...3 Upgrading the System Overview Adding Hard Disk Drives Adding Disk Enclosures ...
Страница 86: ...3 14 Upgrading the System ...
Страница 107: ...A Appendix Technical Specifications Creating a Logical Disk How to Change the Topology and Data Transfer Rate ...
Страница 114: ...A 8 Appendix ...
Страница 117: ...xx ...
Страница 118: ... ...


