


262
Chapter 30: Inputs
PRO6 Live Audio System
Owner’s Manual
Input channel ID (GUI only)
You can change the channel name in the GUI
strip. This can be done in the input channel
overview or in any of the processing areas.
To change the background colour of the input
channel name field (green in the example shown), open the Input Channels Sheet
screen of the GUI menu.
On the control surface, channel ID is displayed on the LCD select button (see “LCD
select button” on page 282).
>> To change the channel name in the GUI channel strip
Click within the channel name field and type in the new channel name (see “Text
editing” on page 45).
Input channel source select (GUI only)
The channel’s source is shown in the text field;
if none has been selected, it will contain the
text “Unassigned” (as shown right). You can
select the source for this channel by clicking
source, which opens the Patching screen (see Chapter 8 "Patching" on page 55).
Also, by clicking the recorder button
you can set the input source to tape returns,
for example, for a virtual soundcheck.
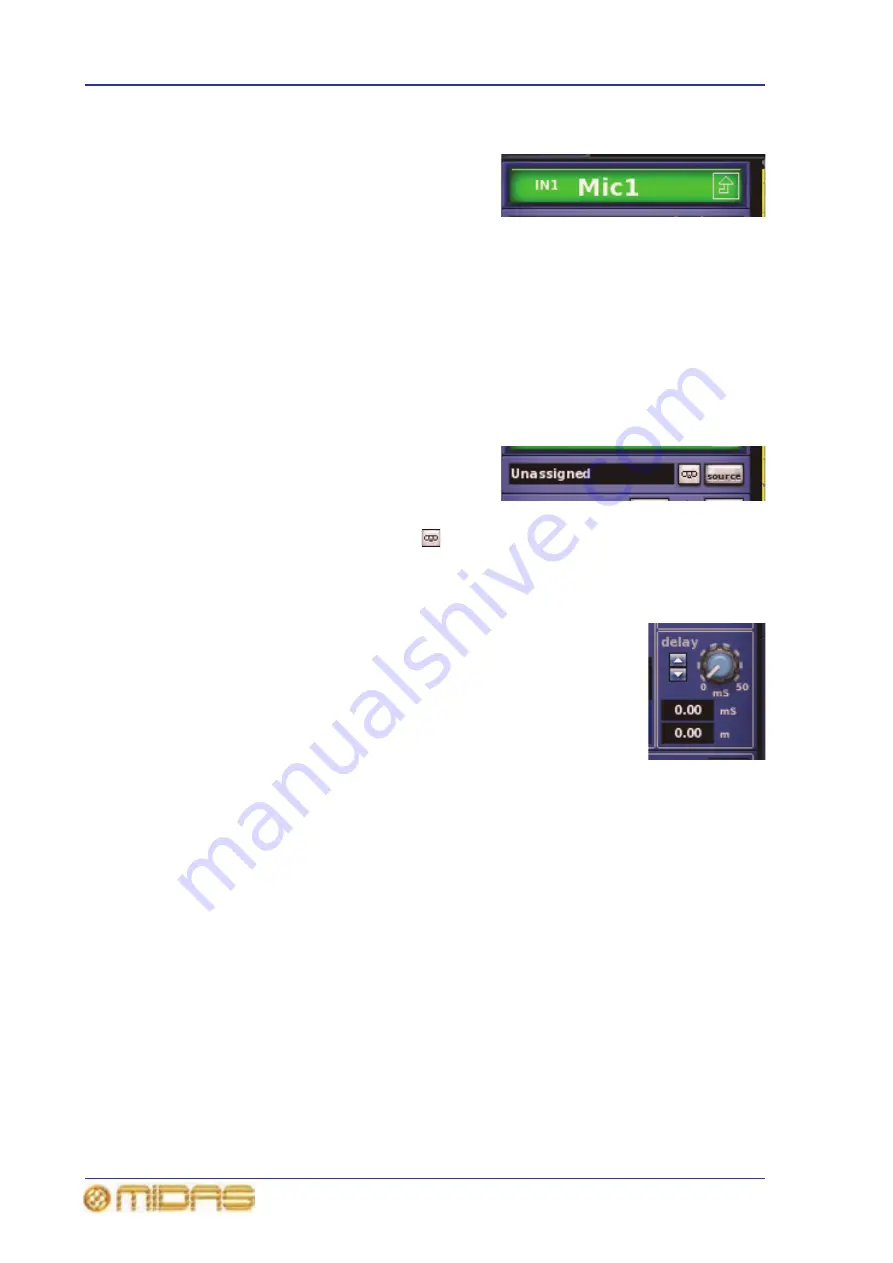
Input channel delay (GUI only)
The input channel delay can only be changed via the delay section of
the configuration processing area (GUI channel strip). This section
has a control knob for adjusting the delay in the range 0ms to 50ms;
this value is displayed in both milliseconds (ms) and metres. You
can fine tune the delay value using the spin buttons to the left of the
control knob.
The delay section allows you to incorporate a time delay on an input
channel, which is used mainly for mic placements and time aligning
to reduce comb filtering. For example, on a drum kit mic set up, you
may have a mic close to a snare drum and a couple of overhead mics. In this case,
setting an input channel delay on the snare drum — to bring it more in line with the
overheads — will probably produce a better sound.
Содержание PRO6
Страница 2: ......
Страница 4: ......
Страница 6: ......
Страница 10: ......
Страница 14: ...xvi Precautions PRO6 Live Audio System Owner s Manual...
Страница 24: ...xxvi Contents PRO6 Live Audio System Owner s Manual...
Страница 25: ...PRO6 Live Audio System Owner s Manual Volume 1 Overview...
Страница 26: ......
Страница 30: ...4 Chapter 1 Introduction PRO6 Live Audio System Owner s Manual...
Страница 42: ...16 Chapter 2 PRO6 Live Audio System PRO6 Live Audio System Owner s Manual...
Страница 50: ...24 Chapter 3 About The PRO6 Control Centre PRO6 Live Audio System Owner s Manual...
Страница 51: ...PRO6 Live Audio System Owner s Manual Volume 1 Getting Started...
Страница 52: ......
Страница 59: ...PRO6 Live Audio System Owner s Manual Volume 2 Basic Operation Of The PRO6...
Страница 60: ......
Страница 64: ...38 Chapter 5 Before You Start PRO6 Live Audio System Owner s Manual...
Страница 104: ...78 Chapter 8 Patching PRO6 Live Audio System Owner s Manual...
Страница 131: ...PRO6 Live Audio System Owner s Manual Volume 3 Advanced Operation And Features...
Страница 132: ......
Страница 136: ...110 Chapter 10 Stereo Linking PRO6 Live Audio System Owner s Manual...
Страница 144: ...118 Chapter 11 Panning PRO6 Live Audio System Owner s Manual...
Страница 148: ...122 Chapter 12 Soloing PRO6 Live Audio System Owner s Manual...
Страница 150: ...124 Chapter 13 Muting PRO6 Live Audio System Owner s Manual...
Страница 192: ...166 Chapter 18 Copy And Paste PRO6 Live Audio System Owner s Manual...
Страница 242: ...216 Chapter 24 User Libraries Presets PRO6 Live Audio System Owner s Manual...
Страница 246: ...220 Chapter 25 File Management PRO6 Live Audio System Owner s Manual...
Страница 250: ...224 Chapter 26 Using Other Devices With The PRO6 PRO6 Live Audio System Owner s Manual...
Страница 267: ...PRO6 Live Audio System Owner s Manual Volume 4 Description...
Страница 268: ......
Страница 335: ...PRO6 Live Audio System Owner s Manual Volume 5 Appendices...
Страница 336: ......
Страница 365: ...Audio signal path 339 PRO6 Live Audio System Owner s Manual Audio signal path...
Страница 366: ...340 Appendix C Klark Teknik DN370 GEQ PRO6 Live Audio System Owner s Manual...
Страница 372: ...346 Appendix D Klark Teknik DN780 Reverb PRO6 Live Audio System Owner s Manual...
Страница 376: ...350 Appendix E I O Modules PRO6 Live Audio System Owner s Manual...
Страница 400: ...374 Appendix I Documentation PRO6 Live Audio System Owner s Manual...
Страница 511: ...Return 485 XL8 Live Performance System Owner s Manual Gate Not applicable EQ Not applicable...
Страница 524: ...498 Appendix N Parameters Affected By Copy And Paste XL8 Live Performance System Owner s Manual...
Страница 568: ...542 Appendix O Parameters Affected By Stereo Linking XL8 Live Performance System Owner s Manual...
Страница 612: ...586 Glossary PRO6 Live Audio System Owner s Manual...


