


98
Chapter 9: Basic Operation
PRO6 Live Audio System
Owner’s Manual
Configuring the inputs and outputs
Similarly to the VCA/POP groups, you can change the name and colour of each of the
inputs and outputs. This is done via the GUI at their respective sheet screens. For
configuration details, see “Configuring VCA/POP groups” on page 85.
>> To open the Input/Output Sheet screen
Do one of the following:
• At the GUI, choose home
Input Channels
Input Sheet to open the
Input Sheet screen, or choose home
Mix & Outputs
Output Sheet to open
the Output Sheet screen.
• In the primary navigation zone, press the inputs/outputs screen access button to
open the Input Sheet screen. To open the Output Sheet screen, press it again.
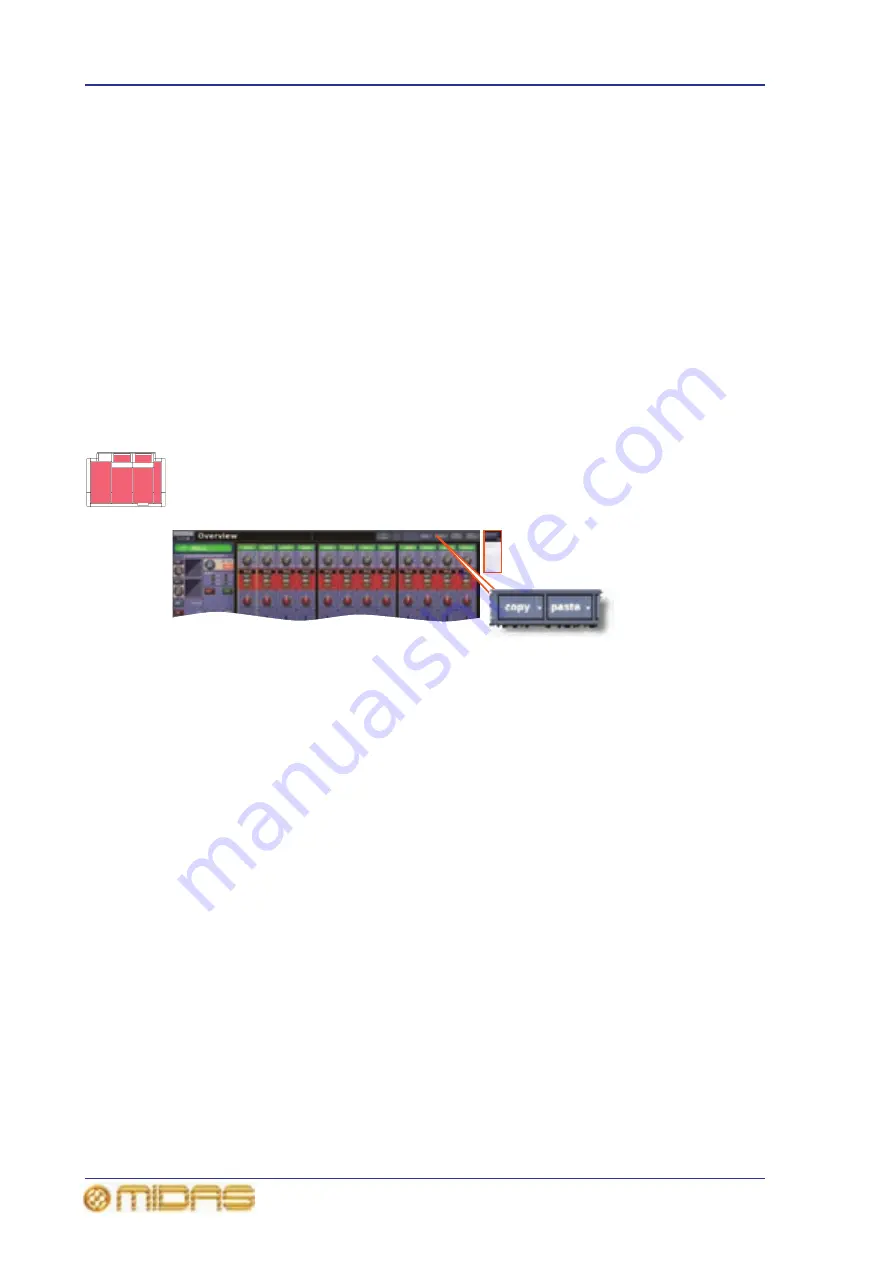
Using copy and paste
The copy and paste buttons (upper-right corner of GUI) allow you to copy the
parameters of one/all of a single channel’s processing area(s) — such as the EQ,
compressor, gate etc. — and paste them to one/all of the other channels of a similar
type.
Right-clicking the copy or paste button will open their respective menu, each of which
contains full copy/paste options.
>> To copy a processing area to a channel/all channels
1
If necessary, navigate the channel’s processing area to the channel strip (see
“Navigating a processing area or mix bus to a channel strip” on page 53).
2
Click copy.
3
Do one of the following:
• To copy the processing area to another channel, select the channel and then
click paste. (As the copied parameters are still stored, you can paste to as
many channels as you want.)
• To copy the processing area to all other channels, right-click paste to open its
menu and then choose Paste To All.
>> To copy all parameters to a channel/all channels
1
If necessary, select the channel from which you want to copy all of the processing
areas.
2
Right-click copy to open its menu, and then choose Copy All.
3
Do one of the following:
• To copy the parameters to another channel, select the channel and then click
paste.
• To copy the processing area to all other channels, right-click paste to open its
menu and then choose Paste To All.
Содержание PRO6
Страница 2: ......
Страница 4: ......
Страница 6: ......
Страница 10: ......
Страница 14: ...xvi Precautions PRO6 Live Audio System Owner s Manual...
Страница 24: ...xxvi Contents PRO6 Live Audio System Owner s Manual...
Страница 25: ...PRO6 Live Audio System Owner s Manual Volume 1 Overview...
Страница 26: ......
Страница 30: ...4 Chapter 1 Introduction PRO6 Live Audio System Owner s Manual...
Страница 42: ...16 Chapter 2 PRO6 Live Audio System PRO6 Live Audio System Owner s Manual...
Страница 50: ...24 Chapter 3 About The PRO6 Control Centre PRO6 Live Audio System Owner s Manual...
Страница 51: ...PRO6 Live Audio System Owner s Manual Volume 1 Getting Started...
Страница 52: ......
Страница 59: ...PRO6 Live Audio System Owner s Manual Volume 2 Basic Operation Of The PRO6...
Страница 60: ......
Страница 64: ...38 Chapter 5 Before You Start PRO6 Live Audio System Owner s Manual...
Страница 104: ...78 Chapter 8 Patching PRO6 Live Audio System Owner s Manual...
Страница 131: ...PRO6 Live Audio System Owner s Manual Volume 3 Advanced Operation And Features...
Страница 132: ......
Страница 136: ...110 Chapter 10 Stereo Linking PRO6 Live Audio System Owner s Manual...
Страница 144: ...118 Chapter 11 Panning PRO6 Live Audio System Owner s Manual...
Страница 148: ...122 Chapter 12 Soloing PRO6 Live Audio System Owner s Manual...
Страница 150: ...124 Chapter 13 Muting PRO6 Live Audio System Owner s Manual...
Страница 192: ...166 Chapter 18 Copy And Paste PRO6 Live Audio System Owner s Manual...
Страница 242: ...216 Chapter 24 User Libraries Presets PRO6 Live Audio System Owner s Manual...
Страница 246: ...220 Chapter 25 File Management PRO6 Live Audio System Owner s Manual...
Страница 250: ...224 Chapter 26 Using Other Devices With The PRO6 PRO6 Live Audio System Owner s Manual...
Страница 267: ...PRO6 Live Audio System Owner s Manual Volume 4 Description...
Страница 268: ......
Страница 335: ...PRO6 Live Audio System Owner s Manual Volume 5 Appendices...
Страница 336: ......
Страница 365: ...Audio signal path 339 PRO6 Live Audio System Owner s Manual Audio signal path...
Страница 366: ...340 Appendix C Klark Teknik DN370 GEQ PRO6 Live Audio System Owner s Manual...
Страница 372: ...346 Appendix D Klark Teknik DN780 Reverb PRO6 Live Audio System Owner s Manual...
Страница 376: ...350 Appendix E I O Modules PRO6 Live Audio System Owner s Manual...
Страница 400: ...374 Appendix I Documentation PRO6 Live Audio System Owner s Manual...
Страница 511: ...Return 485 XL8 Live Performance System Owner s Manual Gate Not applicable EQ Not applicable...
Страница 524: ...498 Appendix N Parameters Affected By Copy And Paste XL8 Live Performance System Owner s Manual...
Страница 568: ...542 Appendix O Parameters Affected By Stereo Linking XL8 Live Performance System Owner s Manual...
Страница 612: ...586 Glossary PRO6 Live Audio System Owner s Manual...


