230 paper jams
1
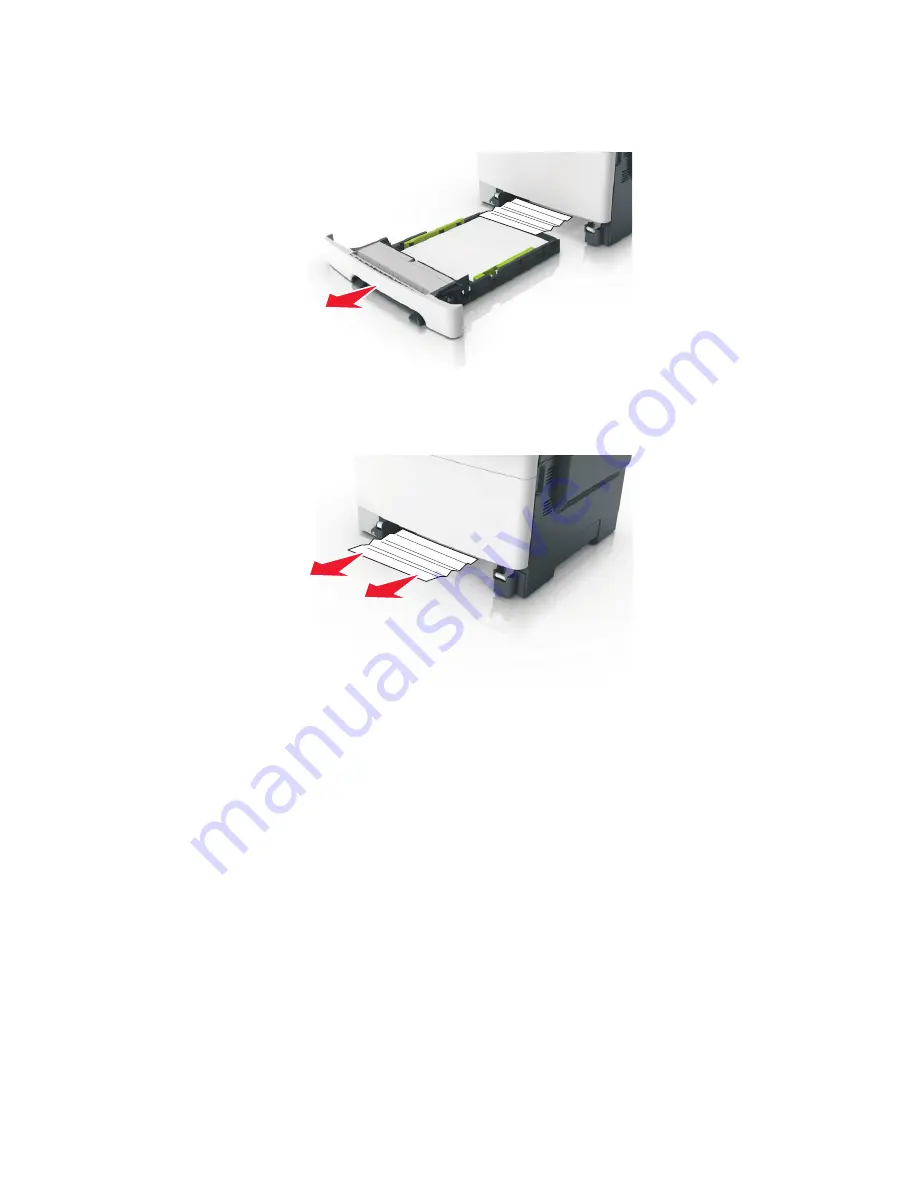
Pull tray 1 out.
2
Firmly grasp the jammed paper, and then gently pull it out.
Note:
Make sure all paper fragments are removed.
3
Push tray 1 back in.
4
From the printer control panel, touch the check mark to clear the message and continue printing. For
non
‑
touch
‑
screen printer models, select
Next>Clear the jam
, press
OK
, and then press
OK
to confirm.
7527
Diagnostic information
53
Содержание CX310dn
Страница 24: ...7527 24 ...
Страница 154: ...7527 154 ...
Страница 187: ...D ADF cover open E Flatbed cover open F Paperfeed sensor 7527 Service menus 187 ...
Страница 224: ...3 Remove the four screws A securing the right scanner cover to the flatbed unit 7527 Repair information 224 ...
Страница 227: ...5 Disconnect the belt C 6 Disconnect the fan and remove 7527 Repair information 227 ...
Страница 311: ...Component locations Controller boards CX310 models 7527 Component locations 311 ...
Страница 312: ...CX410 models 7527 Component locations 312 ...
Страница 313: ...CX510 models 7527 Component locations 313 ...
Страница 318: ...7527 318 ...
Страница 325: ...7527 325 ...
Страница 327: ...Assembly 1 Covers 7527 Parts catalog 327 ...
Страница 329: ...Assembly 2 Scanner 7527 Parts catalog 329 ...
Страница 331: ...Assembly 3 Paperpath 7527 Parts catalog 331 ...
Страница 334: ...7527 Parts catalog 334 ...
Страница 335: ...Assembly 4 Operator panels 7527 Parts catalog 335 ...
Страница 338: ...7527 Parts catalog 338 ...
Страница 339: ...Assembly 5 Electronics 7527 Parts catalog 339 ...
Страница 342: ...7527 Parts catalog 342 ...
Страница 343: ...Assembly 6 Cables and sensors 7527 Parts catalog 343 ...
Страница 345: ...Assembly 7 Media drawers and trays 7527 Parts catalog 345 ...
Страница 358: ...7527 358 ...
Страница 372: ...7527 372 ...
Страница 386: ...7527 Part number index 386 ...
Страница 392: ...7527 Part name index 392 ...


