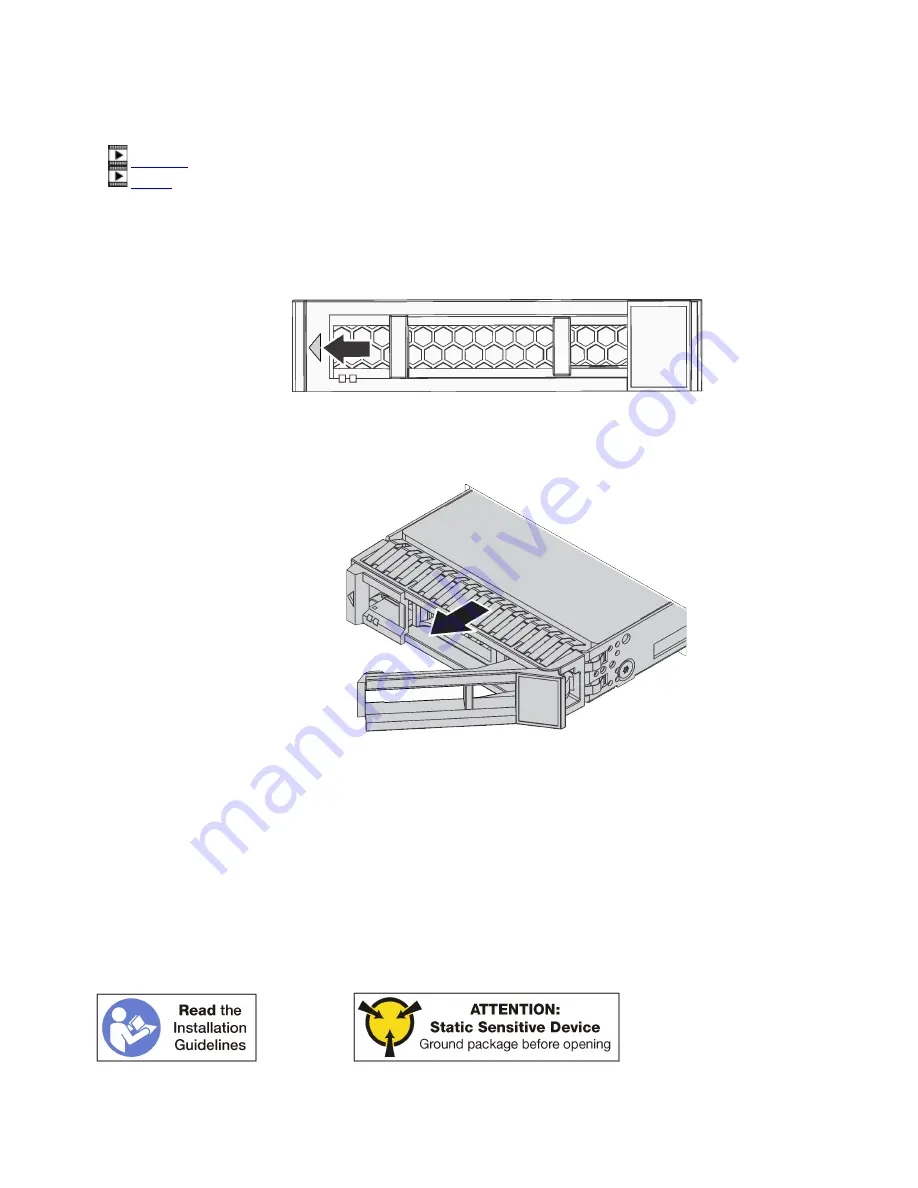
Complete the following steps to remove a hot-swap drive.
Watch the procedure
. A video of the installation process is available:
•
•
Step 1. Make a note of the bay where the drive is installed: drives must be installed in the bay from which
they were removed.
Step 2. Remove the drive.
a. Slide the release latch to open the drive tray handle.
Figure 80. Opening the handle of a 3.5-inch hot-swap drive
b. Grasp the handle and slide the drive out of the drive bay.
Figure 81. 3.5-inch hot-swap drive removal
After you remove the hot-swap drive:
1. Install a replacement hot-swap drive or filler in the empty drive bay.
2. If you are instructed to return the drive assembly, follow all packaging instructions, and use any
packaging materials for shipping that are supplied to you.
Install a hot-swap drive
Insert the hot-swap drive in its bay and close the latch handle to lock the drive in place. Hot-swap devices
can be installed while the server is powered on.
148
User Guide for ThinkAgile VX7820 Appliance, ThinkAgile VX 4-Socket 4U Certified Node
Содержание ThinkAgile VX 4-Socket 4U Certified Node
Страница 6: ...iv User Guide for ThinkAgile VX7820 Appliance ThinkAgile VX 4 Socket 4U Certified Node ...
Страница 10: ...viii User Guide for ThinkAgile VX7820 Appliance ThinkAgile VX 4 Socket 4U Certified Node ...
Страница 69: ...Chapter 2 Server components 59 ...
Страница 76: ...66 User Guide for ThinkAgile VX7820 Appliance ThinkAgile VX 4 Socket 4U Certified Node ...
Страница 96: ...86 User Guide for ThinkAgile VX7820 Appliance ThinkAgile VX 4 Socket 4U Certified Node ...
Страница 252: ...242 User Guide for ThinkAgile VX7820 Appliance ThinkAgile VX 4 Socket 4U Certified Node ...
Страница 276: ...266 User Guide for ThinkAgile VX7820 Appliance ThinkAgile VX 4 Socket 4U Certified Node ...
Страница 284: ...274 User Guide for ThinkAgile VX7820 Appliance ThinkAgile VX 4 Socket 4U Certified Node ...
Страница 295: ......
Страница 296: ......


