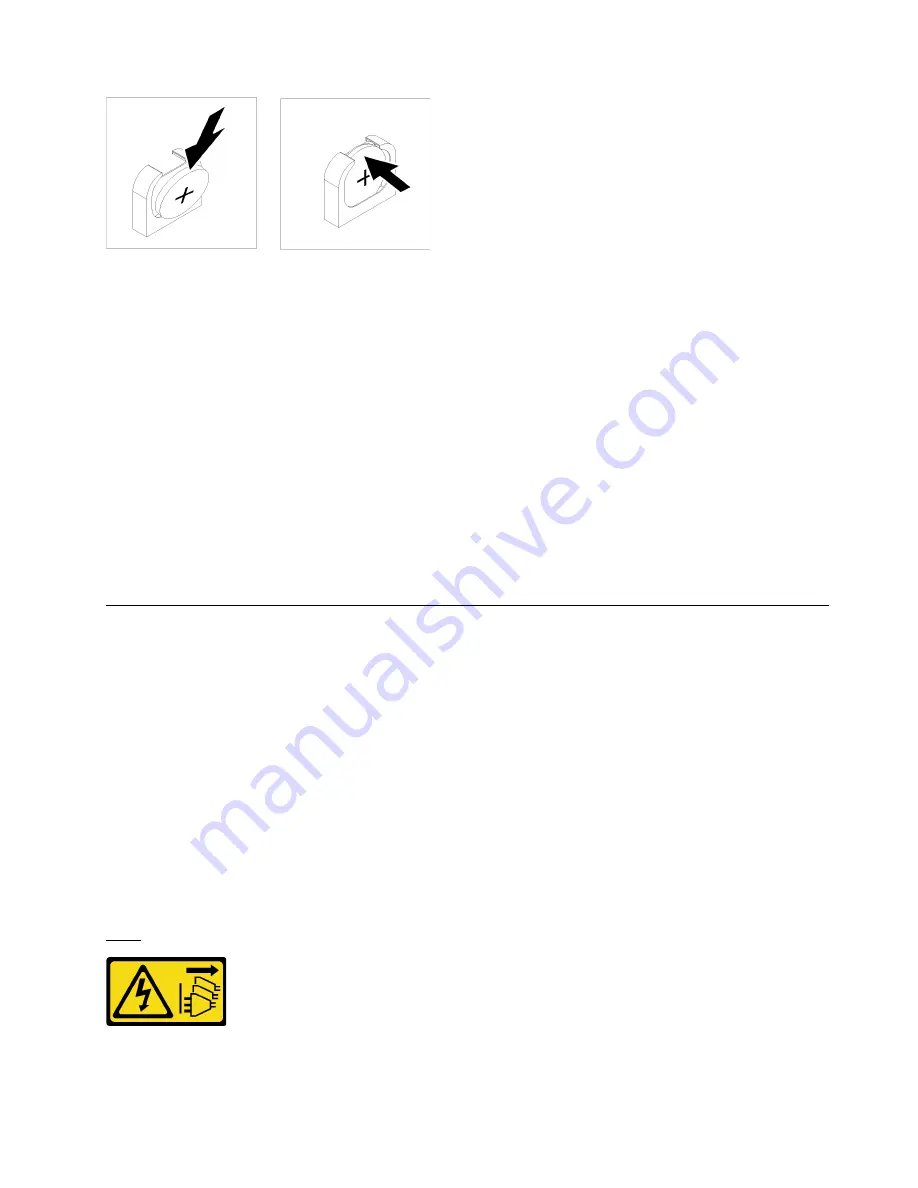
Figure 54. System battery installation
Step 1. Follow any special handling and installation instructions that come with the replacement battery.
Step 2. Face the positive (+) symbol toward the center of the I/O tray; then, place the battery into the
battery retainer.
Step 3. Press the top of the battery into the retainer until it clicks in place.
After installing the system battery, complete the following steps:
1. Install the adapter in slot 8. See “Install a PCIe adapter in slot 5 to 8” on page 100.
2. Install the riser for slot 1 to 4 (riser 1). See “Install the riser for slot 1 to 4 (riser 1)” on page 218.
3. If any of the adapters in the I/O tray have internal cables, make sure that they are connected before
installing the I/O tray.
4. Install the I/O tray in the chassis and connect all cables. See “Install the I/O tray” on page 154.
5. Reconfigure the server and reset the system date and time. See Chapter 5 “System configuration” on
System board replacement
System boards are in the upper or lower compute tray that is accessed from the front of the server.
Important:
Before you return the system board, make sure that you install the CPU socket covers from the
new system board. To replace a CPU socket cover:
1. Take a socket cover from the CPU socket assembly on the new system board and orient it correctly
above the CPU socket assembly on the removed system board.
2. Gently press down the socket cover legs to the CPU socket assembly, pressing on the edges will avoid
damage to the socket pins. You might hear a click on the socket cover when it is securely attached.
3.
Make sure
that the socket cover is securely attached to the CPU socket assembly.
Remove a system board
Remove a system board by disconnecting the cables inside the compute tray, pressing the release clips on
the compute system board, and sliding it out of the compute tray.
S002
CAUTION:
.
Hardware replacement procedures
109
Содержание ThinkAgile VX 4-Socket 4U Certified Node
Страница 6: ...iv User Guide for ThinkAgile VX7820 Appliance ThinkAgile VX 4 Socket 4U Certified Node ...
Страница 10: ...viii User Guide for ThinkAgile VX7820 Appliance ThinkAgile VX 4 Socket 4U Certified Node ...
Страница 69: ...Chapter 2 Server components 59 ...
Страница 76: ...66 User Guide for ThinkAgile VX7820 Appliance ThinkAgile VX 4 Socket 4U Certified Node ...
Страница 96: ...86 User Guide for ThinkAgile VX7820 Appliance ThinkAgile VX 4 Socket 4U Certified Node ...
Страница 252: ...242 User Guide for ThinkAgile VX7820 Appliance ThinkAgile VX 4 Socket 4U Certified Node ...
Страница 276: ...266 User Guide for ThinkAgile VX7820 Appliance ThinkAgile VX 4 Socket 4U Certified Node ...
Страница 284: ...274 User Guide for ThinkAgile VX7820 Appliance ThinkAgile VX 4 Socket 4U Certified Node ...
Страница 295: ......
Страница 296: ......


