LaCie Internet Space 2
Uploading Files
User Manual
page 20
4.2. Transferring Files from a
Computer via the Web Portal
Once you’re logged in to the Web Portal, you can upload files to the
Internet Space 2 using the
Manual
or
Drag and Drop method
. In
the Web Portal, simply navigate to the folder where you want the file
to be stored and click the
Upload
icon (
) (
Fig. 18
). This process
is explained in more detail in section
6.4.9. Uploading Files
.
4.3. Transferring Files from a
Computer via the Finder/
Windows Explorer
To accomplish this kind of transfer, the HipServ Agent will create an
SMB connection, which will allow you to drag-and-drop your files
from your computer to the Internet Space 2.
1. First, open HipServ Agent:
Windows Users:
Launch the HipServ Agent from the Start
Menu (
Start > All Programs > Axentra > HipServ Desktop
Applications > HipServ Agent > HipServ Agent
). The icon
will appear in your System Tray.
Mac Users:
Launch the HipServ Agent from the Applications
folder (
Applications > HipServ Desktop Applications
). The
icon will appear in your Menu Bar.
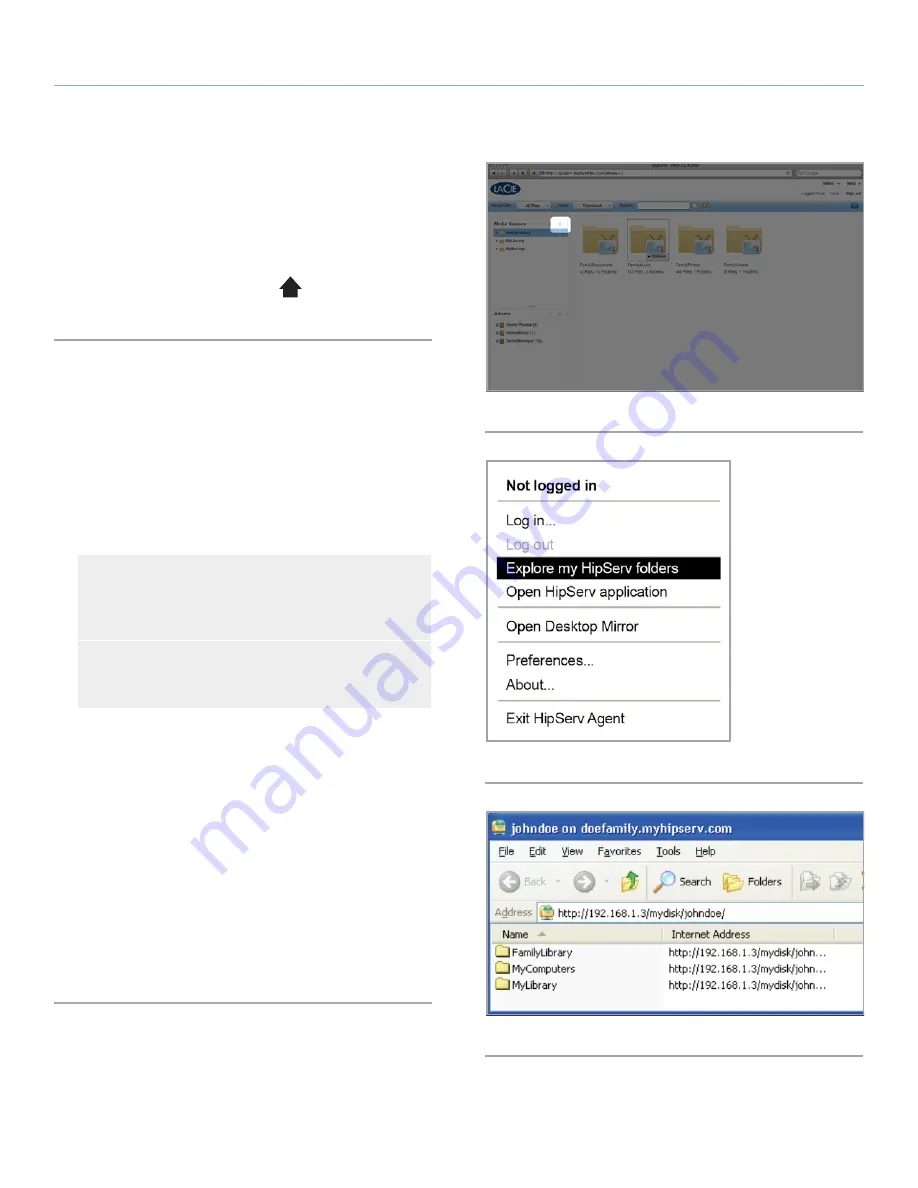
2. Next, to create an SMB connection, click on the HipServ icon in
the Menu Bar (Mac) or right-click the HipServ icon in the System
Tray (Windows) and select
Explore my HipServ folders
(
Fig. 19
).
3. This application prompts you to log in (if necessary), and opens
Windows Explorer (Windows) or Finder (Mac). It shows your
FamilyLibrary
,
MyLibrary
and
MyComputers
folders within a net-
work drive (
Fig. 19
), unless access has been blocked.
You can access the folders in a familiar environment, and upload
files greater than 2 GB. This command is available whether the In-
ternet Space 2 is located locally on the home network, or remotely
across the Internet. For more information on HipServ Folders, see
section
4.1. About Folders
.
Fig. 18
Fig. 19
Fig. 20


