W
W
W
W
W i n P a s s R e f e r e n c e M a n u a l
i n P a s s R e f e r e n c e M a n u a l
i n P a s s R e f e r e n c e M a n u a l
i n P a s s R e f e r e n c e M a n u a l
i n P a s s R e f e r e n c e M a n u a l
DN1237-0003 © 1997-2000 Kantech Systems Inc.
1 6
1 6
1 6
1 6
1 6
is functional.
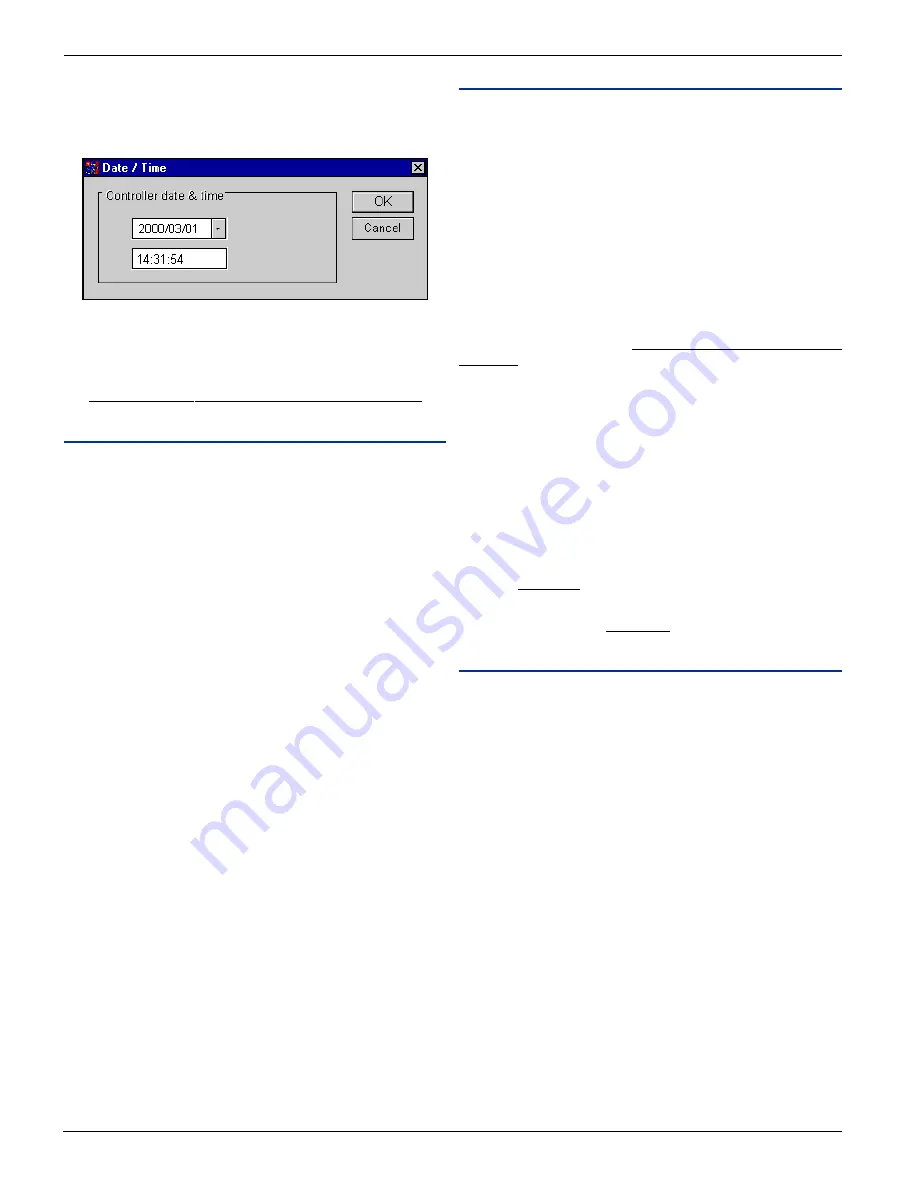
Once registered, you will be prompted to confirm the date and time
in order to synchronize the date and time between the controllers
and the computer.
The system should now be functional. Should communication
problems be present, click on Configure Workstation (see Work-
station Configuration in section 5) to verify the COM port and
baud rate settings *.
“S
EE
SECTION
11
IF
YOU
ARE
USING
KT-200
CONTROLLERS
”
Uninstalling WinPass
Uninstalling WinPass
Uninstalling WinPass
Uninstalling WinPass
Uninstalling WinPass
This section describes the procedure to remove the WinPass
software from your computer.
From the Control Panel, select Add/Remove Programs, select
WinPass and click on Add/Remove. Once the procedure is com-
pleted, a screen will be displayed informing you that the removal
is completed but some files must be removed manually from your
hard drive. To remove these files, you must:
1) Click on My Computer,
2) Select C\: drive or the other drive where WinPass was installed,
3) Select the WinPass directory,
4) Click on file and select Delete,
5) Winpass folder and directory will now be removed.
Warning: This option will delete all events and data.
1) Click on My Computer,
2) Select C\: drive,
3) Select Windows folder,
4) Delete the file named “winpass.ini”.
Note: If you are having trouble locating the file, you may find it
quickly by using Windows Explorer’s find feature.
Backup Procedure
Performing a regular file backup safeguards them against loss if
your hard disk fails or you accidentally overwrite or delete data.
Depending on what and how you want to backup your files, there
are several options offered with Windows. Some of the available
options are as follows:
1) Backing up selected files and folders,
2) Defining a set of files to be backed up,
3) Backing up a predefined set of files,
4) Backing up only files that have changed,
5) Backing up files quickly using drag and drop.
Below are the instructions for backing up selected files and folders
(option 1). The instructions for the other options may be found in
the Windows Help menu.
From the Taskbar, click on Start and select Programs. Point to
Accessories and then from System Tools, click on Backup.
1) Click the Backup tab,
2) Click the plus sign (+) next to the drive that contains the folders
or files you want to backup,
3) To select all the files in the folder, click the box next to it. To
select only certain files, click the icon for the folder that
contains the files, and then click the box next to each file on
the right side of the window,
4) Click Next Step, click the destination where you want the
backed up files to be stored, and then click Start Backup,
5) Enter a name for the backup set.
Upgrade Procedure
To upgrade your system, follow the installation procedure.


