


SKYZER TECHNOLOGIES
PAGE 51 OF 140
INGENICO Tetra PTS190 Paymark Operating GuideVersion 1.02
6.8 Multi-Merchant Configuration
This function is used to configure the terminal for Multi-merchant operation. The
terminal can support up to 8 Merchants.
NOTE:
After activating the Multi-Merchant configuration, please return to
EFTPOS configuration for Multi-Merchant
Function
3824
to enter the Terminal
and Merchant ID’s for the active merchants.
Step
Terminal Display
Description
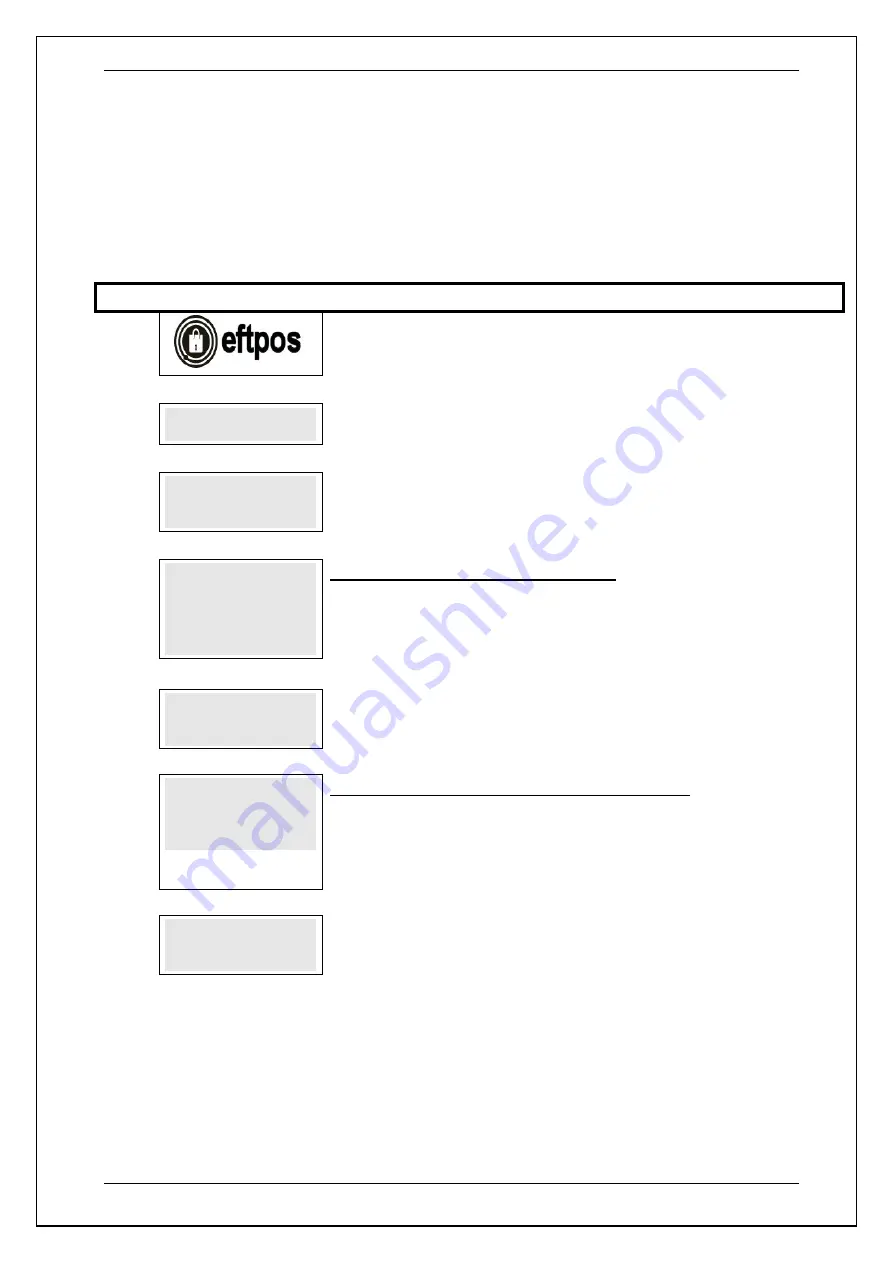
1.0
Press
FUNC
2.0
FUNCTION?
Enter
7418
, press
ENTER
3.0
MULTI MERCHANT
SETUP
Terminal is now in configuration mode. Go to following steps to proceed or press
CANCEL
to exit, otherwise the terminal will automatically exit after 30 seconds of
inactivity
4.0
ACTIVE MERCHANTS
12345678
Press 3 to Set Active Merchants
Enter the number (from 1 – 8) for each individual merchant you wish to activate
and press
ENTER
Example: To activate merchants 1 to 5, enter 12345
5.0
MULTI MERCHANT
SETUP
Terminal is now in configuration mode. Go to following steps to proceed or press
CANCEL
to exit, otherwise the terminal will automatically exit after 30 seconds of
inactivity
6.0
MERCHANT 1 NAME
MERCHANT 1
Press 4 to Manually Set Merchant Name
To change the merchant name, use the numeric keypad then the
FUNC
key to
access the alpha characters. Press
ENTER
to advance to the next merchant name
NOTE: If the merchant name is not set, then terminal will automatically
use the names that are on the Paymark receipt header
7.0
MULTI MERCHANT
SETUP
Terminal is now in configuration mode. Go to following steps to proceed or press
CANCEL
to exit, otherwise the terminal will automatically exit after 30 seconds of
inactivity


