28
– COLOR TOUCH SCREEN
CONTROL PANEL FUNCTIONS
START/STOP
• Before starting to embroider your selected design, make
sure that there is no object within the work area of the
embroidery hoop. If the embroidery hoop collides with
something, the embroidery design will misalign.
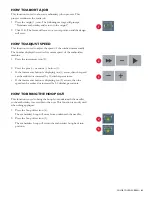
• The Start/Stop button is located at the bottom right-
hand corner of the control panel (1).
• The Start/Stop button will illuminate red when not
in embroidery mode. Once you set the machine in
embroidery mode by touching “Enter Embroidery
Status” the button turns green, and the machine is
ready to embroider.
To Start
1. Press the Start/Stop button.
2. Allow the embroidery machine to complete the first
color thread.
• The current thread will automatically trim.
• The needle bar case will move to the position of the
second color thread and resume embroidery.
Note: Allow the embroidery machine to continue its process until the
last color thread has completed.
• The embroidery machine will automatically stop. The
Start/Stop button will illuminate red and a buzzer will
sound.
To Stop
1. Press the Start/Stop button.
2. Make sure the button illuminates RED.
TRIMMING
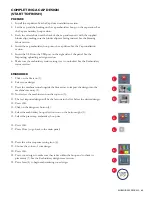
The trimming function (2) is used for a manual trim of a
desired thread.
100-DEGREE BUTTON
Rotate the degree knob (4) at the back of the embroidery
machine to 100 degrees.
Press the 100-degree button (3) to calibrate and set the
machine in embroidery mode.
1
2
3
4

