13.6. Configuring the Disk Clone
If the S.M.A.R.T. detection result declares the HDD is abnormal, you can choose to clone all the data on the HDD
to an inserted eSATA disk manually. Refer to Chapter 13.7 "HDD Detection" for details of the S.M.A.R.T detection.
Before you start:
An eSATA disk should be connected to the device.
Steps:
1. Enter the HDD Advanced Setting interface: Menu> HDD> Advanced
2. Click on the "Disk Clone" tab to enter the disk clone con
fi
guring interface.
3. Make sure the usage of the eSATA disk is set as "Export". If not, click on the "Set" button to set it. Choose
"Export" and click on the "OK" button.
4. Check the checkbox of the HDD to be cloned in the Clone Source list.
5. Click on the "Clone" button. A message box will pop up.
6. Click on the "Yes" button to continue. You can check the clone progress in the HDD status.
NOTE: The capacity of the destination disk must be the same as that of the clone source disk.
13.7. Checking the HDD Status
You may check the status of the installed HDDs on the NVR/DVR so as to take immediate check and maintenance
in case of HDD failure.
Checking the HDD Status on the HDD Information Interface:
Steps:
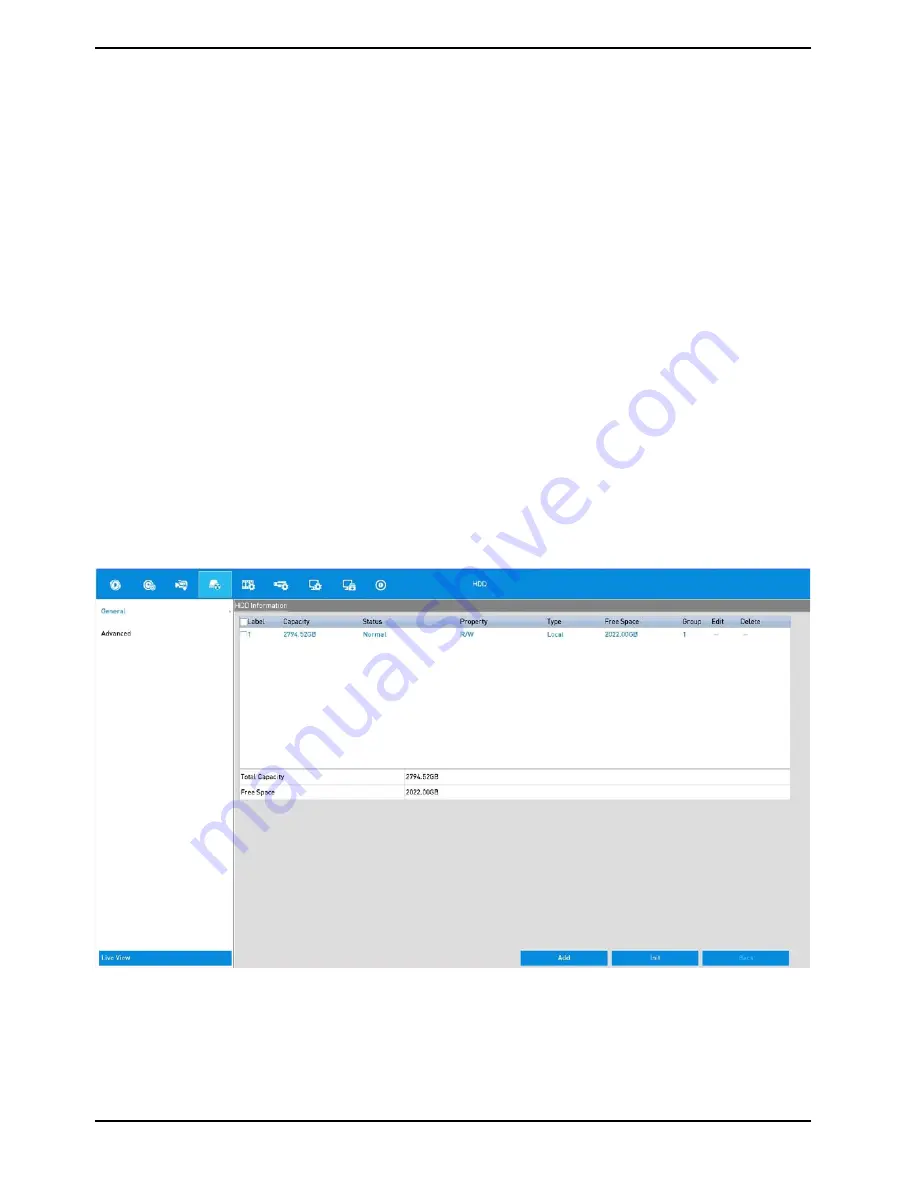
1. Enter the HDD Information interface: Menu> HDD> General
2. Check the status of each HDD which is displayed on the list, as shown below.
138
English
Содержание GRN-R5128N
Страница 2: ......
Страница 12: ...4 Installation 4 1 Connections and Control Keys Front View 12 English...
Страница 18: ...18 English...
Страница 173: ...140 W Power Consumption 16 kg Weight 442 x 494 x 164 mm Dimensions wxhxd 173 English...


