Installation
3–36
Pressure Test and Solvent Flush Procedure
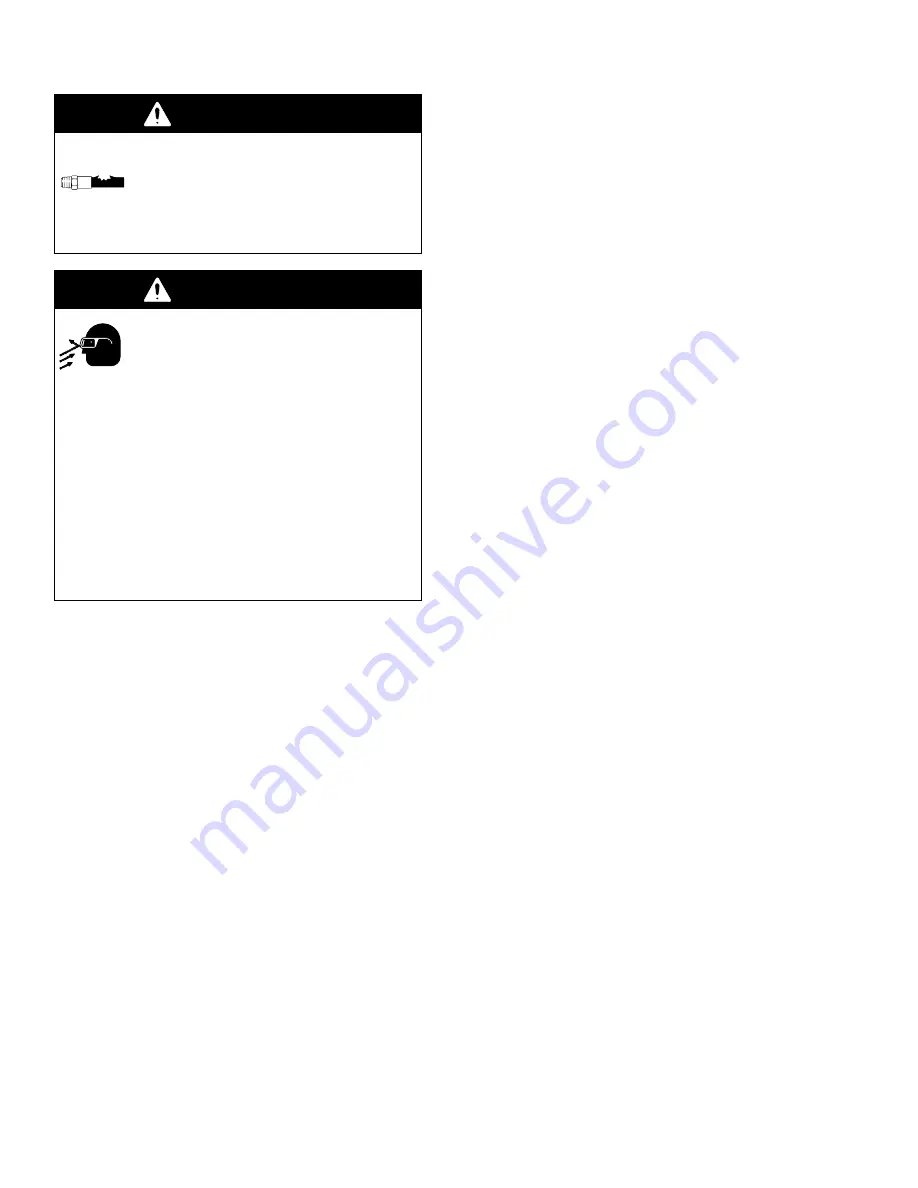
WARNING
COMPONENT RUPTURE HAZARD
Do not exceed the maximum working
pressure of the lowest rated system
component. See the instruction manuals
of the individual PrecisionMix II 3K components for
their maximum working pressures.
WARNING
INJECTION HAZARD
Spray from the gun, hose leaks, or rup-
tured components can inject fluid into
your body and cause extremely serious
injury, including the need for amputation. Splashing
fluid in the eyes or on the skin can also cause seri-
ous injury.
Do not stop or deflect fluid leaks with your hand,
body, glove, or rag.
Wear the appropriate protective clothing,
gloves, eyewear, and respirator.
Make sure all fluid lines are properly connected
before performing the pressure test or solvent
flush procedures.
NOTE:
Perform all of the following steps before oper-
ating the PrecisionMix II 3K.
Test Color Valve Operation
1.
Complete all steps of the System Installation
procedure.
2.
Turn on main power and perform all power-up
checks. Refer to page 3–32.
3.
Turn on the air supply. Manually activate each
solenoid valve on the color change panel and
observe the associated color change valve or
dump valve to verify that the valves are operating
properly.
4.
Turn on the solvent supply to the flush valves and
the Component A, B, and C material supply.
Repair any leaks.
Pressure Test Component A
NOTE:
On systems with color change, perform steps 1
through 6. On systems without color change, begin
with step 4.
With Color Change
1.
Supply solvent pressure to the solvent flush port of
the color stack.
2.
Manually actuate the solvent solenoid valve (#1)
on the Component A side of the color change
panel. Repair any solvent leaks.
3.
Manually actuate the component A dump solenoid
valve (#2) on the color change panel. Flush sol-
vent through the color stack, meter, and compo-
nent A dump valve until the solvent is clean and
free of air. Repair any leaks. Continue with step 4.
Without Color Change
4.
Manually actuate the component A solenoid valve
(#2) in the solenoid box on the fluid panel. Repair
any leaks.
5.
Trigger the spray gun into a grounded metal pail
until the solvent dispensed from the gun is clean
and free of air.
6.
Open the ratio check valves and flush with solvent
until clean.
Pressure Test Component B and
Component C
NOTE:
For Component B and Component C, follow
the same procedure used for Component A.
Pressure Test the Solvent Lines
1.
Manually actuate the solvent solenoid valve (#1)
on the Component A side of the color change
panel. Repair any solvent leaks.
2.
Trigger the spray gun into a grounded metal pail
until the solvent dispensed from the gun is clean
and free of air.
Содержание PrecisionMix ii
Страница 6: ...6 ...
Страница 7: ...1 1 Warnings Warnings 1 ...
Страница 8: ...1 2 Warnings ...
Страница 11: ...Overview 2 1 Overview 2 ...
Страница 12: ...2 2 Overview ...
Страница 15: ...Overview 2 5 ...
Страница 31: ...Installation 3 1 Installation 3 ...
Страница 32: ...Installation 3 2 ...
Страница 58: ...Installation 3 28 Notes ...
Страница 63: ...Installation 3 33 Power up Checklist Fig 3 23 CP Interface Step 5 Step 6 Step 4 Step 7 Step 10 ...
Страница 67: ...Operation 4 1 Operation 4 ...
Страница 68: ...Operation 4 2 ...
Страница 83: ...Operation 4 17 Notes ...
Страница 90: ...Operation 4 24 ...
Страница 91: ...Screen Map 5 1 Screen Map 5 ...
Страница 92: ...5 2 Screen Map ...
Страница 94: ...5 4 Screen Map ...
Страница 95: ...Run Monitor 6 1 Run Monitor 6 ...
Страница 96: ...Run Monitor 6 2 ...
Страница 103: ...Totalizers 7 1 Totalizers 7 ...
Страница 104: ...Totalizers 7 2 ...
Страница 108: ...Totalizers 7 6 ...
Страница 109: ...System Configuration 8 1 System Configuration 8 ...
Страница 110: ...System Configuration 8 2 ...
Страница 138: ...System Configuration 8 30 PrecisionMix II 3K Robotic Interface Integrated Color Change TI0494 Fig 8 1 ...
Страница 142: ...System Configuration 8 34 ...
Страница 143: ...Recipe Setup 9 1 Recipe Setup 9 ...
Страница 144: ...Recipe Setup 9 2 ...
Страница 165: ...10 1 Troubleshooting Troubleshooting 10 ...
Страница 166: ...10 2 Troubleshooting ...
Страница 182: ...10 18 Troubleshooting ...
Страница 183: ...11 1 Service Service 11 ...
Страница 184: ...11 2 Service ...
Страница 192: ...11 10 Service ...
Страница 193: ...12 1 Parts Parts 12 ...
Страница 194: ...12 2 Parts ...
Страница 207: ...12 15 Parts Notes ...
Страница 228: ...12 36 Parts ...
Страница 229: ...13 1 Utilities Software Utilities Software 13 ...
Страница 230: ...13 2 Utilities Software ...
Страница 254: ...13 26 Utilities Software ...
Страница 255: ...14 1 Technical Data Technical Data 14 ...
Страница 256: ...14 2 Technical Data ...
Страница 259: ...14 5 Technical Data Notes ...


