System Configuration
8–23
Integrated Color Change Setup
Screens
Information
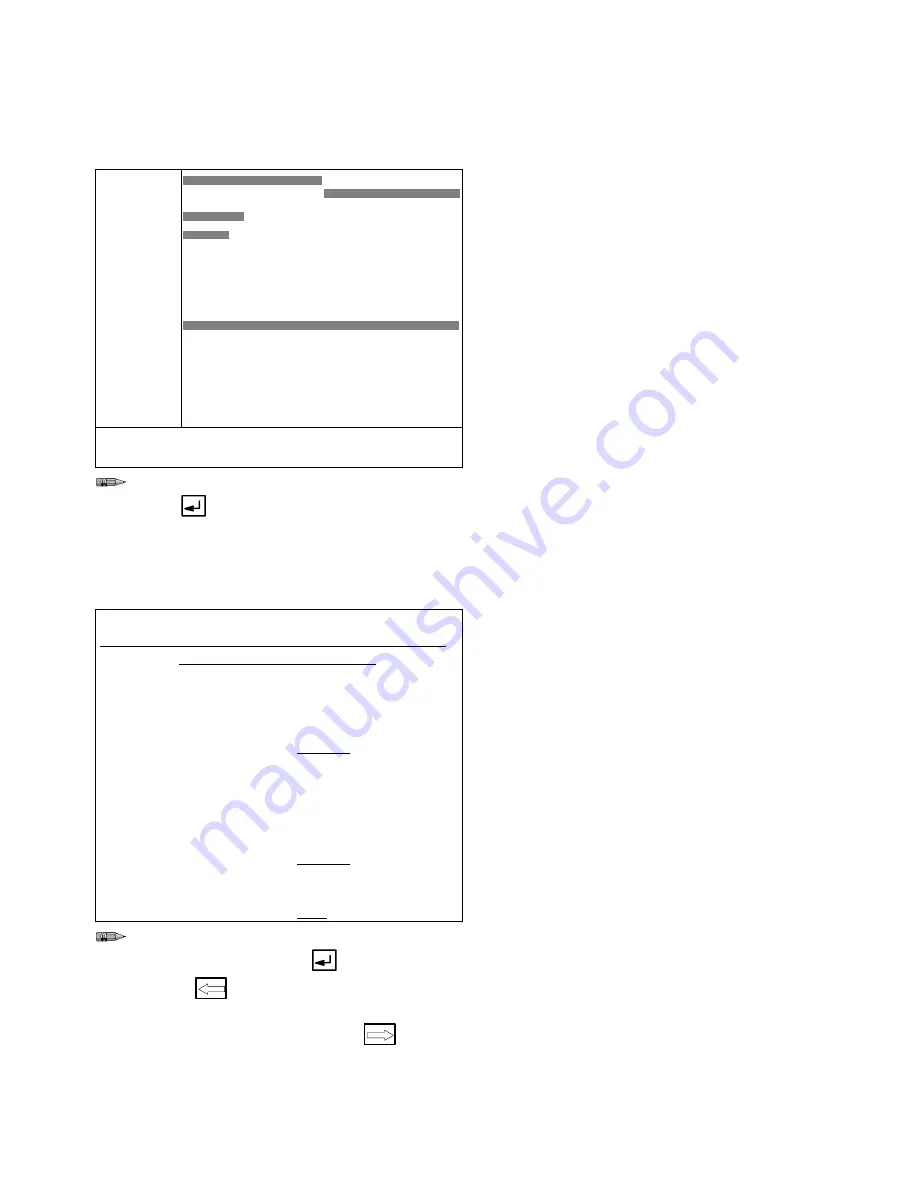
ICC102: Color Change Graph Screen
1. PURGE
MIX**
2. A DUMP
3. A SOLV
4. B DUMP
5. B SOLV
6. C DUMP
7. C SOLV
8. GUN1 TG
9. GUN2 TG
10.SPEC 1
11.SPEC 2
12.SPEC 5
13.SPEC 6
0 Sec
40.0
Color Chg Seq 1. Enter Function (1-13)
01
Type the number for the function desired,
then
.
The functions will appear in the Color Change Graph in
the order that they were previously entered. The graph
takes time to update so wait for the update before
going onto the next screen.
Start color change setup by defining function 1,
PURGE/MIX.
See page 2–16 for examples of the effect of entering
various data for the color change sequence parame-
ters.
ICC1:
Purge and Mix Timer Values
SYSTEM CONFIGURATION
Station: 1
INTEG. COLOR CHANGE
Color Chng Seq: 1
Purge and Mix Timer Values
Enter Purge start time:
> 2.0 sec
Enter Purge duration time:
> 20.0 sec
Enter Mix duration time:
> 20.0 sec
First Purge Valve is Valve A
Enter First Purge time:
> 3.0 sec
Enter A Purge time:
> 2.0 sec
Enter B Purge time:
> 2.0 sec
Enter C Purge time:
> 0.0 sec
Last Purge Valve is Valve B
Enter Last Purge time:
> 3.0 sec
TotalĄSequenceĄtimeĄisĄ 42.0 sec
Type the number of seconds/volume to run the
selected function. Press
after each entry.
Press
to return to the
Color Change
Sequence Graph
screen to view your input if
desired or go to the next screen
.
Purge Values
A typical integrated color change sequence starts by
purging out the old mixed material.
The purge is further defined by setting:
purge start time,
total purge time,
purge time for the first cycle,
purge time for the last cycle,
and individual purge times for the three pos-
sible purge valves.
Mix Values
The integrated color change sequence fills the hoses
with the new mixed material after the system has
finished purging. The duration of the mix (fill) time for
the color change sequence must be defined during
color change setup.
Содержание PrecisionMix ii
Страница 6: ...6 ...
Страница 7: ...1 1 Warnings Warnings 1 ...
Страница 8: ...1 2 Warnings ...
Страница 11: ...Overview 2 1 Overview 2 ...
Страница 12: ...2 2 Overview ...
Страница 15: ...Overview 2 5 ...
Страница 31: ...Installation 3 1 Installation 3 ...
Страница 32: ...Installation 3 2 ...
Страница 58: ...Installation 3 28 Notes ...
Страница 63: ...Installation 3 33 Power up Checklist Fig 3 23 CP Interface Step 5 Step 6 Step 4 Step 7 Step 10 ...
Страница 67: ...Operation 4 1 Operation 4 ...
Страница 68: ...Operation 4 2 ...
Страница 83: ...Operation 4 17 Notes ...
Страница 90: ...Operation 4 24 ...
Страница 91: ...Screen Map 5 1 Screen Map 5 ...
Страница 92: ...5 2 Screen Map ...
Страница 94: ...5 4 Screen Map ...
Страница 95: ...Run Monitor 6 1 Run Monitor 6 ...
Страница 96: ...Run Monitor 6 2 ...
Страница 103: ...Totalizers 7 1 Totalizers 7 ...
Страница 104: ...Totalizers 7 2 ...
Страница 108: ...Totalizers 7 6 ...
Страница 109: ...System Configuration 8 1 System Configuration 8 ...
Страница 110: ...System Configuration 8 2 ...
Страница 138: ...System Configuration 8 30 PrecisionMix II 3K Robotic Interface Integrated Color Change TI0494 Fig 8 1 ...
Страница 142: ...System Configuration 8 34 ...
Страница 143: ...Recipe Setup 9 1 Recipe Setup 9 ...
Страница 144: ...Recipe Setup 9 2 ...
Страница 165: ...10 1 Troubleshooting Troubleshooting 10 ...
Страница 166: ...10 2 Troubleshooting ...
Страница 182: ...10 18 Troubleshooting ...
Страница 183: ...11 1 Service Service 11 ...
Страница 184: ...11 2 Service ...
Страница 192: ...11 10 Service ...
Страница 193: ...12 1 Parts Parts 12 ...
Страница 194: ...12 2 Parts ...
Страница 207: ...12 15 Parts Notes ...
Страница 228: ...12 36 Parts ...
Страница 229: ...13 1 Utilities Software Utilities Software 13 ...
Страница 230: ...13 2 Utilities Software ...
Страница 254: ...13 26 Utilities Software ...
Страница 255: ...14 1 Technical Data Technical Data 14 ...
Страница 256: ...14 2 Technical Data ...
Страница 259: ...14 5 Technical Data Notes ...


