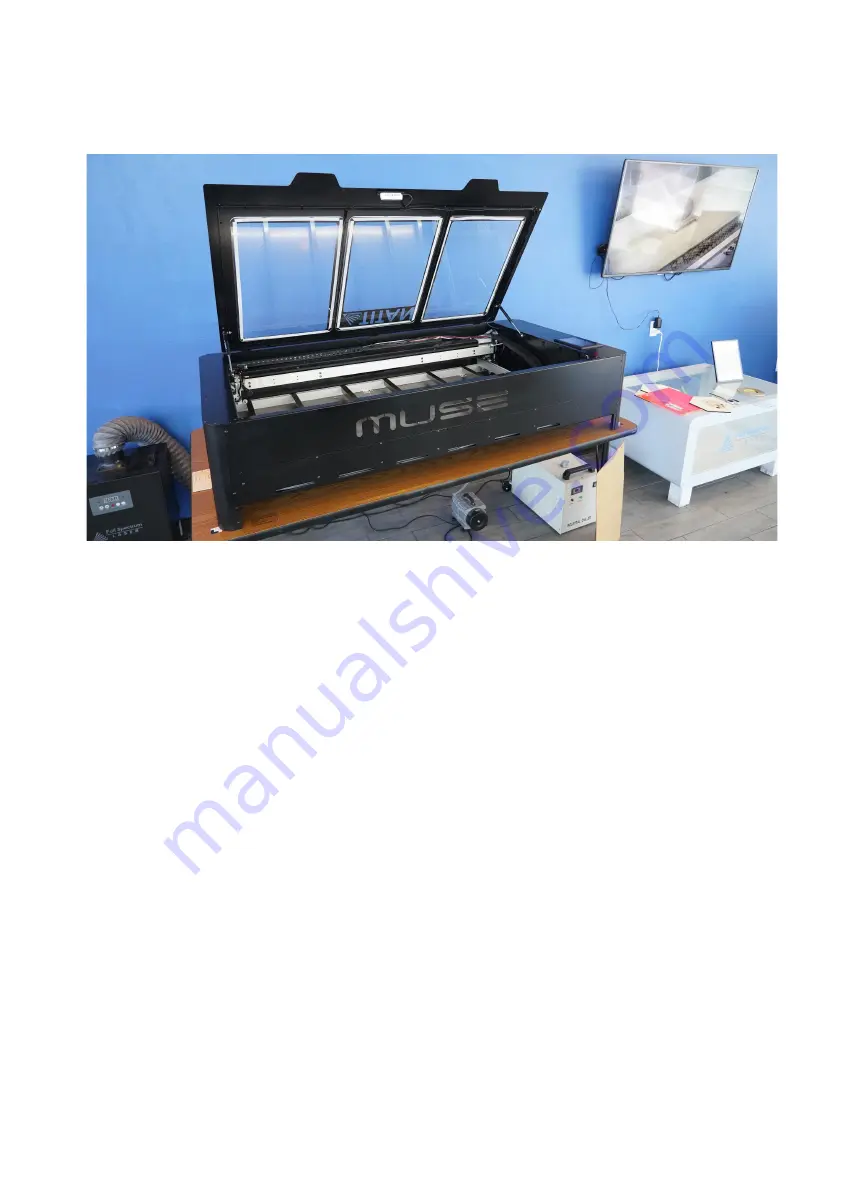
Camera: Capture Workspace
Use the Intel Realsense 3D camera to capture your workspace to align your designs.
1.
Place material in the laser bed.
2.
Lift the Lid of the laser in it’s upper position.
3.
Initiate Camera - Press the Camera Icon on your RE3 software, or on the LCD touch screen (for touch
screen controls, see user manual) - Note that you 1) use the camera button, 2) position the head, and 3)
press the camera button again (this initiates sequence with no indication on software). Follow the steps on
the screen.
4.
After 1 photo is taken, your workspace should now represent your laser bed. Position your design as
needed (for help importing, see the Work-Flow Section), and adjust settings.
5.
You are now ready to run your job. To double check a position on your workspace, CTRL-Click anywhere
on the work space to position the laser head there.
6.
Run perimeter to double check your position.
68
Содержание MUSE TITAM
Страница 1: ......
Страница 4: ...Symbols and Definitions 3...
Страница 38: ...Settings A Laser Information regarding device options 37 Info Information regarding your machine...
Страница 39: ...Rotary Shows information on rotary Defaults Set image defaults with dither options 38...
Страница 40: ...Editor Editing menu for RE3 Network Network settings for RE3 39...
Страница 49: ...48 Engraving Rastering Power Settings...


