1.
Create Design
Typically, projects are created in design software and then imported to RetinaEngrave 3.0. Generally, a
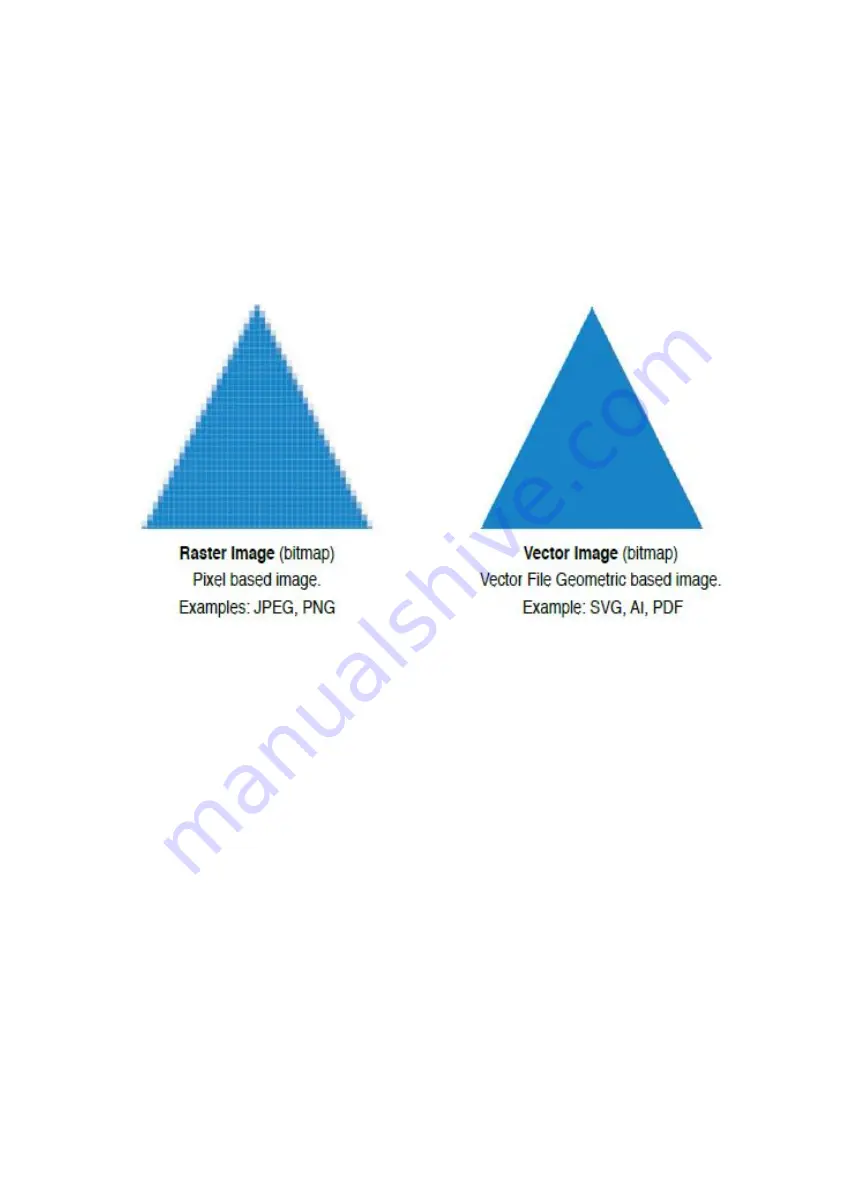
PDF file is optimal for most vector cuts, as PDF files are easy to convert to and most design software has
“convert to PDF” as a standard feature. For rastering (engraving), a JPEG file is best as these are bitmap
files perfect for pixel-based images. It is important to know, at this stage, if you intend to do a vector cut or
an engraving and choose the most appropriate file type (PDF or JPEG). This will greatly aid the software
users to design in the software without needing outside design software. Third party design software,
choose the software you are most comfortable with, as long as you can convert files to PDF (which most
can). You can also “direct print” to the software. Each operating system does this in a slightly different way,
so check the instructions for your particular computer.
2.
Connect to Software RetinaEngrave v3.0
Follow the instructions presented in Section III: Installation & Assembly. As a recap, you will turn on your
computer and your Muse Titan laser cutter and wait for both to finish their boot cycle. Then, using the
Muse Titan touch screen, touch the “Settings” button and then touch “Network”. Copy the IP address on
the touch screen into your computer’s browser and the program will appear, ready to use. For best results,
we recommend using Google Chrome as this is the most compatible with RetinaEngrave v3.0 technology.
3.
Import Design
Import your designs by selecting the “Open File” icon, or by dragging and dropping your file into the
workspace. This software detects a wide variety of file types, however, for vector cuts PDF files work best
and are simple to convert on most design software. For raster engraving, the JPEG file format is widely
used and can easily be taken from a cell phone photo or an image found online. It is important to know
what files work best with vector or raster images. A raster image is a pixel-based image (bitmap) and works
well as a JPEG file. When you import a JPEG file, the software will automatically detect it as a raster file
and will set up the project accordingly by presenting raster options in the properties tab menu.
63
Содержание MUSE TITAM
Страница 1: ......
Страница 4: ...Symbols and Definitions 3...
Страница 38: ...Settings A Laser Information regarding device options 37 Info Information regarding your machine...
Страница 39: ...Rotary Shows information on rotary Defaults Set image defaults with dither options 38...
Страница 40: ...Editor Editing menu for RE3 Network Network settings for RE3 39...
Страница 49: ...48 Engraving Rastering Power Settings...


