17
en
Starting Operation.
Pipe milling machine:
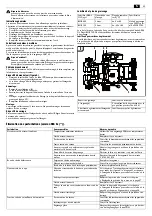
Connect a switchgear assembly on the line side of
pipe milling machines with electric drives that have
the following components:
–
Main switch/reversing switch
–
Motor protection switch
–
Undervoltage release
–
Plug connectors
The main switch is used as an on switch and for
reversing the rotation direction. The motor protec-
tion switch and the undervoltage release are a unit.
In case of overload, the motor protection switch
cuts out; in the event of a mains voltage failure, the
undervoltage release disconnects the pipe milling
machine from the mains to prevent unintentional
restarting.
The pipe milling machine is put back into operation
by actuating the motor protection switch.
The switchgear assembly must be positioned so that
it can be reached by the operator at all times.
Pipe milling machine in partially explosion-proof design:
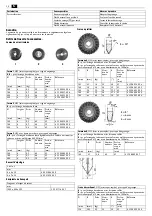
Upstream of the switchgear assembly, use a switch
box with an additional on/off switch to operate the
pipe milling machine in Zone 2 hazardous areas.
The switch box must be positioned so that it can be
reached by the operator at all times.
Danger of explosion
The switchgear assembly is to be set up outside of
zone 2.
Operation.
Danger of injury
The protection hood must be completely closed and locked during opera-
tion!
Danger of injury
from chips/swarf being thrown about
These can lead to injuries. Make sure that there are no persons in the danger
area.
Danger of fire
from chips/swarf being thrown about
Make sure that there are no easily flammable objects in the danger area.
Danger of injury
Danger of injury from parts being thrown about when the pipe milling
machine is switched on. Remove the hand crank each time before using the
pipe milling machine.
Starting procedure
For pipe milling machines with electric motor, ensure that the rotation direction of
the cutting tool is correct. The rotation direction can be reversed with the revers-
ing switch on the switchgear assembly.
Danger of injury
Danger of injury from rotating parts while the machine is running. The danger
area of the machine may only be accessed for adjustment work in compliance
with the safety-relevant measures.
–
Shut off the feed gearing via the feed switching lever (
28
).
–
Switch the pipe milling machine on.
–
Release clamping lever (
11
) and with the hand crank, pivot the running saw
blade as deep as possible into the pipe. The deeply immersed saw blade stabi-
lizes the cutting process.
–
When milling, select the least possible tool contact. The removal rate increases
with increasing cutting depth.
–
Immerse application tool approx. 3 mm deeper than necessary, then return to
required depth, this disengages the application tool.
–
When using the depth scale, allow the application tool to slightly graze against
the pipe surface. Loosen the knurled nut (
27
) and set the pointer (
28
) to 0.
Tighten knurled nut (
27
) again. The feed depth can be read off the scale.
–
Switch the pipe milling machine off.
–
Afterwards, lock the setting by tightening clamping lever (
11
).
–
Switch the pipe milling machine on again.
–
Switch on the feed gearing via the feed switching lever (
28
).
–
If the motor power is sufficient, cut through the pipe wall in one cut.
–
Laid pipes can give way during sawing and jam the application tool in the gap.
Therefore, the supplied wedges must be driven into the gap behind the saw
tool at regular intervals. In hazardous areas, use wedges (6 33 05 013 00 2)
(RSG Ex 1500 A/B (**) supplied accessories) and a hammer made of non-
sparking material.
–
Avoid overloading the pipe milling machine.
–
An overload is given when the motor speed drops noticeably while the running
application tool is plunged in.
–
At the same time, this results in a drop of the cutting performance.
–
Affix workpiece (cut-off pipe) to protect it from falling down.
For thick-walled pipes (s > 10 mm), the weld joint must be milled in several runs.
The congruent cutting process is influenced by the following factors:
–
Alignment of the pipe milling machine when starting,
–
Geometric deviation of the pipe from the circular or cylindrical shape,
–
Sharpness of the application tool,
–
Hardness of the material.
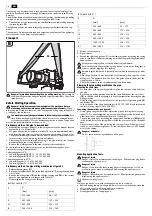
The pipe milling machine is adjusted such that for pipe diameters of 300 mm and
600 mm, the beginning and end of the cutting line approximately coincide.
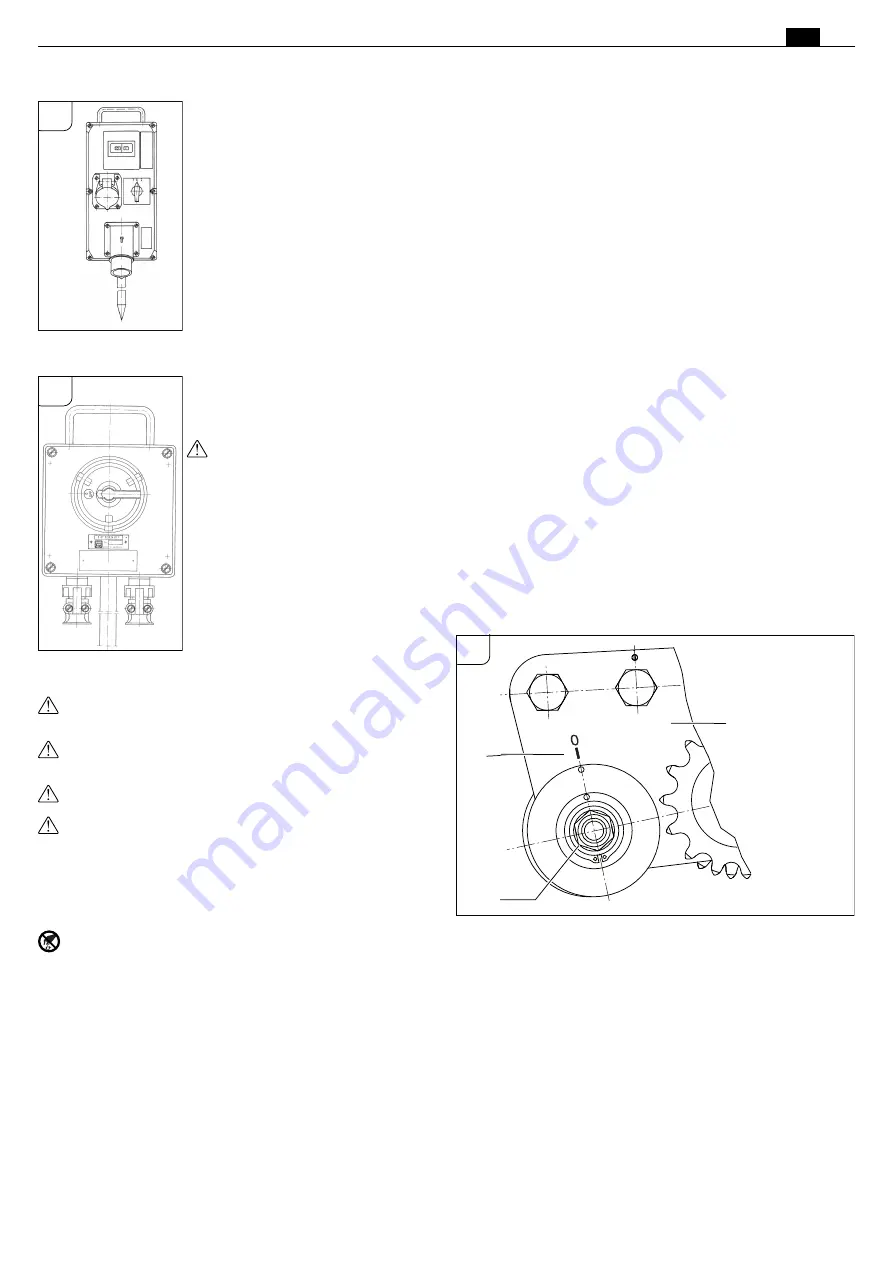
Due to the eccentricity of the guide shaft, the adjustment mark (
24
, see Fig. E) is
only binding for the two diameters indicated. For larger pipe diameters, readjust-
ment may be necessary.
Return motion of the pipe milling machines (RSG Ex (**)).
Possible damage!
Before retracting the pipe milling machine, make sure that the application tool is
retracted so that damage to the tool and the gearbox is avoided.
–
Shut off the feed gearing via the feed switching lever (
28
).
–
Release clamping lever (
11
).
–
Retract the application tool.
–
Set main switch/reversing switch to “0” (off) position.
–
Set reversing switch to return motion.
–
Tighten clamping lever (
11
).
–
Switch on the feed gearing via the feed switching lever (
28
).
The pipe milling machine is not suitable for making cuts in return motion!
Notes on cooling and lubrication.
Possible damage!
During milling, the application tool must be cooled and lubricated. Insufficient cool-
ing and lubrication can cause chips to jam. This can lead to tool breakage.
Observe the manufacturer's information/notes on the coolant being used
–
Always cut gray cast iron pipes dry without cooling lubricant.
–
Cool the saw blade or cutter with soapy water when cutting unalloyed steel
pipes.
Adjusting the running accuracy.
–
Loosen nut (
15
, see figure A); wrench size 46.
–
Turn axle (
10
) with respect to bracket (
19
).
–
Tighten nut (
15
).
By turning the running axle (
10
) clockwise (towards the application tool), the appli-
cation tool will move rightwards (the viewing direction is equal to the movement
direction of the pipe milling machine).
When turning the running axle counterclockwise, the application tool will move
leftwards.
C
D
10
19
24
E
Содержание RSG Ex 1500 A Series
Страница 1: ...RSG Ex 1500 A 7 360 RSG Ex 1500 B 7 360 RSG Ex 18 A 7 360 RSG Ex 18 B 7 360...
Страница 282: ...282 th 4 a b c d e f g h 5 a RSG Ex 20 A HSS 16 3 6 21 2 28 10 34 B 34...
Страница 290: ...290 th www fein com CE EFTA European Free Trade Association EU EFTA FEIN C E Fein GmbH D 73529 Schw bisch Gm nd...
Страница 298: ...298 ja RSG Ex 3 2 3 3 I 3 2 3 FEIN 3 07 02 041 01 4 A 293 294 295 294 296 FEIN 11...


