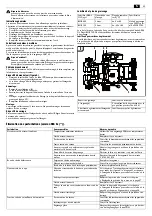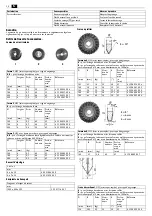
16
en
The gearing unit is dimensioned in such a manner that occasional seizing of the
chain can be endured without damage. All transmission shafts run in anti-friction
bearings.
The machine frame with the axles has the task of guiding the clamped pipe milling
machine on the pipe and transmitting the cutting and feed forces.
–
The adaptation to the respective pipe outside diameter is achieved by adjusting
the running axle (
10
).
The tightening chains are sized in length by putting together identical chain seg-
ments.
The number of chain segments required, respectively the length of the tightening
chains depends on the exterior pipe diameter.
Transport.
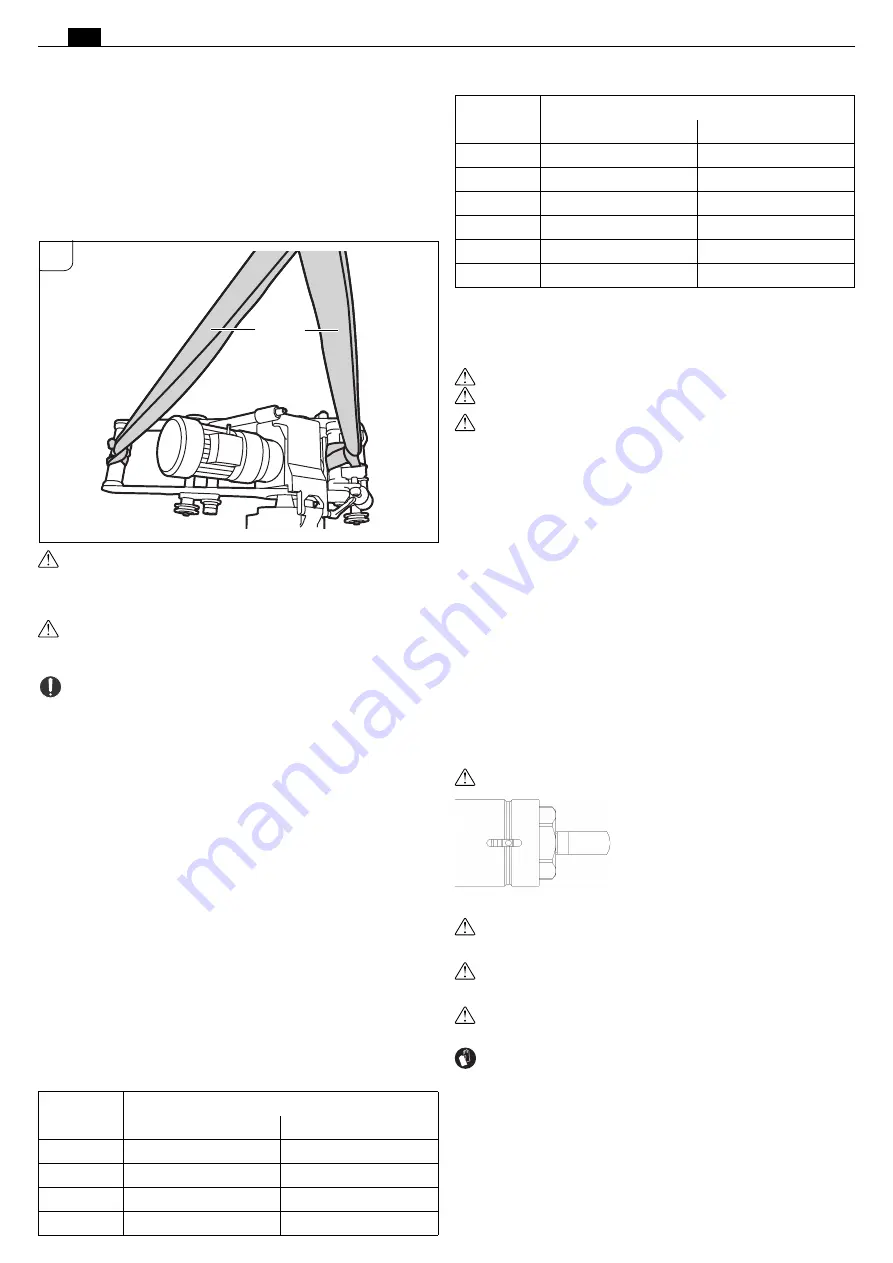
Danger of injury when transporting the pipe milling machine.
Only transport
the pipe milling machine using the supplied carrying straps (
34
) or by at least
three persons.
Before Starting Operation.
Danger of injury from unexpected movements of the workpiece. Before
processing, secure the workpiece against unexpected movements.
When
processing the workpiece, there is a risk of unexpected rolling away, falling down
or shifting of the workpiece.
The machine may only be operated when in technically proper condition.
Each
time before starting-up the machine, check it for worn or damaged insert
tools and components. Worn or damaged application tools and components
must be replaced immediately with new ones.
Preliminary work on the pipe to be machined.
–
Underlay/support pipes being cut in the storage area in such a manner that the
application tool is not jammed.
–
For pipes already laid, a clearance of at least 50 cm must be maintained meas-
ured from the pipe exterior to the pit wall at every point along a length of 1 m.
–
The pipe surface being machined must be free of dirt and soil. Remove soft pro-
tective coatings on the machining surface beforehand.
–
The cutting tool must be selected according to the pipe material, the required
machining shape and cooling lubrication.
–
Remove the welding seams in the area of the sprockets and chains.
For more information, please contact your coolant/lubricant supplier. (com-
pressed-air cooling-lubricant device)
Lubricating agent at 0°C:
–
Lubricating agent BIOCUT 1L - 3 21 32 039 00 0
–
Lubricating agent BIOCUT 5L - 3 21 32 040 00 0
Lubricating agent up to 25°C:
–
Lubricating agent 1L - 3 21 32 042 00 0
–
Lubricating agent 5L - 3 21 32 043 00 0
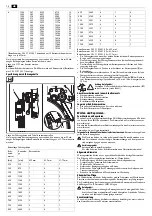
Preliminary work on the pipe milling machine (see figure A).
–
Release clamping lever (
11
).
–
Raise the tool spindle head (
16
) at the feed mechanism (
7
) using the hand crank
(in tool box).
–
Remove the fitting screws (
9
) and the refit the running axle (
10
) to the current
exterior pipe diameter in accordance with Table (4).
–
Mount/tighten the fitting screws (
9
) again.
P: Position of running axle
D: Pipe diameter
–
Extend the tightening devices (
1
) for the clamping chains by turning the spring
tube so that there is sufficient clamping travel after the pipe milling machine has
been set down.
Arrange the clamping chains to fit the exterior pipe diameter.
Position the pipe milling machine on the pipe and secure it with lifting gear in
order to prevent slipping off or shifting.
Assemble guide chain with chain tensioner to match the exterior pipe diam-
eter.
–
Affix the guide chain 10 mm clear aside of the clamping chain opposite of the
milling tool. The clearance from the bolt of the guide chain to the bolt of the
clamping chain is 10 mm.
–
Check the clearance at the circumference at least three times.
Clamping the pipe milling machine on the pipe.
Mounting the chain links.
–
On both sides of the pipe milling machine, place the still open chain links over
the pipe.
–
Raise the pipe milling machine and slide the chain links under the sprockets
(
20
), so that the chain links engage in the sprocket teeth after lowering the pipe
milling machine.
–
Guide the free ends of the chain links over the sprockets of tightening axle (
14
)
and bracket (
19
).
–
Lock both ends of the chain links with bolt (3 02 17 216 00 4) and secure with
the two securing rings (4 26 34 020 00 5).
Tensioning the chain links (see figure A).
–
Firstly, lightly snug the chain links against the pipe by turning the two spring
tubes (
1
). For exact alignment, move the pipe milling machine back and forth
a few times in the circumferential direction of the pipe.
–
Tension the chain links by turning the spring tubes until the pin (
23
figure A)
in the slotted hole of the spring tube is inside the groove cut in the circumfer-
ence.
–
Observe the position of the pin during the cutting process. If the pipe is out of
round, you must either retighten or loosen the tension. Remove all 4 handles
prior to the cutting.
Danger of accidents!
Do not tension the spring tube beyond this point!
Mounting Application Tools.
Danger of injury
Danger of injury from unintentional switching on. Pull the mains plug before
mounting the application tool.
Danger of injury
Danger of cuts from the sharp cutting edges of the application tool. Wear
protective gloves when mounting and dismounting the application tool.
Danger of injury
Danger of burns from the hot application tool. Wear protective gloves when
dismounting the application tool.
Wear protective gloves.
Only use application tools with cutting edges in proper condition.
–
Before bringing the pipe milling machine into contact with the pipe, clean the
tool spindle as well as all fitting and contact surfaces.
–
Mount the application tool with spacers.
–
Firmly tighten the tool clamping nut.
RSG Ex 1500 A/B (**)
P
D
[mm]
[inch]
I
250 – 400
9.8 – 15.7
II
400 – 600
15.7 – 23.6
III
600 – 900
23.6 – 35.3
IV
900 – 1500
35.3 – 58.9
B
34
RSG Ex 18 A/B (**)
P
D
[mm]
[inch]
I
250 – 400
9.6 – 15.7
II
400 – 600
15.7 – 23.6
III
600 – 800
23.6 – 31.5
IV
800 – 1000
31.5 – 39.4
V
1000 – 1300
39.4 – 51.2
VI
800 – 3000
51.2 – 118.1
Содержание RSG Ex 1500 A Series
Страница 1: ...RSG Ex 1500 A 7 360 RSG Ex 1500 B 7 360 RSG Ex 18 A 7 360 RSG Ex 18 B 7 360...
Страница 282: ...282 th 4 a b c d e f g h 5 a RSG Ex 20 A HSS 16 3 6 21 2 28 10 34 B 34...
Страница 290: ...290 th www fein com CE EFTA European Free Trade Association EU EFTA FEIN C E Fein GmbH D 73529 Schw bisch Gm nd...
Страница 298: ...298 ja RSG Ex 3 2 3 3 I 3 2 3 FEIN 3 07 02 041 01 4 A 293 294 295 294 296 FEIN 11...


