112
NexLog Recorder User Manual v2.2.0
configured to accept Unencrypted Connections only, SSL Connections only or to
accept both. When clients connect to the recorder they must use an enabled
form of communication. Encryption provides for data security at the expense of
causing more CPU resources to be utilized on the recorder. The following
connection types can each be configured:
Database Connections
: This includes Eventide software such as MediaWorks
which communicate with the recorder's onboard database as well as ODBC
Connections to the recorder's database made by third party applications such as
Crystal Reports (TM).
Web Server Connections
: Determines how Web browsers are allowed to
connect to the recorder. Plaintext is used for http:// and Encrypted for https://
Client Service Connections
: Controls the live data sent between the Recorder
and MediaWorks/MediaAgent.
Centralized Archive Connections
: Controls the connections made between two
NexLog recorders when one acts as an archive destination for another.
No changes made on this page will take effect on the recorder until the recorder
is rebooted.
4.9.4. User Groups
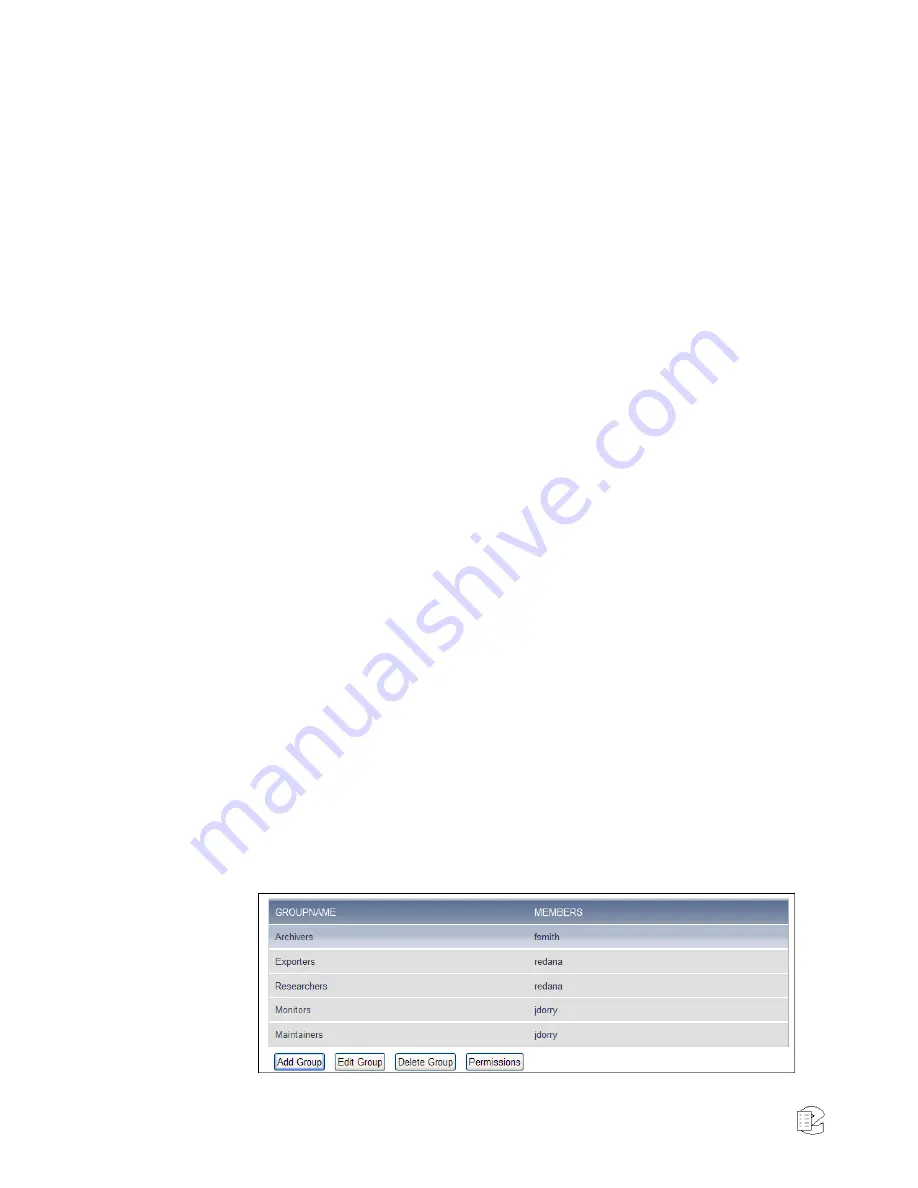
The User Groups Setup page allows User Groups to be managed and configured.
A User Group is a collection of permissions and users who will inherit those
permissions. For example, you could create a Group called "Dispatchers" and
give that group permission only to instant recall calls and view alerts, and then
add the user accounts for all of your dispatchers to that group. User Groups are
also sometimes called "Roles" on other systems, the idea is the same. The main
User Groups page displays a table showing all of the user groups configured on
the system, one per row. Each group entry displays the Group Name, and the
Members of the group. If there are a large number of members in the group,
only the first few will be displayed here, and you must navigate to the 'Edit
Group' page for the group to view the full set. Under the User Groups table are a
set of action buttons. With the exception of the 'Add Group' button, all actions
require you to first select the group you wish to perform the action on from the
User Group table by clicking on it in the table.
Figure 56
—User Groups


