


NexLog Recorder User Manual v2.2.0
33
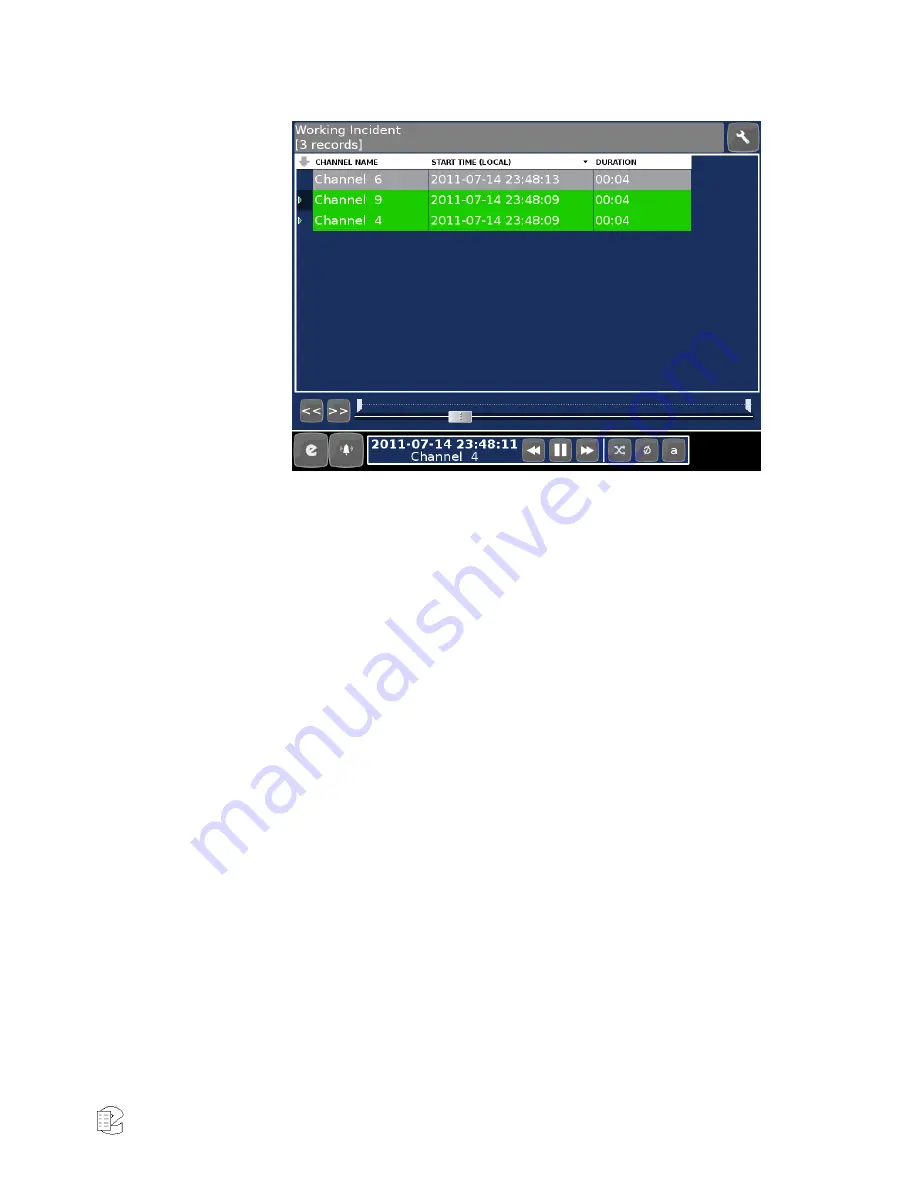
Figure 15
—Working Incident
To remove any recordings that are not desired in the Incident, mark the
recordings as before, then click the Tools button (upper right button with the
wrench icon) and select "Remove marked from Incident".
Saving an Incident
To save the incident (a collection of recordings) on the logger:
1.
Click the Tools button (upper right button with the wrench icon) and
select "Save Incident".
2.
Enter a descriptive name for the incident.
3.
Enable "Protect Records" if you wish to protect the recordings from
scheduled deletion from the logger, or disable the setting to skip this
feature.
To create a new Working Incident at any time, choose "Clear Incident" from the
Tools menu, and repeat this process. An Incident which has been saved can be
opened into the same Working Incident page by choosing "Open Incident" in the
Tools menu and selecting the desired Incident. To return to the Replay screen,
open the Tools menu and choose "Switch to Query".
Exporting an Incident
To export an Incident as data files to a CD, DVD, or USB stick:
1.
Insert appropriate media to the logger. If a CD or DVD is desired, click
the Main Menu button and select "Info". Click the archive drive desired
for exporting, and then click "Eject". Confirm to eject, and the logger
DVD tray will open. Insert a CD or DVD and close the tray. If a USB stick
is desired for export, insert it into one of the logger's available USB slots.


