44
NexLog Recorder User Manual v2.2.0
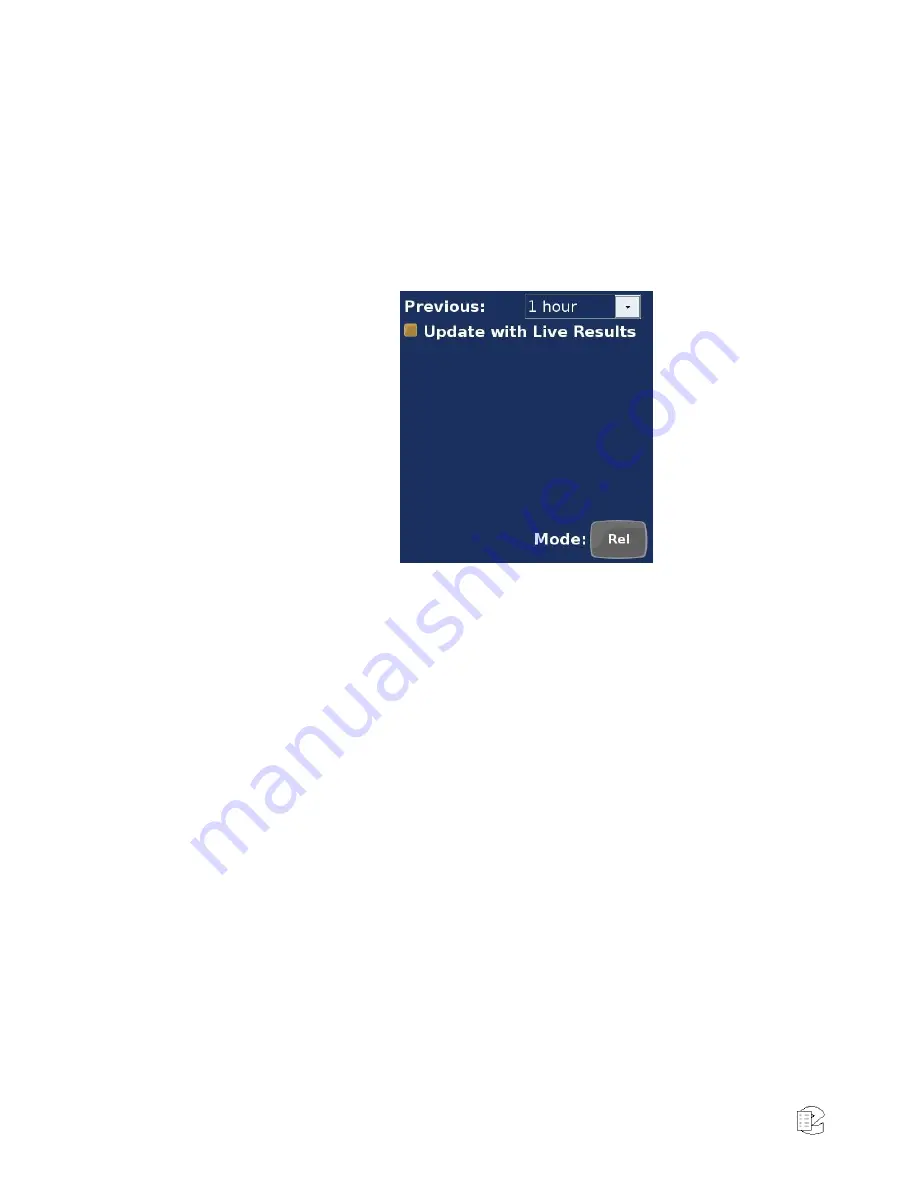
In “Relative” mode, recordings are retrieved within a specified time period
relative to the current date and time. Touch the “Previous” list box and choose
one of the available options. Optionally, enable the “Update with Live Records”
option to continuously monitor channel activity for new recordings and have
them appear in the results. Enabling this option adds the “[Live]” tag to the
Replay Summary.
Figure 26
—Relative Mode
Filtering
Optionally, add other standard filters to the query by touching the “Fields”
button. A dialog appears, allowing you to enable filters based on “Protection”,
“Duration” and “Direction” of recordings. Simply enable a desired option and
touch “OK” to add the filter to the current query. The “More” button allows you
to further limit the query by specifying values for custom database fields,
including Caller ID. Your installation of NexLog might have additional, custom
fields as well. Add as many filtered fields as needed; they will all be appended to
the filter.
Choosing Columns
Changing the default set of columns will allow you to see associated metadata
with your recordings. To change the column selection, navigate to the “Choose
Columns” menu option in the Replay menu. From the dialog which appears,
toggle the desired column names on or off by touching them. Touch “OK”, and
the selected columns are displayed in the results. Once recordings are displayed
from your query, sort the results using any visible column. Simply touch the
header section to sort the recordings. Touch it again to sort in the opposite
direction. Re-order columns by touching and dragging them to a new location.


