NexLog Recorder User Manual v2.2.0
83
Figure 47
—Resource Group: Empty Group
Adding Resources to a Group
You can add resources to a group in a number of ways:
The named resources and physical channel numbers in the right column
can be clicked on to select them. Use Ctrl+Click or Shift+Click to select
more than one at a time. Highlight a group in the right column by
clicking on it. Then add the selected resources by clicking the leftward
facing arrows between the columns.
Select resources and a group in the right column as above, and then
Right-Click them to reveal a pop up menu that allows you to Add to
Selected Group.
That pop-up menu also allows you to create a new group with these
resources; it will open the group rules editor so that you can name and
configure this new group.
You can also select resources and click+drag them from the right column
into the group you want them to be added to.
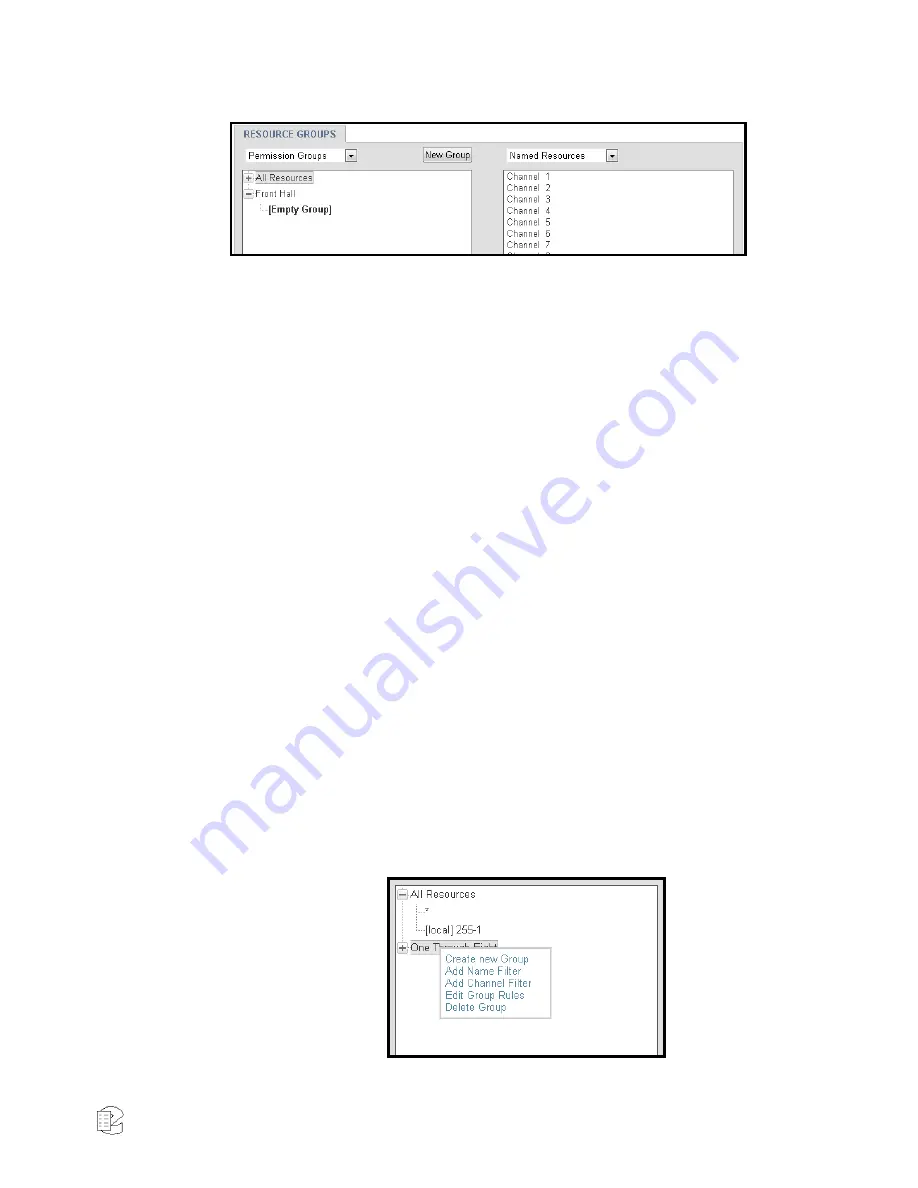
You can right-click the name of the group and select from a menu, as
seen in the figure below. From this menu, you can add a Name Filter,
using * as a wild card to match multiple resources by name.
This menu also allows you to add a Channel Filter , with which you can
specify a range of resources by physical channel ID and their source,
which defaults to Local. The source field is only relevant to
configurations involving resources on the recorder originating from
Centralized Archive sources; if you want to group these, enter the serial
number of the Centralized Archiving source into this field. Click the X to
cancel and the Checkmark to save.
Figure 48
—Resource Groups: Right Mouse Button Menu


