Note:
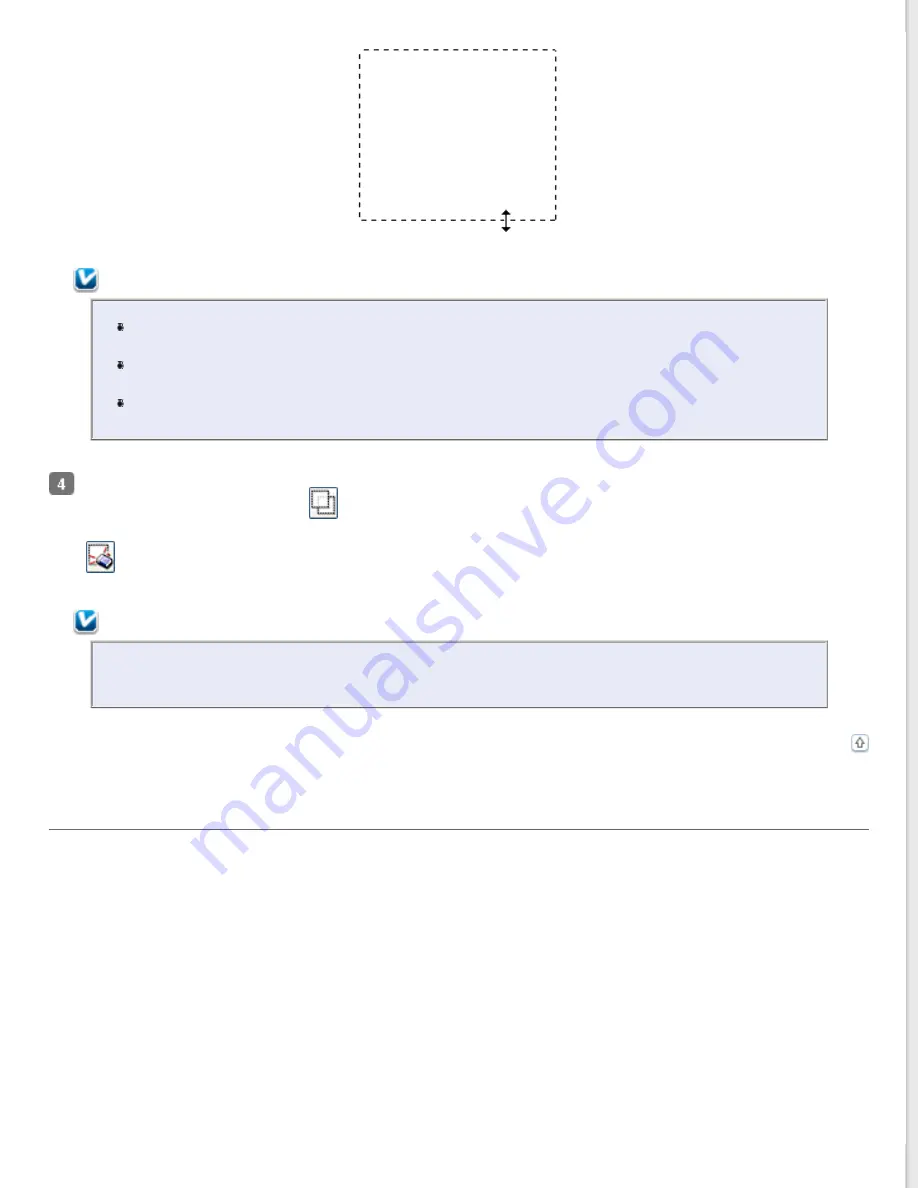
To restrict the movement of the marquee to vertical or horizontal only, hold down the
Shift
key
as you move the marquee.
To restrict the size of the marquee to the current proportions, hold down the
Shift
key as you
resize the marquee.
For best results and image exposure, make sure all sides of the marquee are located inside the
preview image. Do not include any of the area around the preview image in the marquee.
If you are viewing the normal preview, you can create multiple marquees (up to 50). Just draw them as described
in steps 1 through 3, or click the
copy marquee icon to create additional marquees of the same size. You can
move and resize all the marquees as described in step 3. To delete a marquee, click inside it and click the
delete marquee icon.
Note:
If you draw multiple marquees, make sure you click
All
in the Preview window before you scan.
Otherwise, only the area inside the last marquee you drew will be scanned.
Adjusting the Color and Other Image Settings
Once you have previewed your image(s) and adjusted the scan area, you can modify the image quality, if necessary.
Epson Scan offers a variety of settings for improving color, sharpness, contrast, and other aspects affecting image
quality. Before you make adjustments, be sure to click the image or marquee for the area you want to adjust.
To adjust the color and other image settings, see one of these sections.
Office Mode:
Making Color Adjustments and Other Image Settings in Office Mode
Home Mode:
Making Color Adjustments and Other Image Settings in Home Mode
Professional Mode:
Making Color Adjustments and Other Image Settings in Professional Mode
Making Color Adjustments and Other Image Settings in Office Mode
Содержание WorkForce GT-1500
Страница 13: ...CPD 38256 ...
Страница 20: ...a transportation lock lever b DC inlet c USB interface connector ...
Страница 65: ...Click OK Epson Scan scans your document Top ...
Страница 67: ...Click Settings You see the Scan to PDF Settings window ...
Страница 124: ...a underside of ADF b left side of document table ...
Страница 131: ...Close the input tray After you have removed the paper close the top cover of the ADF Top ...


