Tip:
The option selected for
Size[PrnDriver]
is the size
used in the
Layout Manager[PrnDriver]
. The
actual printing paper size is set in the screen in step
7.
D
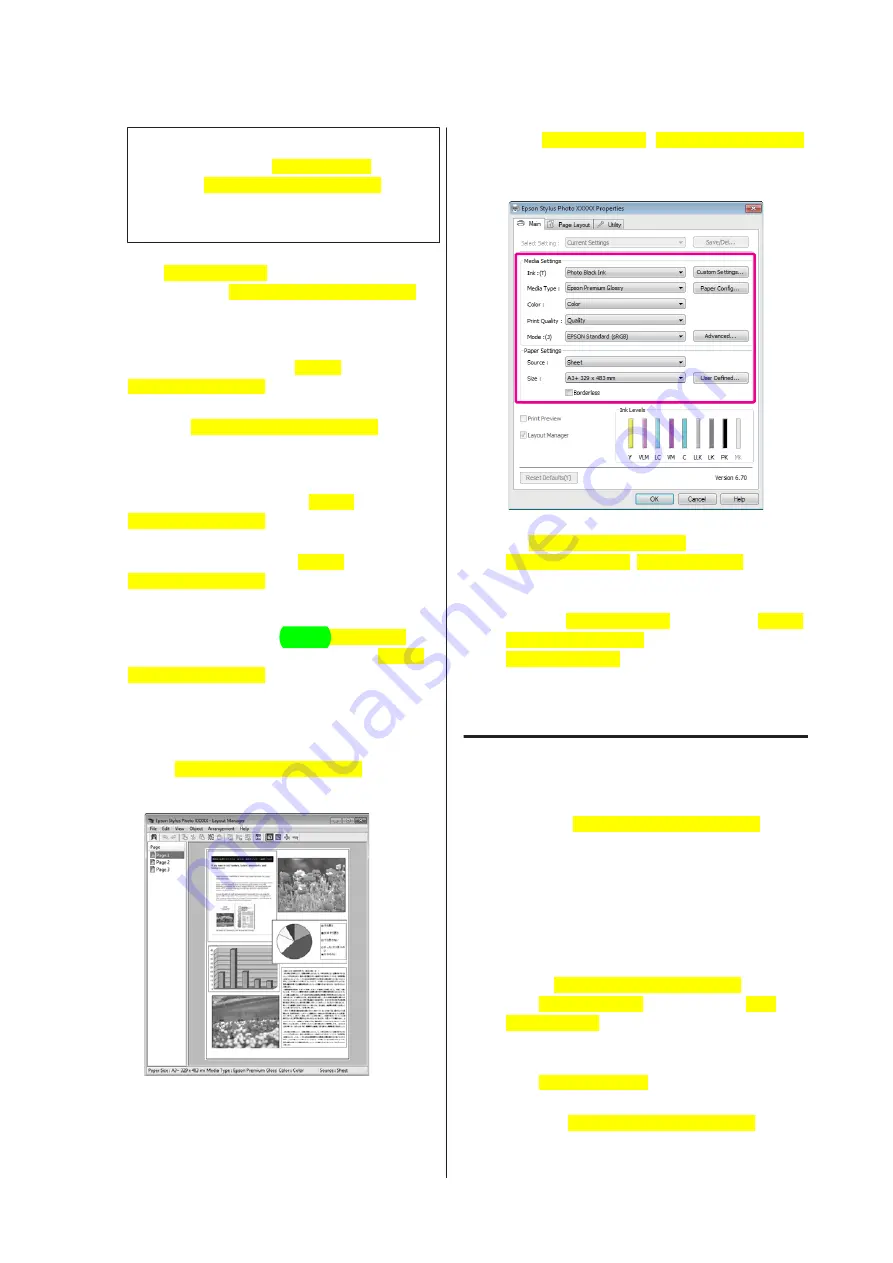
Click
OK[PrnDriver]
. When printing with an
application, the
Layout Manager[PrnDriver]
screen opens.
The print data is not printed, but one page is
placed on the paper of the
Layout
Manager[PrnDriver]
screen as one object.
E
Leave the
Layout Manager[PrnDriver]
screen
open and repeat steps 2 to 4 to arrange the next
pieces of data.
The objects are added to the
Layout
Manager[PrnDriver]
screen.
F
Arrange the objects on the
Layout
Manager[PrnDriver]
screen.
You can drag objects to move and resize them,
use tool buttons and the
Object[PrnDriver]
menu to align and rotate objects on the
Layout
Manager[PrnDriver]
screen.
You can resize and replace whole objects in the
Preference or Arrangement Settings screens.
See the
Layout Manager[PrnDriver]
screen
help for more details on each function.
G
Click
File[PrnDriver]
-
Properties[PrnDriver]
,
and make print settings on the printer driver
screen.
Set
Media Type[PrnDriver]
,
Source[PrnDriver]
,
Size[PrnDriver]
, and so
on.
H
Click the
File[PrnDriver]
menu on the
Layout
Manager[PrnDriver]
screen, and then click
Print[PrnDriver]
.
Printing starts.
Saving and Calling Layout
Manager Settings
You can save the
Layout Manager[PrnDriver]
screen
arrangement and setting contents to a file. If you need to
close your application in the middle of a job, you can
save it to a file and then open it later to continue your
work.
Saving
A
On the
Layout Manager[PrnDriver]
screen,
click
File[PrnDriver]
menu and then
Save
as[PrnDriver]
.
B
Enter the file name, select the location, and then
click
Save[PrnDriver]
.
C
Close the
Layout Manager[PrnDriver]
screen.
Epson Stylus Photo R3000 User's Guide
Printing Varieties
80
Содержание Stylus Photo R3000 Series
Страница 1: ...User s Guide Trans Table NPD4330 00 EN ...


