Rev. I
OS and Drivers
4-17
MR Series Technical Reference Manual
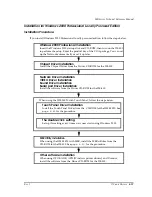
4. The [END-USER LICENSE AGREEMENT] screen is displayed. Read it through and confirm
contents. If you agree with them, press the
F8
key.
5. Select the partition to set up Windows, and press the
Enter
key. When an unformatted
partition is selected, a confirmation screen is displayed. Execute the format according to the
instructions on the screen. After that, copying of the file starts.
6. Reboot the system again according to the instructions on the screen.
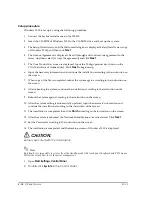
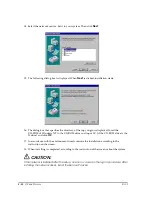
7. The [Regional and Language Options] dialog box is displayed. Confirm the setting contents
and click
Next
.
8. The [Personalize Your Software] dialog box is displayed. Input your name and your
organization, and then click
Next
.
9. The [Your Product key] dialog box is displayed. Input the 25-digit product key shown on the
COA (Certificate of Authenticity) and click
Next
.
10. The [Computer Name and Administrator Password] dialog box is displayed. Input the
necessary information and click
Next
.
11. The [Date and Time Settings] dialog box is displayed. Confirm the setting and click
Next
.
12. The [Networking Settings] dialog box is displayed. Select the Typical settings or the Custom
settings, and click
Next
.
13. The [Workgroup or Computer Domain] dialog box is displayed. Select the correct item for
the environment and click
Next
.
14. The system reboots automatically.
15. The [Welcome to Microsoft Windows] dialog box is displayed. Click
Next
.
16. Set for Internet access according to the instruction on the screen.
17. Proceed with the activate Windows according to the instruction on the screen.
18. Input the user name according to the instruction on the screen.
19. The [Thank you!] dialog box is displayed. Click
Finish
; Windows XP will start.
CAUTION:
Setup is executed with the VGA display.
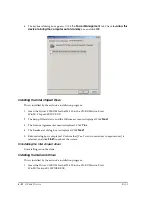
Installing the Serial Port Driver
Note
COM1/COM2 can be used without installing the driver. If you use COM3/COM4, you need to install the
driver.
If the standby mode of the Operating System is selected, the current mode automatically changes to the
standby mode even if the data is being output to COM ports.
1. Insert the Driver CD-ROM for the IM-800 in the CD-ROM drive.
Содержание DM-M820
Страница 1: ...Technical Reference Manual MR Series English 403308709 Rev I EPSON ...
Страница 2: ......
Страница 20: ...xviii Rev I ...
Страница 42: ...2 8 Setup for the IM 800 and the DM M820 Rev I ...
Страница 50: ...3 8 Hardware Specifications Rev I ...
Страница 178: ...5 38 BIOS Functions Rev I ...
Страница 216: ...8 26 Troubleshooting Rev I ...
Страница 270: ...9 54 Disassembly and Assembly Rev I 6 Remove the HDD cable 216 from the Main circuit board HDD cable ...
Страница 323: ......
Страница 324: ...SEIKO EPSON CORPORATION EPSON ...

